Grow Your Own Emerald Beauty: A Guide to Propagating Myrsine parvifolia
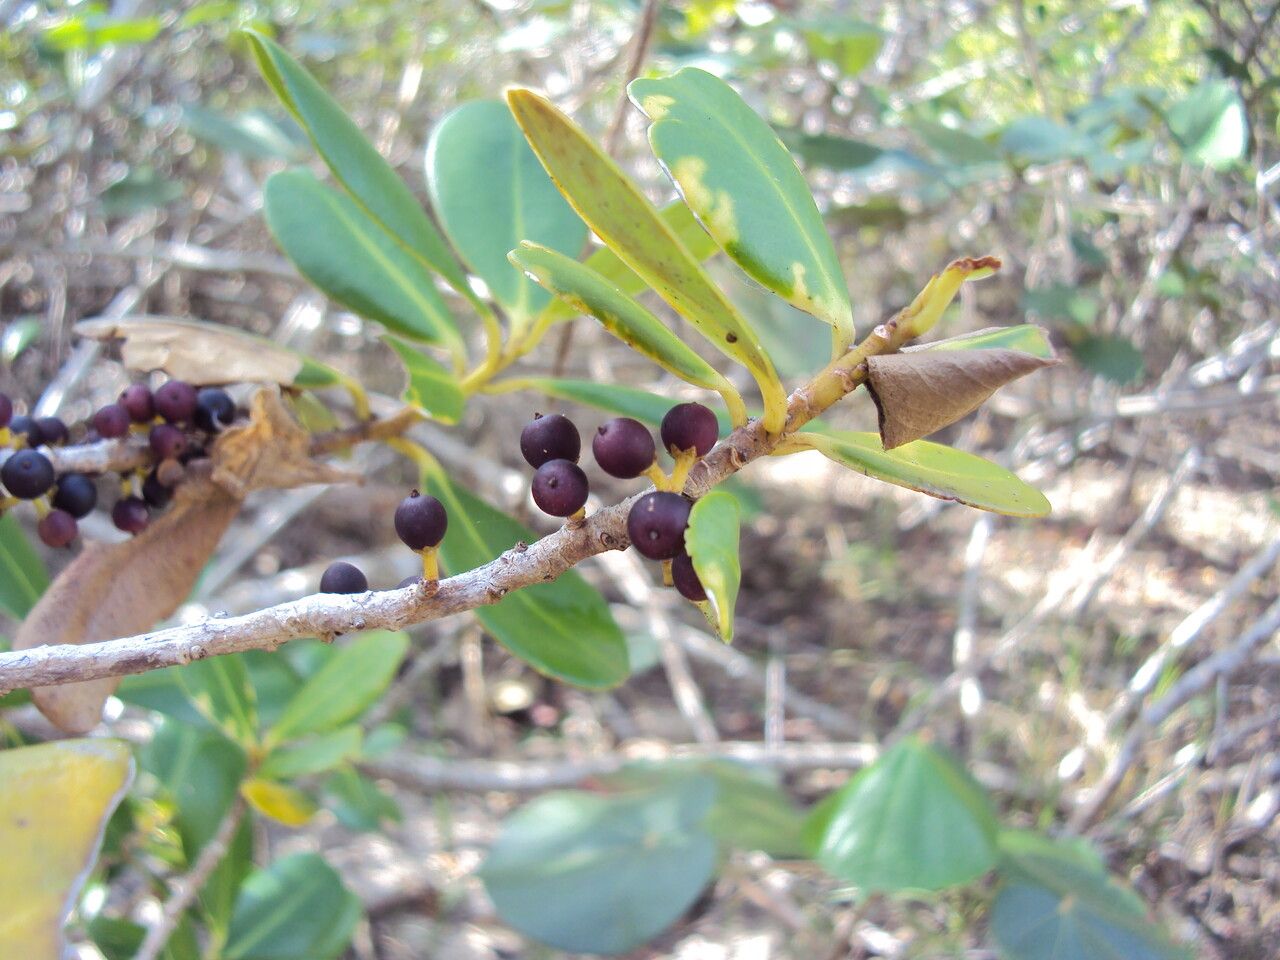
The Myrsine parvifolia, also known as the “box myrtle” or “Japanese boxwood,” is a popular choice for gardens and landscapes. With its dense, green foliage and low-maintenance nature, it’s no surprise that many gardeners are eager to add this beauty to their collections. But what if we told you that you could easily grow your own from cuttings?
Propagating Myrsine parvifolia is easier than you might think. It’s a rewarding experience for beginner and seasoned gardeners alike, allowing you to multiply your plant collection without spending a fortune.
The Best Time to Propagate:
The best time to take cuttings for Myrsine parvifolia is during the spring or summer. This is when the plant is actively growing, and its hormones are ready for the task of rooting. While you can take cuttings in the fall, it’s crucial that you choose a day free of frost for the cuttings to remain healthy.
Choosing the Right Cuttings:
- Softwood Cuttings: Taken from the tips of new, non-woody growth, these are the easiest to root. They are typically 4-6 inches long with a few leaves at the top.
- Semi-hardwood Cuttings: Taken from slightly older, woody stem growth, these are still flexible. They are a viable option as they are less prone to wilting.
How to Take Cuttings:
- Prepare Your Tools: Gather a sharp pair of pruning shears or a knife, and a container filled with rooting hormone.
- Select your Cuttings: Identify healthy, vigorous growth on your existing Myrsine parvifolia.
- Make Clean Cuts: Use your shears or knife to make a clean cut just below a node. A node is the point from which leaves sprout, and it contains the hormones needed for root development.
- Remove Lower Leaves: Remove the leaves from the bottom 1-2 inches of the cutting.
Rooting Your Cuttings:
- Dip in Rooting Hormone: Lightly dip the base of the cutting in a rooting hormone. Be sure to follow the instructions on the specific hormone product you are using.
- Planting and Care: Plant the cuttings in a pot filled with a well-draining potting mix (a mix of peat moss and perlite works well). For a humid environment, you can cover the pot with a plastic dome or plastic wrap.
- Placement: Place the pot in a bright, indirect location. Avoid direct sunlight, as this can dry out the cuttings.
- Moisture: Keep the soil moist but not soggy. A gentle misting of water every day will help keep the cuttings hydrated.
Patience is Key:
Remember, rooting can take time, usually 4-6 weeks. During this period, resist the urge to constantly check on your cuttings. They need time to focus their energy on developing roots.
Tip: If you notice the cuttings turning yellow or wilting, adjust your watering routine or move them to a more shaded spot to ensure adequate moisture.
Congratulations!
Once you see new growth, your Myrsine parvifolia cuttings have successfully rooted. You can gradually acclimate them to full sun and eventually re-pot them into larger pots.
Enjoy the Beauty of Your Propagation:
Propagating Myrsine parvifolia is an enjoyable and affordable way to expand your collection of this delightful plant. It’s also a great way to share with friends and family, spreading the beauty of the emerald green foliage for years to come.