Unlocking the Secrets of Naregamia Alata: A Propagation Primer
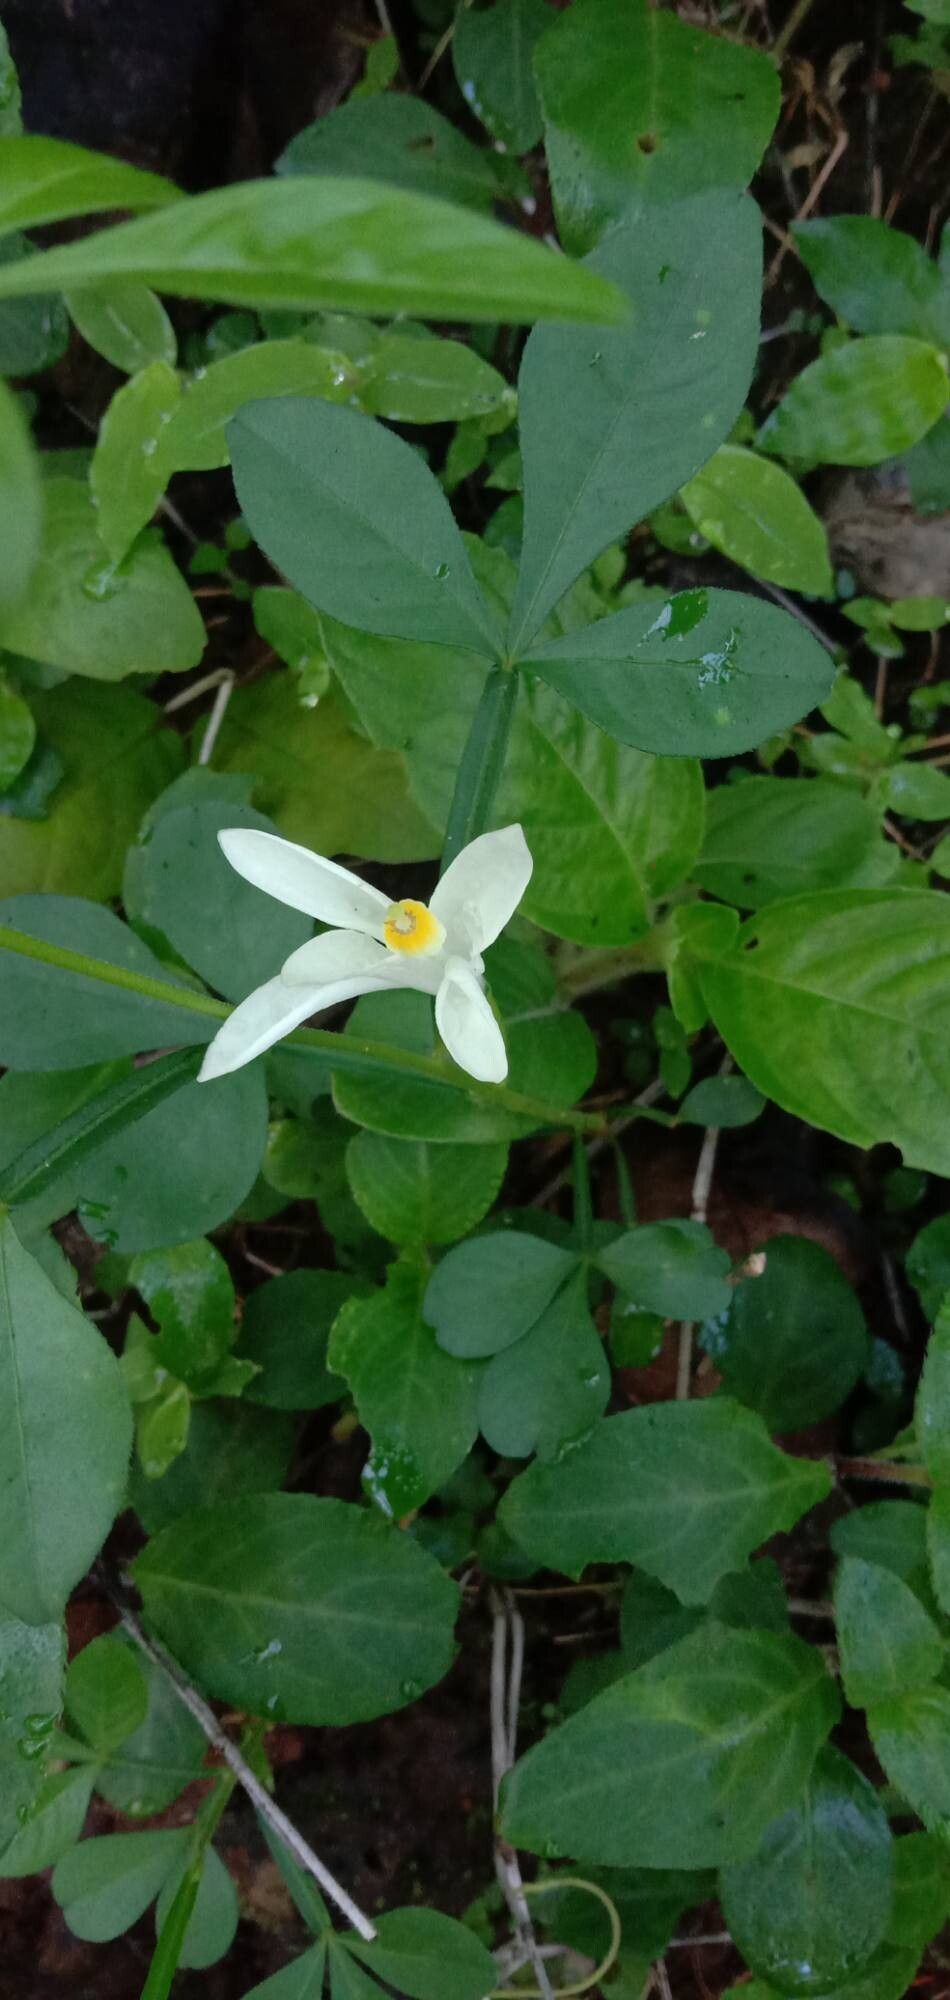
Naregamia alata, also known as the winged-leaved naregamia or the malabar gamboge, is a captivating plant with a rich history in traditional medicine. Native to India, this sprawling herb boasts unique trifoliate leaves and delicate white flowers that add a touch of the exotic to any garden. But successfully cultivating this intriguing species starts with understanding its propagation needs.
While information about Naregamia alata might seem scarce compared to more common garden varieties, don’t let that deter you! This guide will demystify the propagation process, equipping you with the knowledge to grow this remarkable plant.
Two Paths to Propagation: Seeds vs. Cuttings
Naregamia alata can be propagated through two main methods: seeds and cuttings. Each technique comes with its own set of pros and cons:
1. Seed Propagation:
- Pros:
- Seeds offer a cost-effective way to start numerous plants.
- It’s a rewarding experience to nurture a plant from its very beginning.
- Cons:
- Germination rates can be inconsistent and require patience.
- Seeds can be challenging to source commercially.
- Plants grown from seeds may take longer to mature and flower.
2. Propagation from Cuttings:
- Pros:
- Higher success rate compared to seeds, especially for beginners.
- Produces a genetically identical plant to the parent, preserving desirable traits.
- Faster growth and quicker flowering compared to seed-grown plants.
- Cons:
- Requires access to a healthy, established Naregamia alata plant for cuttings.
Mastering the Art of Seed Propagation:
- Sourcing Seeds: Your best bet is to collect seeds from a mature Naregamia alata plant. If that’s not an option, try searching online for specialized nurseries that offer rare or medicinal plant seeds.
- Sowing the Seeds: Use a well-draining seed-starting mix and sow the seeds shallowly. Mist the soil gently and cover the tray with a humidity dome or plastic wrap to create a greenhouse-like environment.
- Providing Optimal Conditions: Place the tray in a warm, bright location, avoiding direct sunlight. Maintain consistent moisture without overwatering.
- Patience is Key: Germination can take several weeks to a few months. Be patient and continue to provide proper care.
Unlocking Success with Cuttings:
- Taking the Cutting: Choose a healthy stem from the current year’s growth. Using clean, sharp pruning shears, take a cutting about 4-6 inches long, making the cut just below a leaf node.
- Preparing the Cutting: Remove the lower leaves, leaving 2-3 leaves at the top. Dip the cut end in rooting hormone (optional but recommended for faster root development).
- Planting the Cutting: Insert the cutting into a pot filled with a well-draining potting mix. Gently firm the soil around the base.
- Creating a Humid Environment: Cover the pot with a clear plastic bag or a humidity dome to retain moisture. Place the cutting in a warm, bright location, avoiding direct sunlight.
- Rooting Success: Roots usually develop within a few weeks. Once you see signs of new growth, you can gradually acclimate the plant to normal humidity levels.
Nurturing Your Naregamia Alata:
Regardless of your chosen propagation method, providing optimal care is crucial for the success of your Naregamia alata.
- Soil: Well-draining soil is essential to prevent root rot. A blend of potting soil, perlite, and sand works well.
- Watering: Water thoroughly when the top inch of soil feels dry. Avoid overwatering, as it can lead to root problems.
- Light: Place your plant in a bright location with indirect sunlight.
- Fertilizer: Feed lightly with a balanced fertilizer during the growing season.
With patience and proper care, you can successfully propagate your very own Naregamia alata and enjoy the unique beauty and medicinal properties of this fascinating plant.