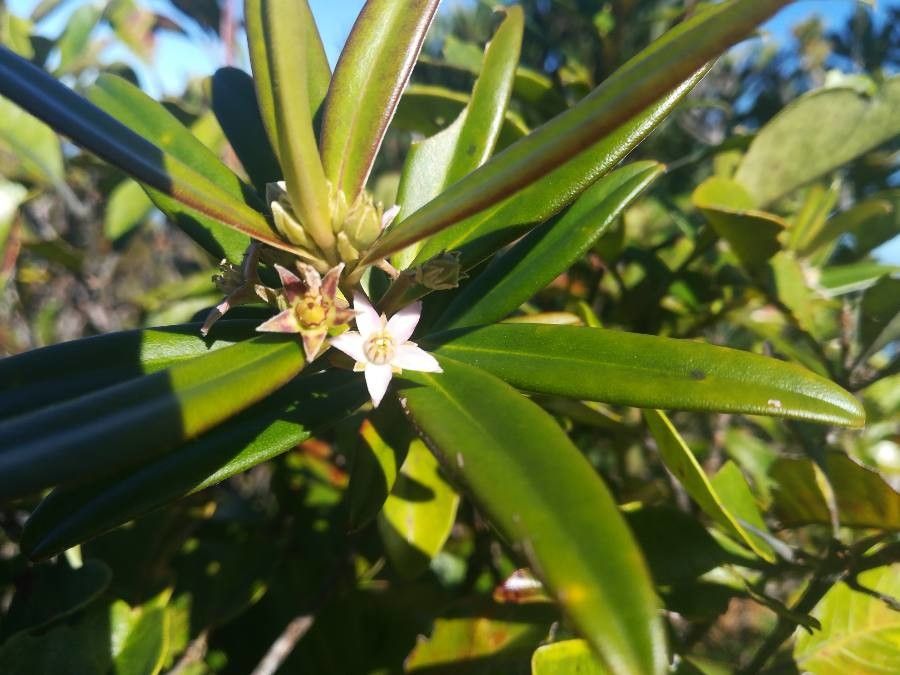
Unleash the Magic of Neoschmidia pallida: A Beginner’s Guide to Propagation
The Neoschmidia pallida, with its vibrant foliage and striking purple flowers, is a showstopper in any garden. But did you know this beauty can be easily propagated? That’s right – you can create your own flourishing collection of these stunning plants from just a few cuttings.
Why Propagate Your Neoschmidia pallida?
Beyond the thrill of creating new life, propagating your Neoschmidia pallida has several benefits:
- Cost-effective: Instead of purchasing new plants, you can easily multiply your existing stock for free.
- Customization: You can choose the healthiest and most vibrant plants to propagate, ensuring your new plants inherit the best traits.
- Increased variety: Experiment with different rooting methods and explore diverse propagation techniques to add to your collection.
The Magic of Cuttings
For Neoschmidia pallida, the most common and successful propagation method is semi-hardwood cuttings. This involves taking cuttings from the current year’s growth, typically after the plant has finished flowering. Here’s how:
1. Prepare your Tools:
- Sharp Knife or Pruning Shears: Clean and sterilized tools are essential to prevent disease transmission.
- Rooting Hormone: This helps stimulate root growth and enhances success rates.
2. Selecting Cuttings:
- Choose healthy, young stems from the current season’s growth.
- Cuttings should be 4-6 inches long with at least two sets of leaves.
3. Prepare the Cuttings:
- Make a clean, angled cut just below a leaf node (the point where the leaf grows from the stem).
- Remove all leaves from the bottom inch of the cutting to make room for root development.
- Apply rooting hormone to the cut end of the stem.
4. The Rooting Process:
- Water Propagation: Simply place your cuttings in a glass of water, ensuring the cut ends are submerged. Change the water every few days.
- Potting Mix: Fill pots or trays with a well-draining potting mix that retains moisture.
- Soil Propagation: Push the cuttings into the potting mix, leaving the top two leaves exposed. Ensure the soil is moist and keep it consistently damp.
5. Maintenance and Patience:
- Light: Keep your cuttings in a bright, indirect location, but avoid direct sunlight, especially during the hot summer months.
- Moisture: Maintain consistently moist soil, but avoid overwatering.
- Humidity: Increase humidity around your cuttings by covering the pot with a plastic dome or bag.
6. New Beginnings:
- After a few weeks, check for signs of new growth, indicating successful rooting.
- Once your new Neoschmidia pallida plants have well-established roots, they can gradually be acclimated to full sun and your garden environment.
Additional Tips for Success:
- Timing is key: Propagate your Neoschmidia pallida during the warmer months when growth is active.
- Proper rooting medium: A well-draining, airy mix is ideal.
- Moisture control: Don’t allow the soil to dry out completely, but avoid overwatering.
- Ventilation: Ensure adequate airflow to prevent fungal diseases.
- Patience: Root development can take several weeks, so don’t give up!
Conclusion:
Propagating your Neoschmidia pallida is a rewarding and accessible way to expand your garden collection. With a little practice and these simple steps, you can enjoy the beauty and vibrant blooms of these stunning plants for years to come. So, grab your tools, gather your cuttings, and embark on your Neoschmidia pallida propagation journey!