Unlocking the Secrets of Propagation: How to Grow More of the Mighty Nidorella aegyptiaca
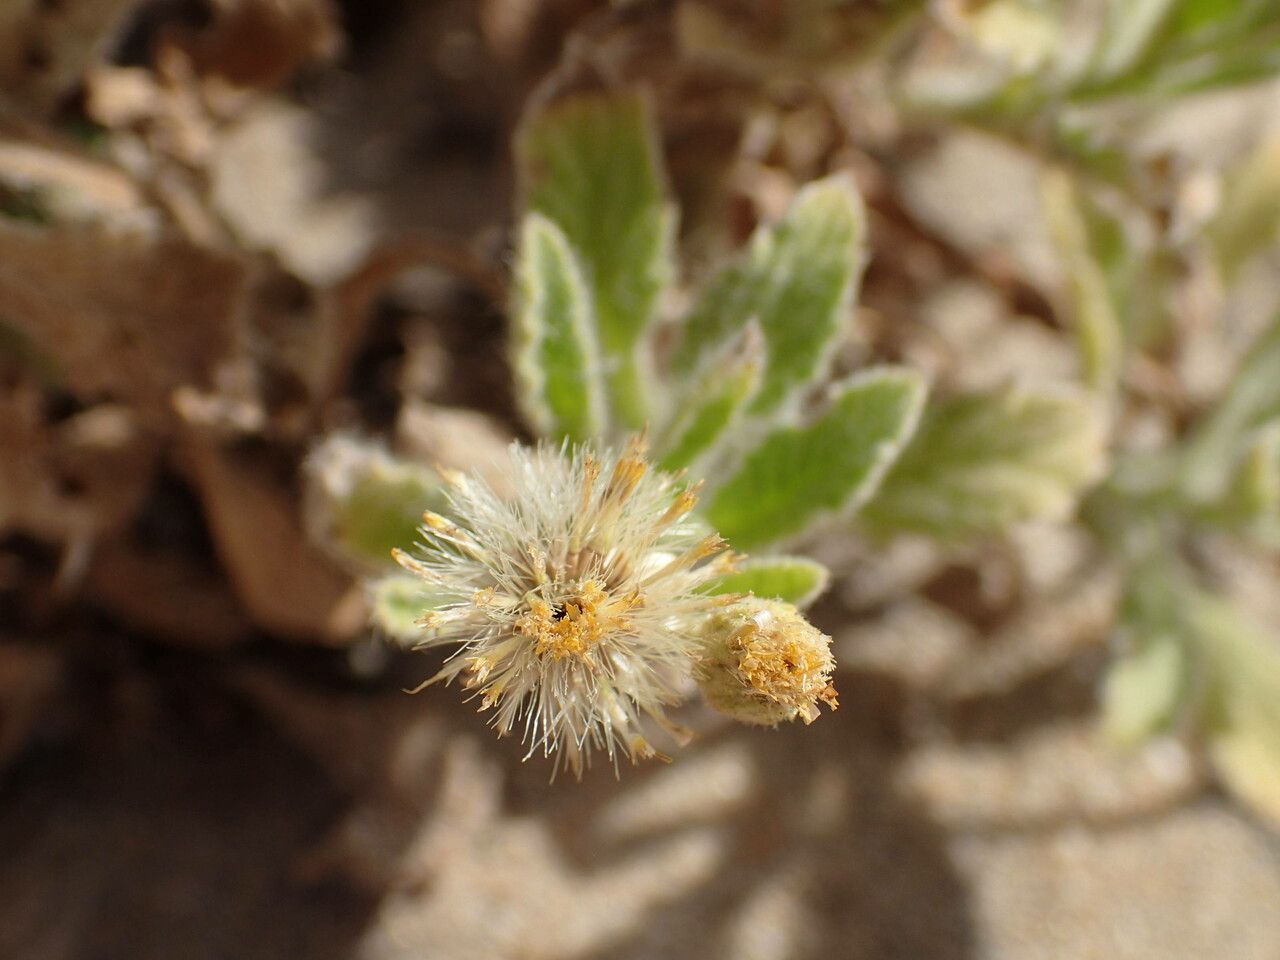
Have you fallen in love with the unique beauty and resilience of Nidorella aegyptiaca, the Egyptian Wormwood? This fascinating plant, with its silvery-gray foliage and delicate, daisy-like flowers, is a popular choice for gardeners seeking low-maintenance, drought-tolerant additions to their landscapes.
But what if you want to share this beauty with friends or simply expand your own collection? Fear not, because propagating Nidorella aegyptiaca is a surprisingly simple process, even for novice gardeners. This article will guide you through the most effective methods, ensuring you can cultivate this enchanting plant with confidence.
Seeds: A Fresh Start
For those who enjoy a fresh start, seed propagation is an excellent option for Nidorella aegyptiaca. This method allows you to obtain a multitude of new plants from just a handful of seeds. Here’s a step-by-step guide:
- Collect Seeds: Once your Nidorella aegyptiaca produces flowers, wait for the blooms to fade and the seed heads to turn dry and brown. Carefully collect the seeds, taking care not to crush them.
- Preparation: Sow the seeds in a seed tray or pot filled with a well-draining seed-starting mix. Gently press the seeds into the soil, but don’t bury them too deeply. Lightly water the soil and cover the tray with plastic wrap to create a humid environment.
- Germination: Place the tray in a brightly lit location, but avoid direct sunlight. Keep the soil consistently moist, but not waterlogged. Your seeds should germinate within a few weeks.
- Transplanting: Once the seedlings develop a set of true leaves, they are ready for transplanting. Pot them individually in small pots and gradually acclimate them to outdoor conditions before planting them in their final location.
Cuttings: A Quick and Reliable Option
Propagating Nidorella aegyptiaca through cuttings is a quick and reliable method that allows you to clone existing plants.
- Take Cuttings: Using a sharp, clean knife or pruning shears, take 4-6 inch cuttings from the tips of healthy stems. Ensure each cutting has at least two nodes (the bumps on the stem where leaves grow).
- Prepare Cuttings: Prepare your cuttings by removing the leaves on the lower half of the stem and dipping the cut end into a rooting hormone solution.
- Potting: Place your cuttings in a potting mix designed for rooting. Ensure the potting mix is adequately damp and not overly saturated. Place the cuttings in a warm, bright area. You can use a clear plastic bag or humidity dome to create a humid environment.
- Rooting: In a few weeks, you should start to see new growth on your cuttings, indicating that they’ve rooted. Once the roots are established, you can gradually acclimate the plants to outdoor conditions and eventually plant them in their final location.
Bonus Tip: Water Propagation
For those who are very patient, water propagation is another option. Simply cut a stem and place it in a glass of water. It will take longer to form roots, but it is a simple and straightforward technique, especially if you want to learn how to root plants at a more beginner level.
Care and Considerations
Once your new plants are established, they require minimal care. Nidorella aegyptiaca is a drought-tolerant species, so don’t overwater. Ensure good drainage for their pot. Consider providing your new plant with a balanced fertilizer during the growing season for optimal growth and flowering.
Conclusion
Propagating Nidorella aegyptiaca is a rewarding experience whether you’re a seasoned gardener or just starting out. These methods are easy to follow and can be adapted to your specific needs. So, why not try your hand at propagation and enjoy the beauty of this extraordinary plant in your garden, or share it with friends and family. Happy gardening!