Water Snowflake Propagation: Double Your Water Garden’s Beauty
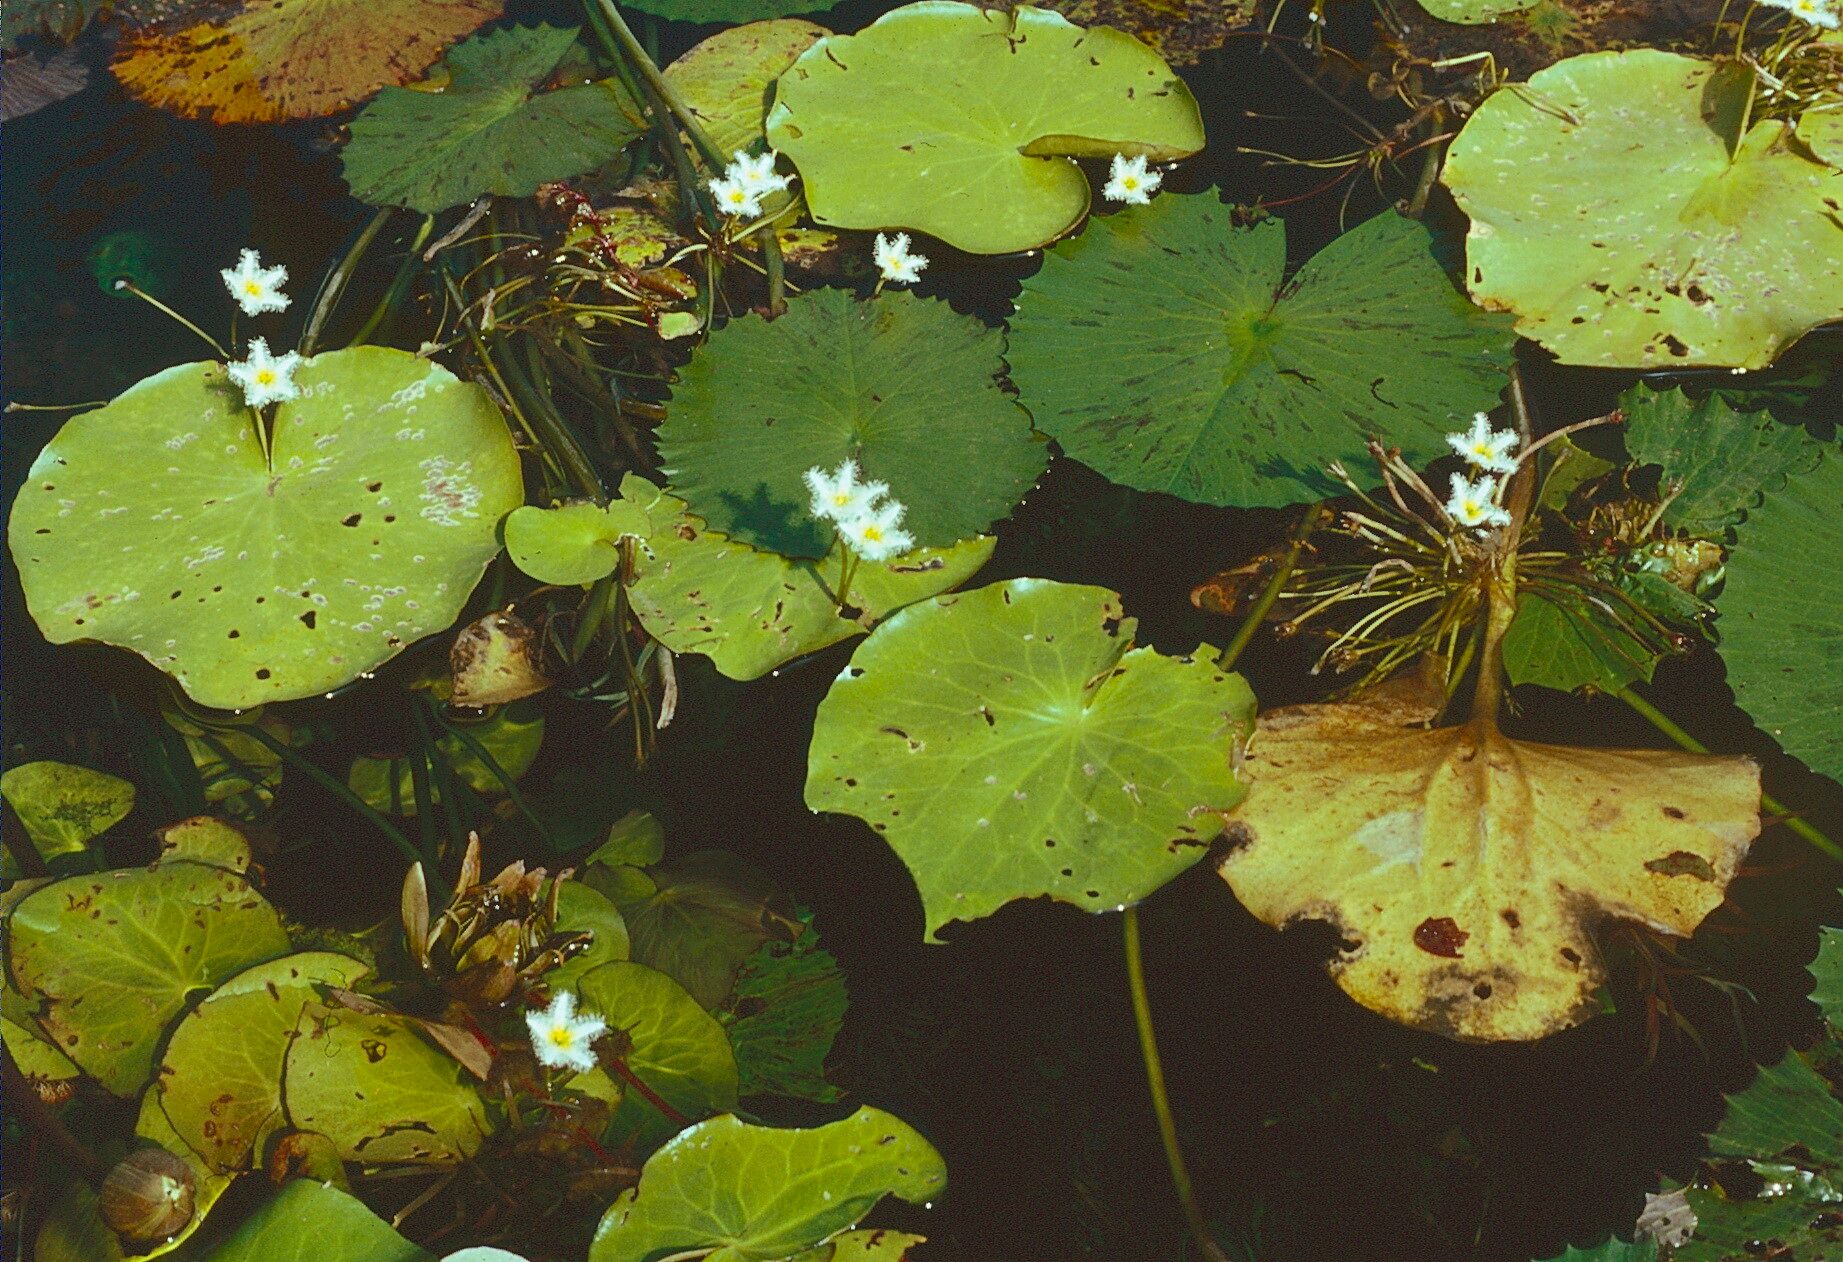
Nymphoides indica, more affectionately known as the Water Snowflake or Banana Plant, is a breathtaking addition to any water garden. With its delicate, snowflake-like blooms and lily pad-esque leaves, it quickly becomes a focal point for its elegance and charm. While acquiring new plants is always an option, nothing feels more rewarding than propagating your own. And the best part? Multiplying your Water Snowflake population is surprisingly easy! Let’s explore two simple methods:
Method 1: Seed Propagation
While less common than the division method, growing Water Snowflakes from seed provides a unique sense of accomplishment. Here’s how to do it:
Seed Collection: Allow your Water Snowflake to bloom freely. Once the flowers fade, small seed pods will appear. Allow these pods to mature fully on the plant. When they turn brown and begin to split, they’re ready for harvest.
Seed Preparation: Gently crack open the seed pods to reveal tiny black seeds. Rinse the seeds thoroughly to remove any debris.
Sowing the Seeds: Use small pots or seed trays filled with a mixture of loam and aquatic plant compost. Sprinkle the seeds onto the surface and lightly press them down. Do not bury them.
Submerge and Wait: Place the pots or trays in a shallow container filled with water. Ensure the water level is just below the pot’s rim, keeping the soil consistently moist. Place the container in a bright location but out of direct sunlight.
- Germination and Growth: Germination can take a few weeks. Once the seedlings develop a couple of sets of leaves, you can carefully transfer them to larger pots or directly into your water garden.
Method 2: Division Propagation
The most popular and arguably the easiest method, division takes advantage of your existing Water Snowflake’s natural growth habit.
Timing is Key: The optimal time for division is in the spring or early summer when your plant is actively growing.
Unearth the Plant: Gently remove the entire plant from its container or pond. If it’s in a pond, use a pond net or your hands to carefully lift it.
Divide and Conquer: Examine the plant’s root system. You’ll notice multiple crowns (points from which leaves and roots grow) clustered together. Using clean, sharp shears or a knife, carefully separate the crowns, ensuring each division has a healthy section of roots and leaves attached.
Replanting: Prepare new planting locations by adding aquatic compost to existing soil or pots. Gently plant each division at the same depth it was originally growing.
- Water and Watch: After replanting, water thoroughly to settle the soil or ensure the divisions are well-submerged in the pond. Within a few weeks, you should see new growth emerging.
Tips for Success:
- Regardless of the method, always use clean tools and containers to prevent the spread of diseases.
- When starting seeds or new divisions, provide a slightly shaded environment until they establish themselves.
- Regularly monitor water levels in your water garden, especially during hot summer months.
- Fertilize your Water Snowflake regularly during the growing season with an aquatic plant fertilizer to encourage healthy growth and vibrant blooms.
By following these simple steps, you can easily propagate your own stunning Water Snowflake plants. Soon, your water garden will be a breathtaking haven of delicate blooms, a testament to your green thumb and the magic of plant propagation.