From Seed to Shade: Unveiling the Secrets of Black Gum Propagation
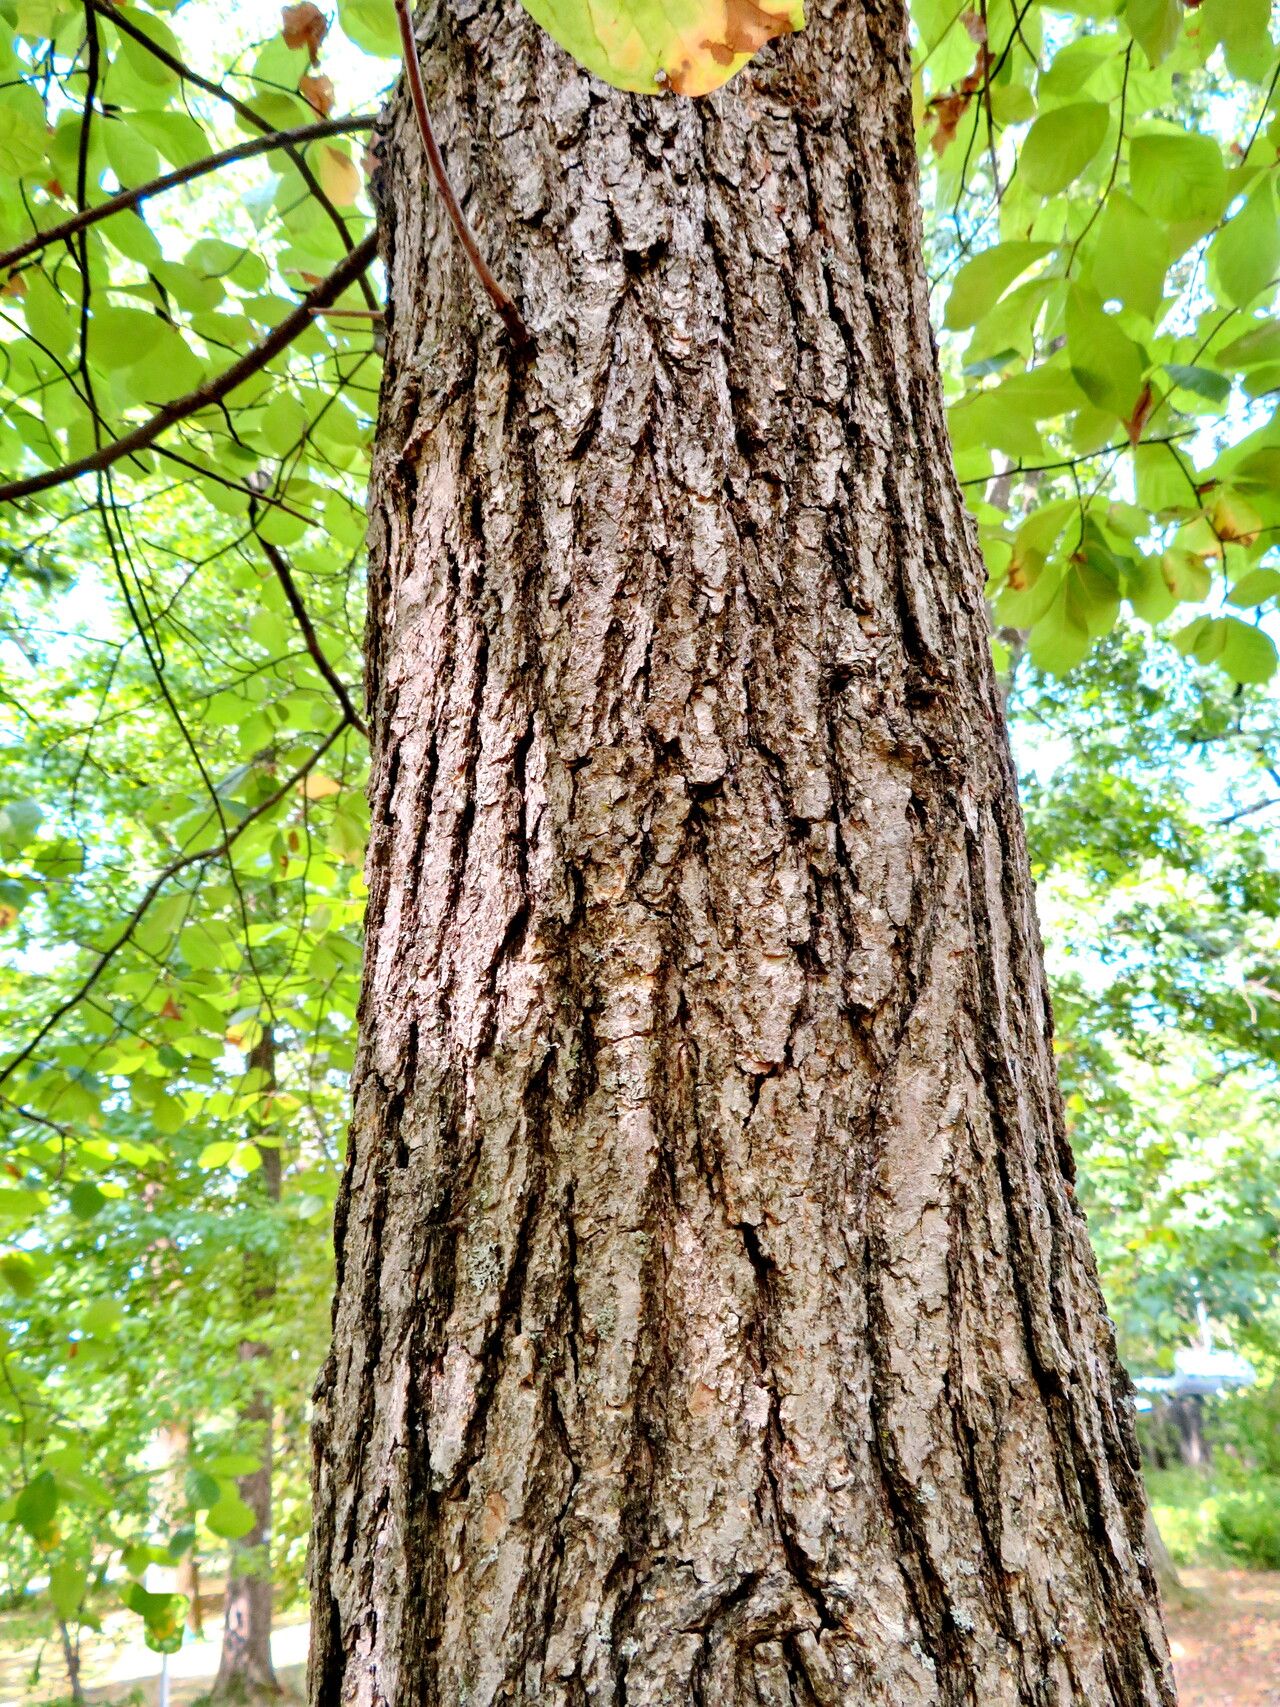
Black gum (Nyssa sylvatica), with its stunning fall foliage and graceful form, is a prized tree for landscapes and gardens alike. But did you ever wonder how to bring these beauties into your own yard? The answer lies in the art of propagation, a process that allows us to create new plants from existing ones.
While you can purchase black gum seedlings from nurseries, there’s a certain satisfaction in growing your own. This method not only offers a more affordable way to cultivate these trees but also grants you a deeper connection to the plant’s life cycle.
Two Key Paths to Black Gum Propagation:
There are two primary methods for propagating black gum: from seed and from cuttings. Let’s delve into each:
1. The Patience-Testing Path: From Seed to Sapling
- Harvesting the Seed: Black gum seeds mature in the fall, encased within the tree’s deep blue-black fruit. Gather the fruit and allow them to ferment in a cool, moist environment for a couple of days. This process helps to loosen the seed coat and promote germination.
- Preparing the Seed: Once the fruit has softened, carefully remove the seeds. These need a cold stratification period (mimicking winter conditions) to break dormancy. This can be achieved by storing the seeds in a moist medium like peat moss or vermiculite in a refrigerator for 60-90 days.
- Planting and Patience: After the stratification period, sow the seeds in a seed tray or directly into the ground. They need well-drained soil and consistent moisture. Germination can take several weeks, sometimes even months, so patience is a virtue.
2. The Quick and Thrilling Path: From Cutting to Tree
- Timing is Everything: The best time to take black gum cuttings is in the early summer, after the new growth has hardened. Choose healthy, disease-free branches that are about six inches long.
- Cut and Prepare: Cut the stem at a 45-degree angle just below a node (where a leaf or branch grows). Remove the leaves from the bottom inch or two of the cutting.
- Root Hormone Boost: Dip the bottom end of the cutting into a rooting hormone powder or solution to encourage root development.
- The Perfect Environment: Plant the cuttings in a mixture of equal parts perlite and peat moss. Maintain a consistently moist environment, and keep the cuttings in a shady location. During the rooting process, you can create a humidity dome by covering the cuttings with a plastic wrap or recycled plastic bottle.
- Patience Pays Off: While rooting cuttings may take less time than starting from seed, it still requires patience. Typically, you can expect roots to form in a few months. Once they show signs of new growth, you can gradually acclimate them to sunlight and eventually transplant them outdoors.
Beyond the Basics: Additional Tips for Success:
- Choosing the Right Soil: Black gum prefers well-drained, acidic soil. You can improve your soil by working in organic amendments like composted bark or leaf mold before planting.
- Water Wisely: Ensure the soil remains evenly moist, especially during the first year after planting. Overwatering can lead to root rot, so allow the top layer of soil to dry slightly between waterings.
- Protect from Pests: Black gum trees are generally resistant to pests, but they can be susceptible to certain fungal diseases. Inspect your young trees regularly for signs of pests or diseases.
- Patience is Key: Remember, propagation takes time. Be patient, be consistent, and before you know it, you’ll be enjoying the beauty of a black gum tree that you nurtured from seed or cutting.
Taking on the challenge of Black Gum propagation is a rewarding journey that allows you to connect with nature and build a flourishing landscape. By understanding the process from seed to sapling or cutting to tree, you can embrace the art of nurturing these unique and beautiful trees.