Unlocking the Secrets of Ochrosia bodenheimarum Propagation: A Journey From Seed to Sapling
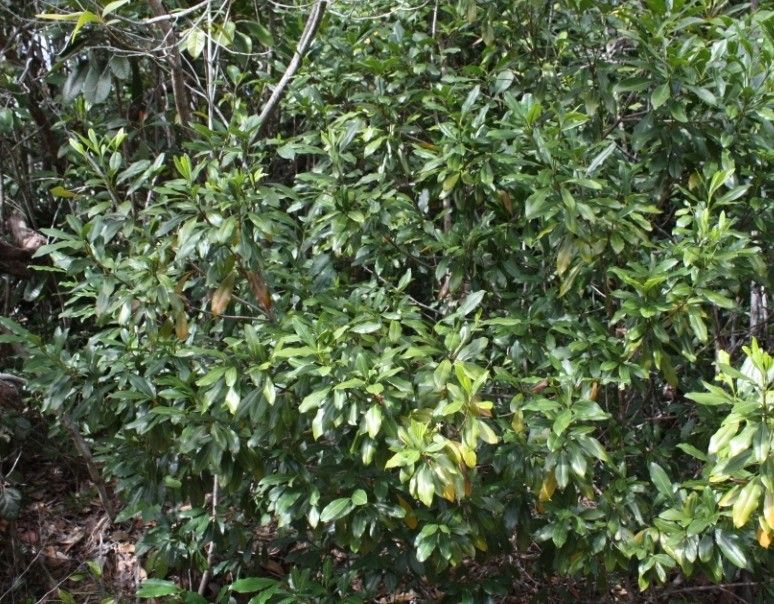
The Ochrosia bodenheimarum, with its glossy evergreen leaves and fragrant, star-shaped flowers, is a captivating tropical beauty. But how do you bring this stunning plant into your own garden? The answer lies in the art of propagation!
While Ochrosia bodenheimarum is a bit of a challenge to cultivate, don’t let that discourage you. With a little knowledge and patience, you can experience the joy of nurturing this plant from its very beginnings.
A Look at the Options
Ochrosia bodenheimarum can be propagated through two primary methods: seeds and cuttings.
1. Seed Propagation: A Journey from the Ground Up
- Harvesting the Seeds: The first step is to obtain fresh seeds from mature Ochrosia bodenheimarum fruit. These fruits are often red or orange when ripe and contain several brown, flat seeds.
- Preparing the Seedbed: Choose a well-draining potting mix and fill small pots or seed trays. Soak the seeds for 24 hours in warm water before sowing them lightly (just covered with soil) in the seedbed.
- Germination: Patience is key! Ochrosia bodenheimarum seeds can take several weeks to germinate and even longer to sprout. Maintain a warm temperature (70-80°F), high humidity, and consistent moisture.
2. Cuttings: Harnessing the Power of Clones
- Taking Cuttings: Choose healthy, young stems with a few nodes (the bumps on the stem where leaves emerge). Cut just below a node using a sharp, clean knife or pruning shears.
- Preparation: Remove the lower leaves and dip the cut end in rooting hormone. This will encourage root growth.
- Planting: Put the cuttings in a well-draining potting mix. A humidity dome or plastic bag placed over the cutting can create a humid environment, which is ideal for rooting.
- Rooting Time: With proper care, cuttings should start rooting within 4-6 weeks. Be patient and avoid disturbing them during this sensitive stage.
Essential Propagation Tips
- Light: Ochrosia bodenheimarum prefers bright, indirect light. During the propagation phase, make sure the seedlings or cuttings receive ample light but avoid direct sunlight.
- Watering: Water when the soil starts to dry out, but avoid overwatering. Soggy soil can lead to root rot.
- Humidity: This plant thrives in humid conditions, so misting the leaves regularly or using a humidity dome will help.
- Fertilization: Once the seedlings or cuttings are rooted, you can start fertilizing them with a balanced liquid fertilizer during the growing season.
Beyond Propagation: Caring for Your Ochrosia
Once your Ochrosia bodenheimarum has established itself, here are some additional tips for keeping it healthy and happy:
- Repotting: Choose a well-draining pot with drainage holes. Repot your plant every 2-3 years into a pot just slightly larger than the previous one.
- Pruning: You can prune to shape your plant and maintain a desired size. It’s best to prune during the dormant season.
- Pest & Disease: Be on the lookout for common pests like mealybugs and spider mites. If you notice any pests or signs of disease, treat them quickly.
A Final Note:
Propagating Ochrosia bodenheimarum can be a rewarding and fulfilling experience, even if it requires a little patience and care. By understanding the propagation methods and following these tips, you can bring the beauty of this tropical gem to your very own home.
So, are you ready to unlock the secrets of Ochrosia bodenheimarum propagation and embark on a journey from seed to sapling? The journey may be long and arduous, but the reward – a magnificent, fragrant Ochrosia in your garden – is certainly worth it!