Unlocking the Secrets of Olearia Oporina Propagation: A Guide for Beginners
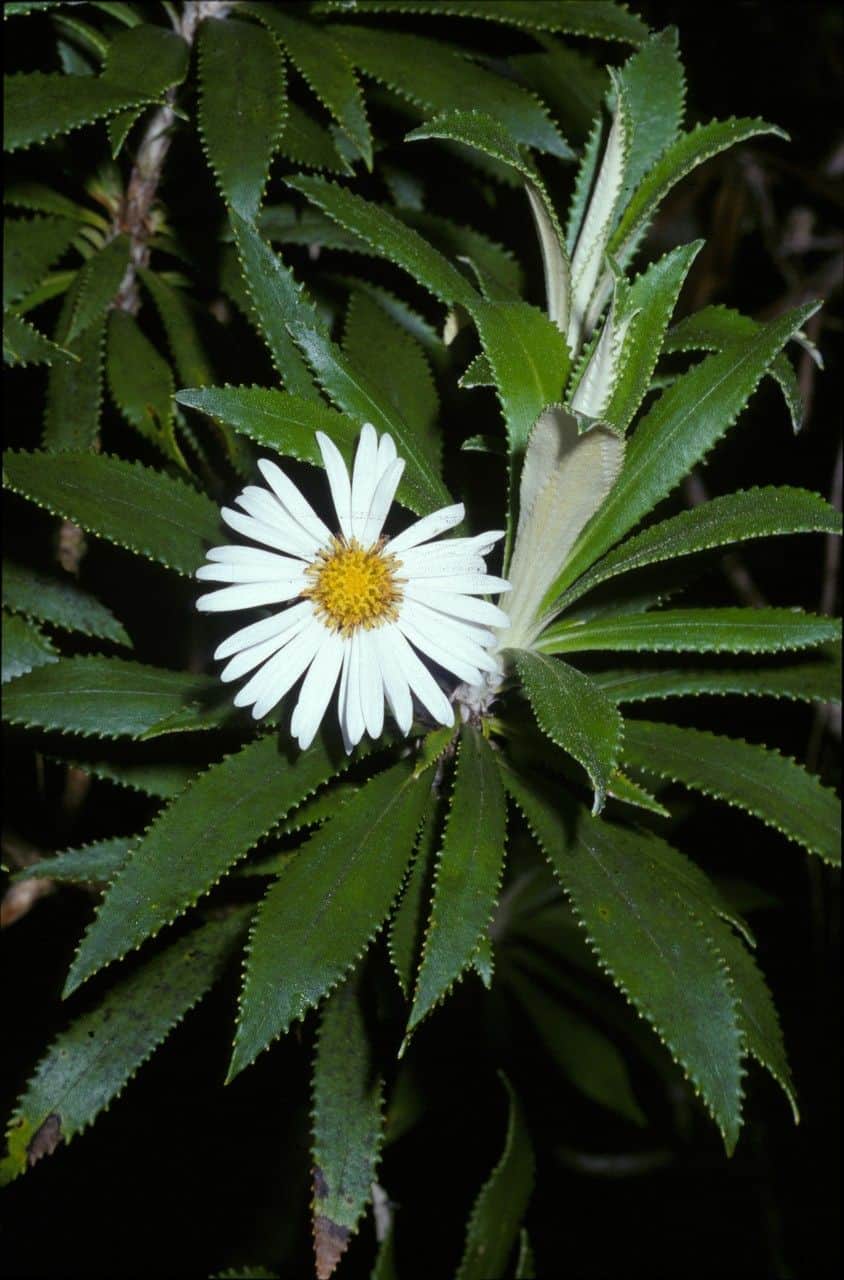
Olearia oporina, the captivating New Zealand daisy bush with its silver foliage and charming yellow blooms, isn’t just a feast for the eyes—it’s surprisingly easy to propagate, allowing you to expand your garden or share the joy with fellow plant enthusiasts. Whether you’re a seasoned gardener or a green thumb novice, this guide will provide you with all the information you need to successfully propagate Olearia oporina.
Two Paths to Propagation:
Olearia oporina can be propagated through two primary methods: seed propagation and cuttings. Each technique offers its unique advantages and challenges:
1. Seed Propagation:
- Best for: Those seeking a cost-effective method and a sense of accomplishment from nurturing a plant from its earliest stage.
- When: Late spring to early summer.
Process:
- Collect ripe seeds: Look for dried seed heads on the plant and gently collect the small, dark seeds.
- Sow seeds: Use a well-draining seed-starting mix and sprinkle the seeds over the surface, lightly pressing them down.
- Provide optimal conditions: Mist the soil surface and cover the tray with a plastic dome or wrap to retain moisture. Place in a warm, bright location out of direct sunlight.
- Transplant seedlings: Once the seedlings develop several sets of true leaves, transplant them into individual pots or your desired outdoor location.
- Pros: Cost-effective, rewarding.
- Cons: May not inherit all the characteristics of the parent plant, longer germination time.
2. Propagation from Cuttings:
- Best for: Preserving the exact characteristics of the parent plant and achieving faster results.
- When: Late spring to early summer.
Process:
- Select healthy stems: Choose non-flowering, healthy stems about 4-6 inches long, and make a clean cut just below a leaf node.
- Prepare cuttings: Remove the leaves from the bottom half of the stem. Dip the cut end in rooting hormone (optional but recommended).
- Plant cuttings: Insert the cuttings into a pot filled with a well-draining potting mix, ensuring the leaf nodes are buried.
- Encourage rooting: Water thoroughly and cover the pot with a plastic bag to create a humid environment. Place in a bright location out of direct sunlight.
- Transplant: After about 4-6 weeks, gently tug on the cuttings to check for resistance, indicating root development. Once rooted, transplant into individual pots or your desired outdoor location.
- Pros: Preserves parent plant traits, quicker results.
- Cons: Slightly more involved process than seed propagation.
Caring for Your New Propagations:
Regardless of your chosen propagation technique, remember to provide your new Olearia oporina plants with:
- Well-draining soil: This plant thrives in soil that doesn’t retain excess water.
- Ample sunlight: While tolerant of some shade, Olearia oporina flourishes in full sun to partial shade.
- Regular watering: Keep the soil consistently moist but not waterlogged.
- Protection from frost: While relatively hardy, young plants appreciate protection from harsh frost.
By following these simple steps, you can successfully propagate your own Olearia oporina and enjoy the captivating beauty of this New Zealand gem for years to come!