How to Multiply Your Beauty: Propagating Olearia Phlogopappa
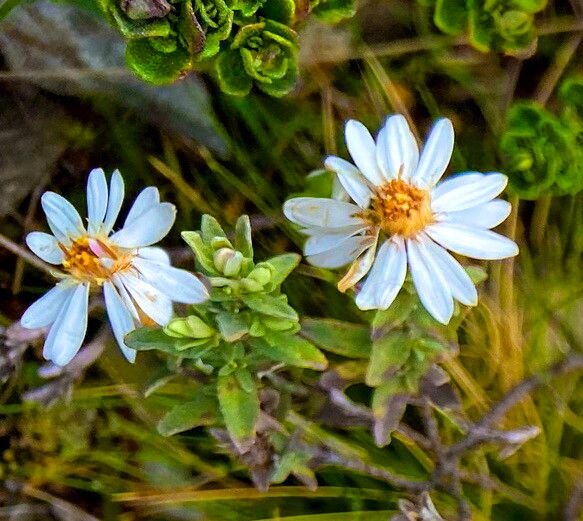
The Olearia phlogopappa, also known as the “Mountain Daisy Bush,” is a stunning shrub that’s a favorite among gardeners for its vibrant, daisy-like blooms and attractive foliage. But what if you could enjoy even more of this beauty in your garden? The answer lies in propagation! With a little knowledge and effort, you can easily create new plants from your existing Olearia phlogopappa, expanding your garden and sharing this captivating shrub with others.
Why Propagate?
Propagation offers several advantages over buying new plants:
- Cost-effectiveness: It’s significantly cheaper than purchasing new plants.
- Genetic consistency: You can guarantee new plants will possess the same traits as the parent plant.
- Increased plant numbers: This allows you to enjoy more of your favorite shrub in different parts of your garden.
- Sharing the joy: You can share your propagated plants with friends and family.
The Two Main Propagation Methods for Olearia Phlogopappa:
- Cuttings: This method involves taking a section of the plant’s stem and encouraging it to develop roots.
- Seed propagation: While possible, this method is less common because it requires a longer time for the seedlings to mature.
Let’s dive into the details of each method:
1. Propagation by Cuttings:
- Timing is Key: The best time to take cuttings is in the spring or early summer when the plant is actively growing. Choose healthy, non-flowering stems with firm, woody sections.
- Cuttings Preparation: Use a sharp knife or pruning shears to take cuttings, ideally 4-6 inches long. Remove the leaves from the bottom 2-3 inches.
- Hormone Boost: Dipping the cut ends in a rooting hormone powder will significantly increase the chances of successful root development.
- Planting Medium: Use a well-draining potting mix for your cuttings. Insert each cutting into a pot and firm the soil around it.
- Humidity and Temperature: Maintain a humid environment by placing the potted cuttings in a plastic bag or a humidity dome. Keeping the temperature around 70°F is optimal.
- Watering: Keep the soil consistently moist but not waterlogged.
- Patience: Rooting can take anywhere from 6 to 8 weeks. Once you see new growth, it’s a sign that roots have formed.
2. Propagation by Seed:
- Collecting Seeds: After the flowers fade, you can find the seeds within the seedheads. Harvest them and dry them in a cool, well-ventilated area.
- Sowing: Sow the seeds in a seed tray filled with a seed-starting mix. Lightly cover them with the mix and water them.
- Germination: Provide a warm and bright location for the seeds to germinate. It can take several weeks for them to sprout.
- Transplanting: Once the seedlings have developed a few true leaves, they can be transplanted into pots or directly in the garden bed.
Successful Propagation Tips:
- Sanitation: Always use clean tools and avoid contaminating the cuttings or seedlings with diseases.
- Environment: Ensure the right growing conditions for your Olearia phlogopappa. The plant prefers full sun to partial shade and well-drained soil.
- Regular Watering: Provide consistent moisture to the cuttings and seedlings without overwatering.
- Patience: Remember that propagation takes time. Don’t be discouraged if your first attempt doesn’t go perfectly. With practice and patience, you’ll become a pro at multiplying your beautiful Olearia phlogopappa.
By following these steps and giving your Olearia phlogopappa the right conditions, you can enjoy a thriving garden teeming with these bright, colorful shrubs! Remember, propagation is a rewarding hobby, and shared knowledge makes the garden bloom even brighter. So spread the love and share your propagation success with other plant enthusiasts!