Miniature Marvels, Maximum Impact: Multiplying Your Oncidium cheirophorum
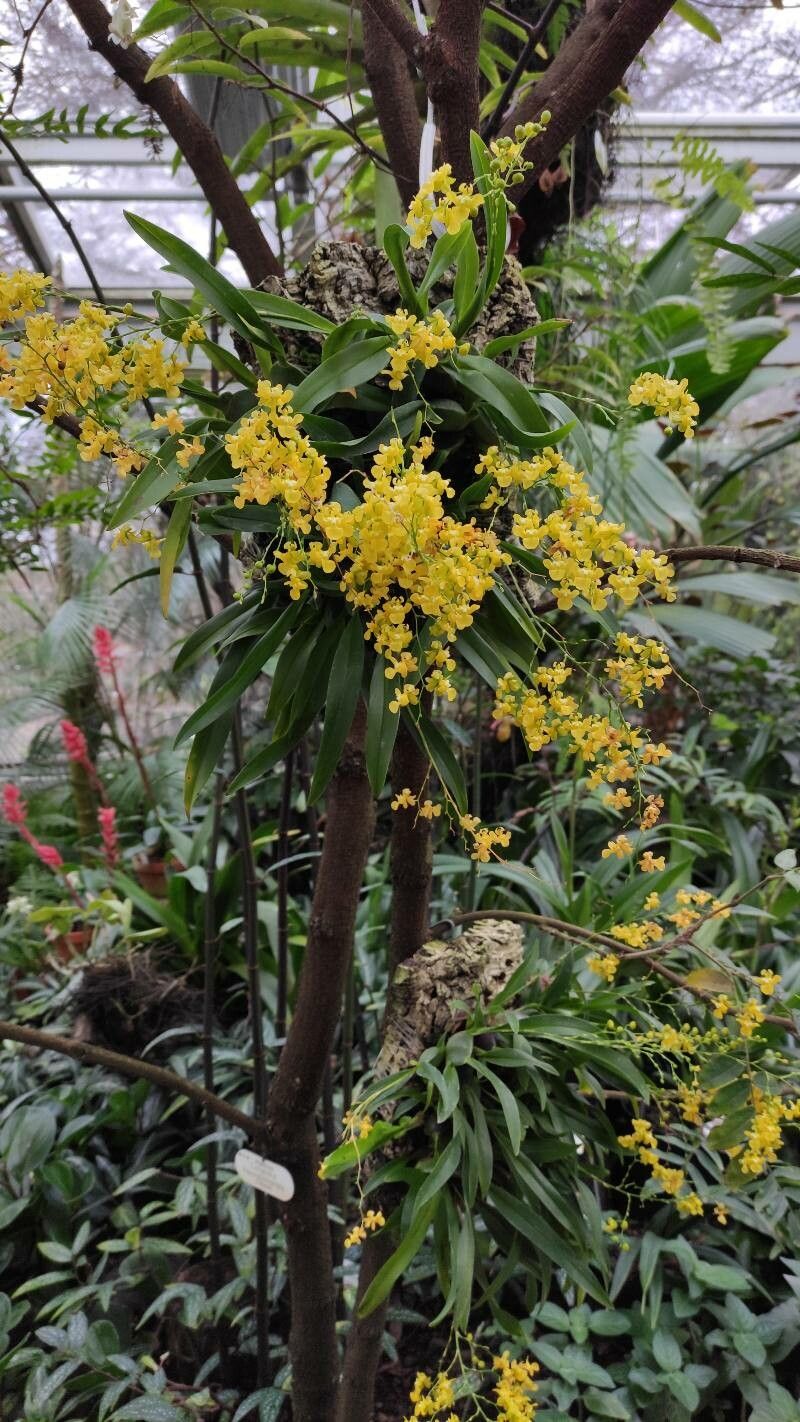
The Oncidium cheirophorum, with its cheerful sprays of miniature yellow blooms and sweet, honeyed fragrance, is a true charmer in the orchid world. Unlike some of its fussier cousins, this compact species is surprisingly easy to grow, making it a perfect choice for beginners and seasoned orchid enthusiasts alike. And the best part? Propagating Oncidium cheirophorum is a rewarding endeavor that allows you to expand your orchid collection with relative ease.
Understanding the Basics: Two Paths to Propagation
There are two primary methods for propagating Oncidium cheirophorum:
1. Division: This method involves separating a mature plant into multiple smaller plants, each with its own root system.
2. Keikis: Occasionally, Oncidium cheirophorum will surprise you with keikis, which are essentially baby plants that sprout from the nodes along the flower spike.
Division: Timing is Key
The optimal time for dividing your Oncidium cheirophorum is after it has finished blooming and is showing signs of new growth. This generally occurs in the spring. Here’s how to do it:
Step 1: Carefully remove the plant from its pot.
Step 2: Gently tease apart the roots, looking for natural divisions where the plant can be easily separated. Aim for divisions with at least 3-4 healthy pseudobulbs each.
Step 3: Using a sterilized cutting tool, carefully separate the divisions.
Step 4: Plant each division in a well-draining orchid potting mix, ensuring the base of the pseudobulbs is level with the surface of the medium.
Step 5: Water sparingly until new growth emerges, indicating the plant has established itself.
Keikis: Nature’s Little Miracles
Keikis are a delightful bonus for Oncidium cheirophorum owners. These miniature orchids will eventually develop their roots. Once the keiki has developed at least 3 roots that are 2-3 inches long, it’s ready for its independence.
Step 1: Using a sterilized cutting tool, carefully remove the keiki from the mother plant, ensuring a small portion of the flower spike remains attached.
Step 2: Plant the keiki in a small pot with a fine orchid mix, making sure the roots are comfortably spread.
Step 3: Maintain a humid environment and avoid overwatering.
Step 4: As the keiki matures and develops its root system, you can gradually transition it to a slightly larger pot.
Patience is a Virtue
Whether you’re propagating through division or keikis, it’s important to remember that patience is key. It may take several months for new plants to become fully established and produce their own stunning sprays of miniature blooms. But with a little TLC and the right know-how, you’ll soon have a flourishing collection of these fragrant, miniature marvels to brighten your home.