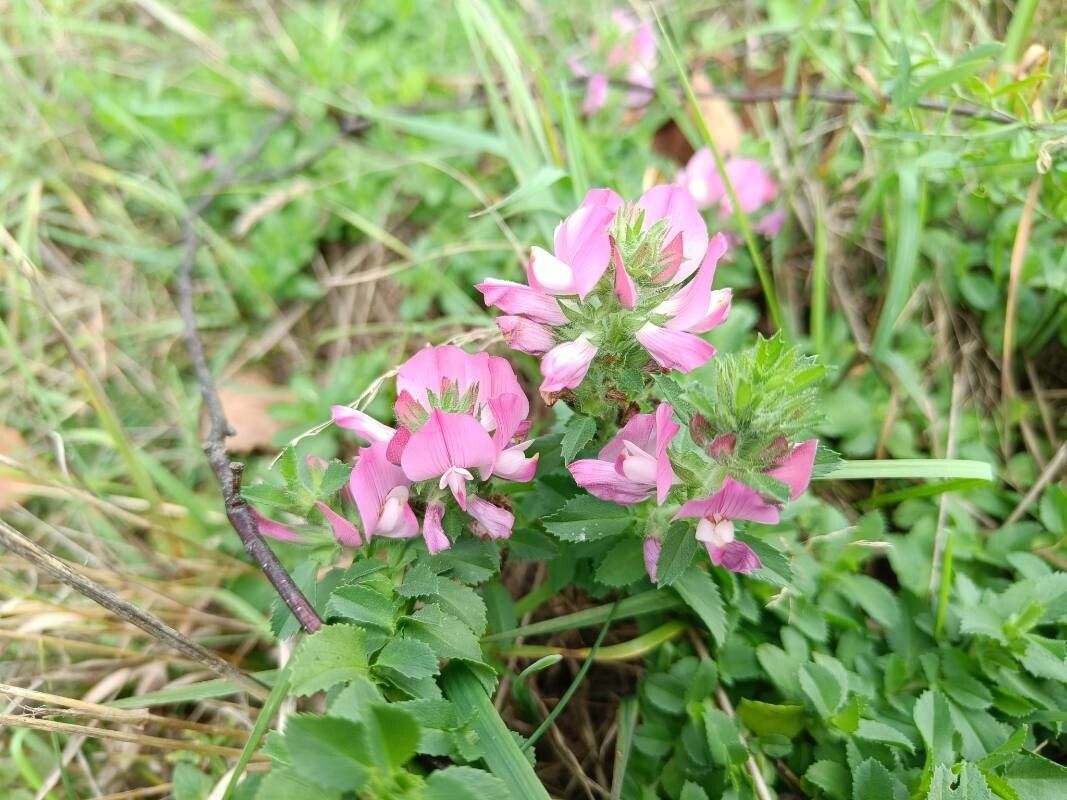
Taming the Wild: Propagating Restharrow (Ononis arvensis) in Your Garden
Restharrow, also known by its botanical name Ononis arvensis, is a charming wildflower native to Europe and parts of Asia. With its vibrant pink or purple blooms and delicate, clover-like leaves, it brings a touch of untamed beauty to any garden. While often found gracing meadows and roadsides, this hardy plant can be surprisingly easy to cultivate at home. Let’s delve into the world of restharrow propagation, exploring the techniques that will have you growing this delightful flower in no time.
Sowing the Seeds of Success
Propagating restharrow from seed is a rewarding experience that lets you witness the plant’s entire life cycle. Here’s how to do it:
1. Timing is Key: For best results, sow restharrow seeds in either the spring (after the last frost) or the fall. Autumn sowing allows the seeds to experience natural stratification, which can enhance germination rates.
2. Preparing the Seedbed: Restharrow prefers well-drained soil in a sunny location. Prepare your seedbed by removing any weeds and loosening the soil. If your soil is heavy clay, consider amending it with some sand or grit to improve drainage.
3. Sowing the Seeds: Scatter the seeds evenly over the prepared soil, lightly pressing them into the surface. Don’t bury them too deep, as they need light to germinate.
4. Patience is a Virtue: Germination can take anywhere from 2 to 4 weeks. Keep the soil consistently moist but not waterlogged during this time. Once the seedlings emerge, thin them out to ensure proper spacing, leaving about 12 inches between each plant.
Taking Cuttings: A Quicker Route
If you’re looking for a faster method, propagating restharrow from cuttings can be highly effective:
1. Timing is Everything: The best time to take cuttings is in the late spring or early summer, when the plant is actively growing.
2. Selecting the Perfect Cutting: Choose a healthy, non-flowering stem about 4-6 inches long. Make a clean cut just below a leaf node (where the leaf attaches to the stem).
3. Preparing the Cutting: Remove the lower leaves from the cutting, leaving a few at the top. Dip the cut end in rooting hormone powder (optional but recommended) to encourage root development.
4. Planting the Cutting: Insert the cutting into a pot filled with a well-draining potting mix, burying the bottom node. Water thoroughly and place the pot in a bright location, out of direct sunlight.
5. Rooting Success: Keep the soil consistently moist and be patient; rooting can take several weeks. Once the cutting shows signs of new growth, you can transplant it to its permanent location in the garden.
Caring for Your Restharrow
Restharrow is a relatively low-maintenance plant. Once established, it’s fairly drought tolerant but will benefit from occasional watering during dry periods. Deadheading spent blooms can encourage more flowering and prevent self-seeding, although allowing some seed heads to mature can provide a welcome source of food for birds.
By following these propagation techniques, you can introduce the captivating beauty of restharrow to your garden. Whether you choose the rewarding journey of starting from seed or the quicker route of cuttings, you’ll soon be enjoying the charm of these delightful wildflowers year after year.