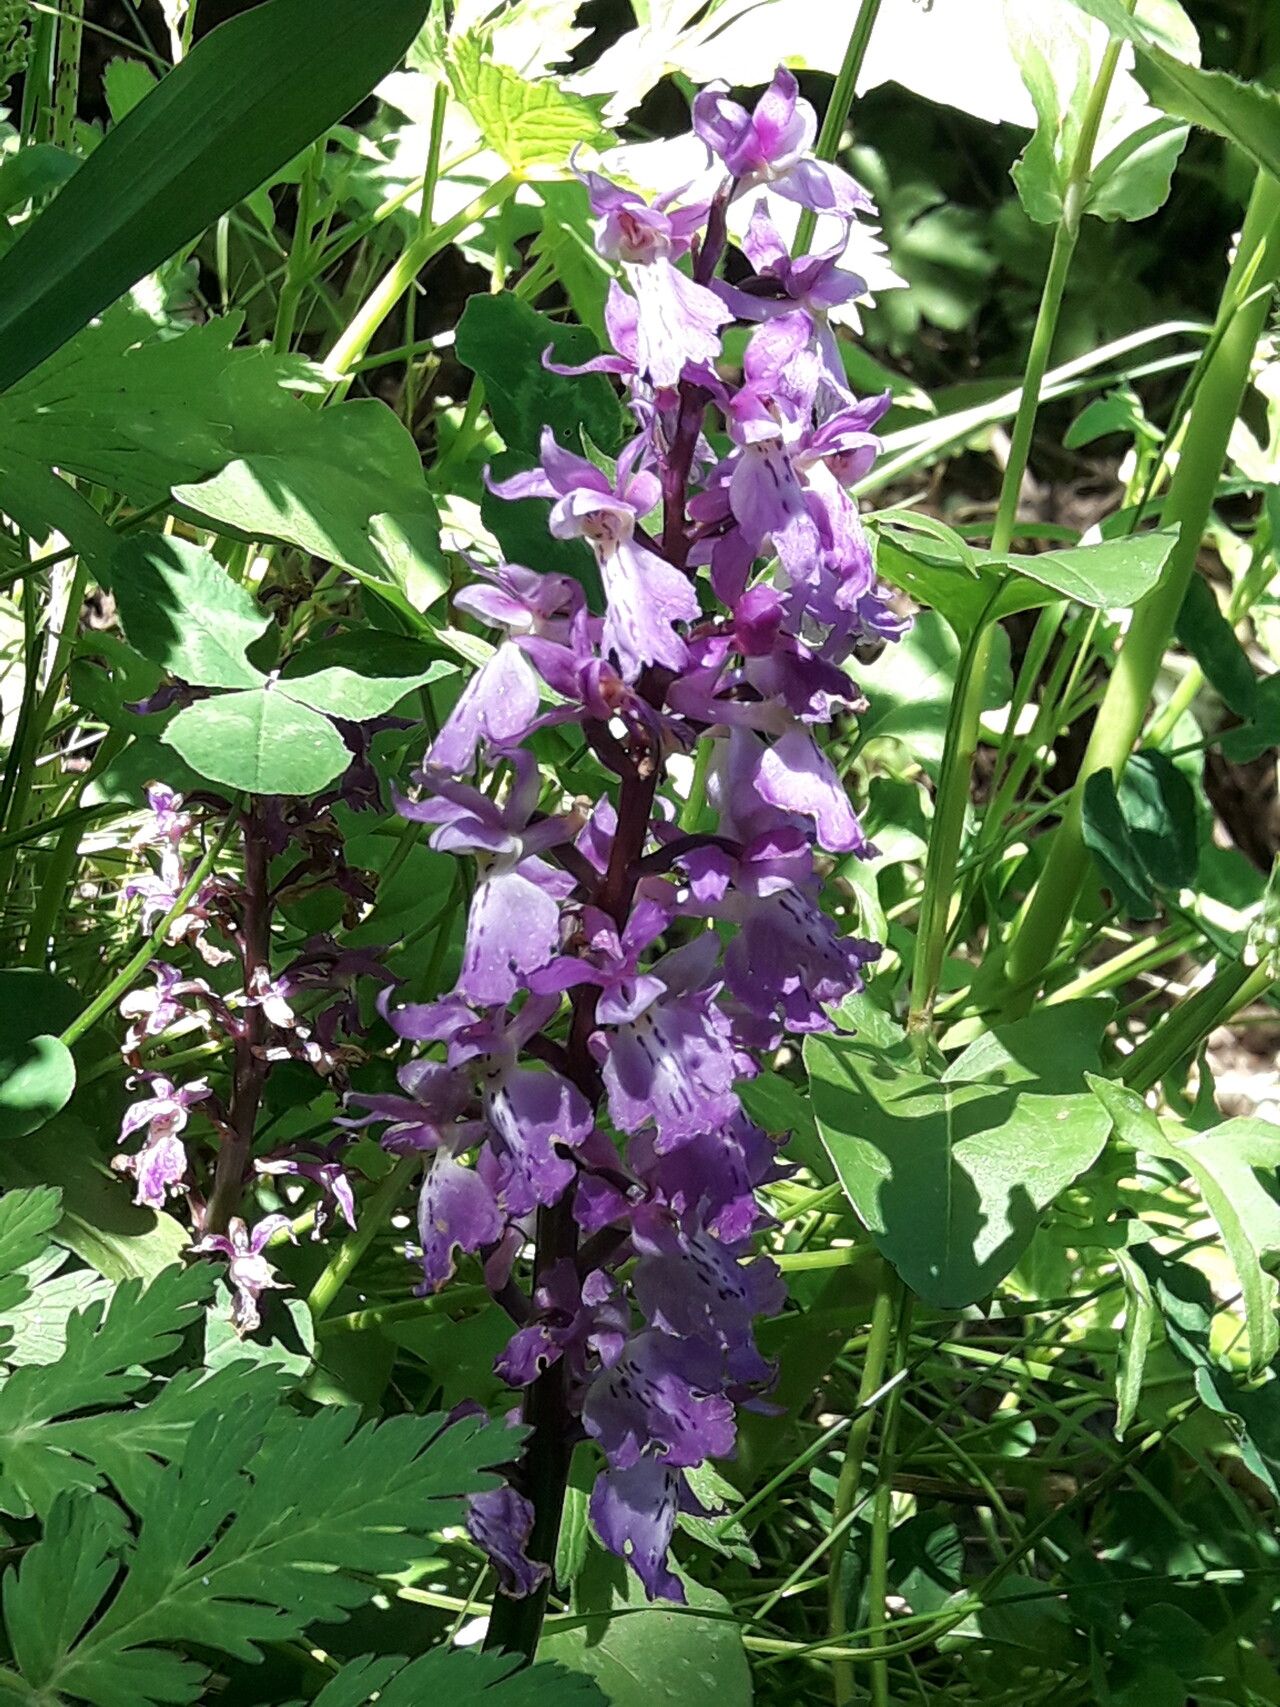
From Seed to Spectacle: Growing the Showy Orchis patens
The Orchis patens, with its vibrant purple blooms and captivating beauty, is a plant that draws the eye like a magnet. But how do you bring this floral spectacle into your own garden? The answer lies in the art of propagation, the process of creating new plants from existing ones.
While seeds are the most natural way to reproduce Orchis patens, they present a unique challenge. Unlike many garden plants, these orchids rely on a symbiotic relationship with mycorrhizal fungi for germination. These fungi provide essential nutrients to the seedling, essentially acting as a bridge between the young plant and the soil. This means simply scattering seeds in your garden isn’t enough.
The Seedling Symphony: A Partner in Growth
To give your Orchis patens seeds the best chance of success, you’ll need to involve their fungal partners. Here’s how to mimic their natural environment:
- The Right Mix: Begin by preparing a specialized seed-starting mix. Combine a high-quality seed-starting mix with a small amount of finely ground bark or pine needles. This provides the necessary structure for the fungi to thrive.
- Fungal Partner: The key to success lies in introducing the right mycorrhizal fungi. You can purchase these from reputable sources, often labeled for orchid propagation.
- The Sowing Ritual: Spread the seed mix evenly in a shallow container and sprinkle the seeds sparingly across the surface. Lightly mist the surface to moisten it and don’t cover the seeds, as they need light to germinate.
- The Waiting Game: Patience is key. Germination can take several months, sometimes even a year or more. Maintain a consistent temperature of 68-77 degrees Fahrenheit and ensure the soil remains slightly moist.
Beyond Seeds: The Division Method for Established Plants
If you’re seeking a quicker path to a blooming Orchis patens, consider dividing existing plants. This method is particularly useful for mature plants that have already developed a healthy root system:
- Timing is Key: The best time to divide your Orchis patens is in spring, just after new growth emerges. Carefully dig up the plant, taking care not to damage the delicate roots.
- The Divide: Using a sharp, clean knife or shovel, carefully separate the plant into two or more divisions, each possessing a healthy root system and at least one growing point.
- Replanting Ritual: Gently replant the separated divisions into well-prepared soil. Choose an area that receives dappled sunlight and replicates the native growing conditions, focusing on well-drained, slightly acidic soil.
Nurturing Your Orchids: From Seedlings to Stardom
Regardless of the method you choose, providing proper care is essential for the successful growth of your Orchis patens.
- Watering Wisely: Keep the soil consistently moist, but avoid overwatering, which can lead to root rot.
- A Touch of Fertilizer: Orchis patens appreciate a light application of balanced fertilizer during the growing season to support robust growth and showy blooms.
- Protection from Pests: Monitor for pests and diseases, taking appropriate action if necessary.
A Garden Full of Spectacle
Growing Orchis patens can be a rewarding experience, offering a glimpse into the intricate world of orchids and their symbiotic relationships. Whether you start from seeds or divide mature plants, remember that patience and meticulous care are the keys to success. As your Orchis patens flourishes, it will not only add a splash of vibrant color to your garden but also serve as a testament to the fascinating beauty of the natural world.