From Humble Seed to Thriving Beauty: Propagating Oreocarya virgata
Ever dreamed of having your own patch of the captivating Oreocarya virgata, with its delicate blooms and enchanting foliage? While finding this beautiful plant might not be a walk in the park, propagating it yourself is surprisingly achievable. This blog post will guide you through the ins and outs of bringing this rare gem to life, from seed to sprout to a thriving addition to your garden.
A Look at Oreocarya virgata
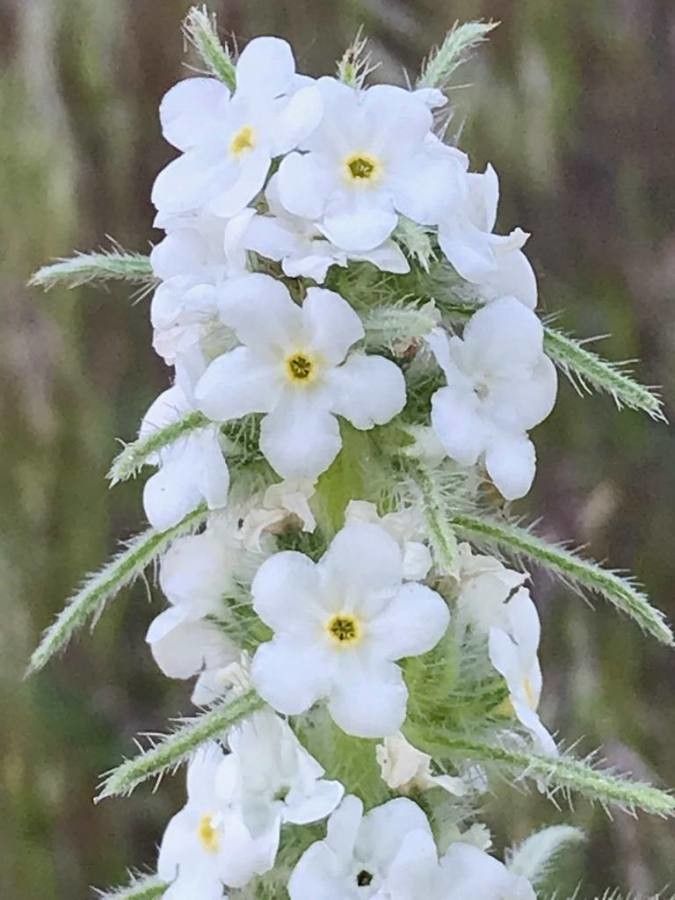
Known as the “curlyleaf popcorn flower” or “winged popcorn flower,” Oreocarya virgata is a captivating wildflower native to the western United States. Its beauty lies in its unique foliage – whimsical, fern-like leaves that curl at the edges, adding a touch of whimsy to any garden setting. But the true showstopper is its bloom – tiny, delicate white flowers nestled amongst the foliage, creating a delicate, ethereal effect.
Propagating Oreocarya virgata: A Step-by-Step Guide
1. Starting from Seed:
- Collecting Seeds: This is where the adventure begins! Collect seeds from mature plants in late summer or fall. Look for the seed pods containing tiny, hard seeds. These pods are typically brown and slightly fuzzy.
- Sowing the Seeds: The key to success with Oreocarya virgata lies in mimicking its natural habitat. Sow seeds directly into the garden in autumn. Cover them with a thin layer of soil, as they need light to germinate.
- Patience is Key: Be patient – germination can take a few weeks, even a few months, and requires consistent moisture.
2. Seedling Care:
- Sunlight and Moisture: Oreocarya virgata prefers full sun to partial shade. Keep the soil consistently moist during the germination process.
- Thinning: Once seedlings emerge, thin them out to provide ample space for growth. Leave about 6 inches between each plant.
3. Planting in the Garden:
- Time for Transplanting: Once the seedlings have a few true leaves, they’re ready to be transplanted to their permanent location. This is best done in early spring.
- Choosing the Right Spot: Select a site that receives plenty of sunlight and has well-draining soil. Amend the soil with compost for added nutrients.
- Planting Depth: Plant the seedlings about 1-2 inches deep, spacing them 12–18 inches apart. Water thoroughly after planting.
4. Care and Maintenance:
- Watering: Oreocarya virgata is relatively drought-tolerant but appreciates regular watering, especially during the first year.
- Fertilizing: No need for heavy fertilization. A light application of balanced fertilizer in early spring can give your plants a boost.
- Deadheading: Deadheading spent flowers encourages continued blooming. However, if you hope to collect seeds, leave some flower stalks untouched.
The Joys of Propagation:
With Oreocarya virgata, propagation is more than just a technical process, it’s a journey connecting you to the natural world. Witnessing a tiny seed transform into a vibrant, living plant is an incredibly rewarding experience.
Final Thoughts:
Propagating Oreocarya virgata allows you to cultivate this beautiful plant while contributing to its survival. While it may require a bit of patience, the effort is well worth it. You’ll be rewarded with a stunning addition to your garden, bringing a touch of wild beauty to your own slice of nature.