Unlocking the Secrets of Growing Oreocnide frutescens
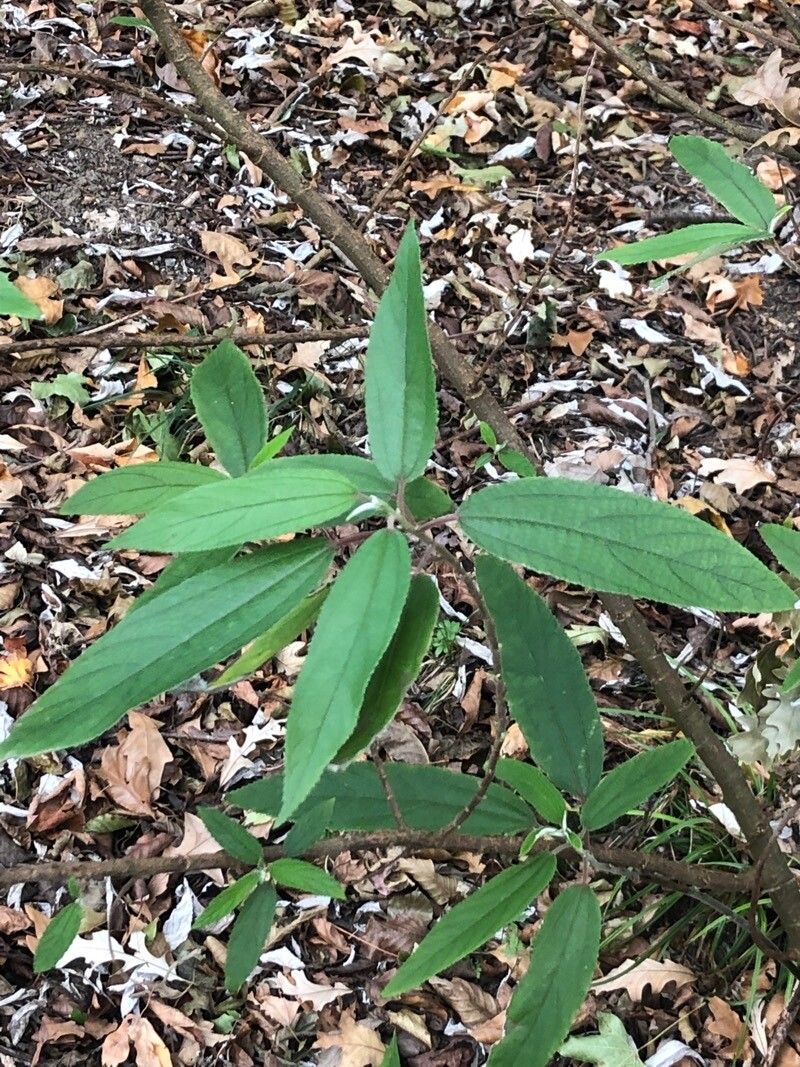
Oreocnide frutescens, also known as the “Island Urchin Plant”, might not yet be a household name in the gardening world, but this fascinating shrub has plenty to offer. Native to East Asia and parts of Oceania, it boasts lush, textured foliage and thrives in shaded areas, making it a unique and versatile addition to gardens within its hardiness zones. If you’re lucky enough to get your hands on this intriguing species, you might be wondering: what’s the best way to propagate it?
While Oreocnide frutescens can be a bit tricky to find commercially, its propagation isn’t as intimidating as its scientific name might suggest. Here’s a breakdown of the two most effective techniques:
1. Seed Propagation: A Rewarding Challenge
Propagating Oreocnide frutescens from seed is definitely the more adventurous route, and it requires a bit of patience. Here’s how it’s done:
- Seed Collection: Seeds are best collected from ripe fruits directly from the plant. Since this species is not very common, finding a mature plant with fruits might be your biggest hurdle.
- Seed Preparation: Once you have the seeds, soak them in warm water for 24 hours. This helps to soften the outer coating and improve germination rates.
- Sowing: Use a well-draining seed starting mix and sow the seeds shallowly, barely covering them with the mixture.
- Conditions: Keep the soil consistently moist and place the seed tray in a warm, brightly lit area, but out of direct sunlight.
- Germination: Be patient! Germination can take anywhere from a few weeks to a couple of months.
2. Semi-Hardwood Cuttings: The Path of Least Resistance
Propagating Oreocnide frutescens from semi-hardwood cuttings is generally considered the more reliable method. Here’s a step-by-step guide:
- Timing: Take your cuttings during the late spring or early summer when the plant is actively growing.
- Selecting Cuttings: Look for healthy, non-flowering stems that are about 4-6 inches long. Ideally, choose stems with new growth at the tip.
- Preparing Cuttings: Remove the leaves from the lower two-thirds of the stem. Make a clean cut just below a leaf node.
- Rooting Hormone (Optional): While not essential, dipping the cut end in rooting hormone can enhance success rates.
- Planting: Stick the prepared cuttings into a pot filled with a well-draining, moist rooting mix (a mixture of perlite and peat moss works well).
- Environment: Cover the pot with a plastic bag or humidity dome to maintain moisture. Place the pot in a brightly lit area, but out of direct sunlight.
- Rooting: Roots should develop within 4-8 weeks. You can gently tug on the cutting to check for resistance, which indicates rooting.
Essential Care Tips for Young Plants
Regardless of the propagation method, newly established Oreocnide frutescens plants require consistent care to thrive:
- Light: While they tolerate shade, providing some morning sun or bright, indirect light will keep these plants happy and lush.
- Water: Maintain evenly moist soil, but avoid overwatering, which can lead to root rot.
- Humidity: As this species is native to humid environments, providing some extra humidity, especially during dry periods, can be beneficial. Misting the plant or placing the pot on a pebble tray with water can help.
Propagating Oreocnide frutescens is a rewarding endeavor for any plant enthusiast. With a bit of patience and care, you can successfully multiply your collection of this unique and beautiful shrub. Who knows, you might even help popularize this hidden gem of the plant world!