Unlocking the Secrets of Propagation: How to Grow Your Own Oreomunnea Pterocarpa
The Oreomunnea pterocarpa, a stunning tree native to Central America, is captivating the hearts of plant enthusiasts with its distinctive foliage and unique beauty. But for many, the desire to bring this arboreal wonder into their garden starts with a question: can I propagate it myself? The good news is, yes you can! While it may take a bit of patience and the right techniques, propagating this fascinating tree is entirely achievable.
Let’s delve into the methods and understand why this particular plant presents some unique challenges:
The Challenges:
- Seed Dormancy: The primary hurdle with propagating Oreomunnea pterocarpa lies in the seed’s dormancy. These seeds have a tough outer shell, which prevents them from absorbing water efficiently. This natural defense mechanism ensures the seed germinates at the perfect time in its natural environment.
- Slow Growth: Even after successful germination, Oreomunnea pterocarpa is known for its slow growth rate. This is perfectly normal for the species, but it requires patience and understanding.
The Methods:
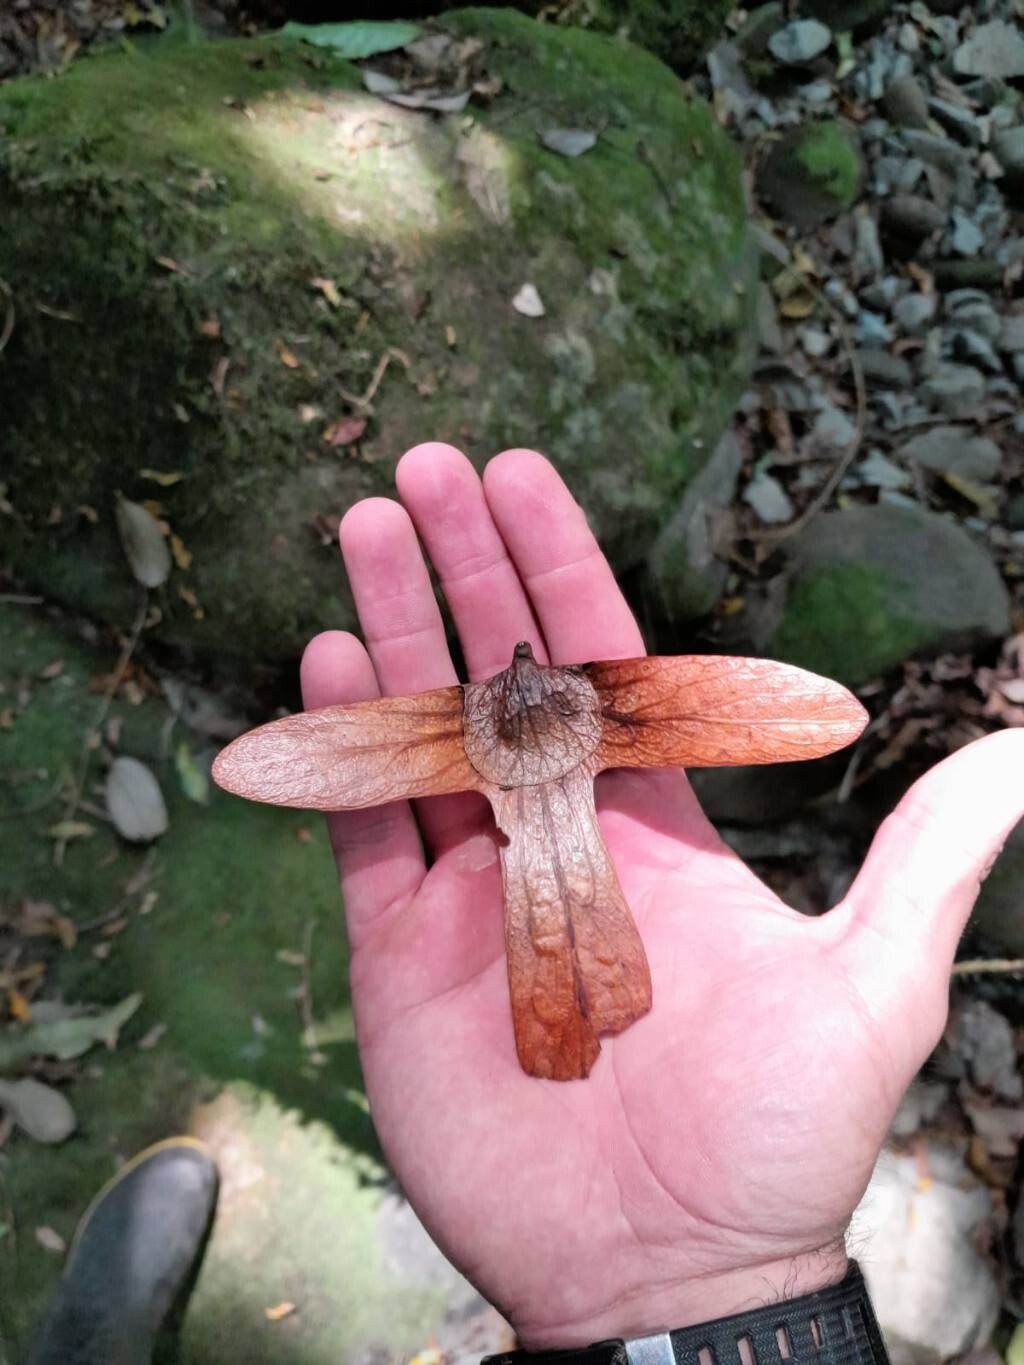
1. Seed Propagation:
- Scarification: The first step to overcome seed dormancy involves scarification. This process weakens the seed’s outer shell, allowing for better water absorption. You can achieve this by using sandpaper, a file, or even a nail file to gently rub the seed’s surface. Be careful not to damage the inner part of the seed.
- Stratification: After scarification, you can increase your chances of germination by stratifying the seeds. This process simulates winter conditions, which are often a trigger for germination. To do this, keep the seeds moist in a refrigerator at 40°F for about 8-12 weeks.
- Sowing: Once stratified, sow the seeds in a well-draining seed starting mix. These seeds prefer bright, indirect light and warm temperatures. Ensure the soil moisture is consistently maintained, but don’t overwater. It can take weeks, even months, for germination to occur.
2. Air Layering:
- Selection: This method is particularly suitable for Oreomunnea pterocarpa due to its propensity for producing adventitious roots. Select a healthy branch that’s at least one year old and about ½ inch in diameter.
- Preparation: Make a shallow cut on the branch, about halfway through its diameter. Apply rooting hormone to the cut surface and cover it with moistened sphagnum moss. Wrap the moss with clear plastic wrap to create a humid environment. Ensure the plastic wrap is securely tied at both ends.
- Patience: Keep the sphagnum moss consistently moist and wait for roots to develop, which can take several months. After roots have formed, carefully sever the layered branch from the mother plant and pot it in a well-draining soil mixture.
Tips for Success:
- Moisture is Key: Consistency is crucial in maintaining moisture levels for both seed germination and air layering.
- Patience and Observation: This species is known for its slow growth, so patience and observation are key. Do not be disheartened if germination or root development takes a while. Pay attention to the plants’ needs throughout the process.
- Choose a Suitable Location: Oreomunnea pterocarpa thrives in locations with ample sunlight and well-draining soil.
Conclusion:
Propagating your own Oreomunnea pterocarpa is a rewarding journey. While it requires a commitment to patience and careful attention, these methods offer a fulfilling way to enjoy the beauty of this unique tree. Remember, every successful propagation is a testament to your dedication and knowledge of the intricacies of plant growth. So, arm yourself with the information, gather your tools, and embark on your own propagation adventure to bring the vibrant spirit of the Oreomunnea pterocarpa into your garden.