From One to Many: Unlocking the Secrets of Otatea Acuminata Propagation
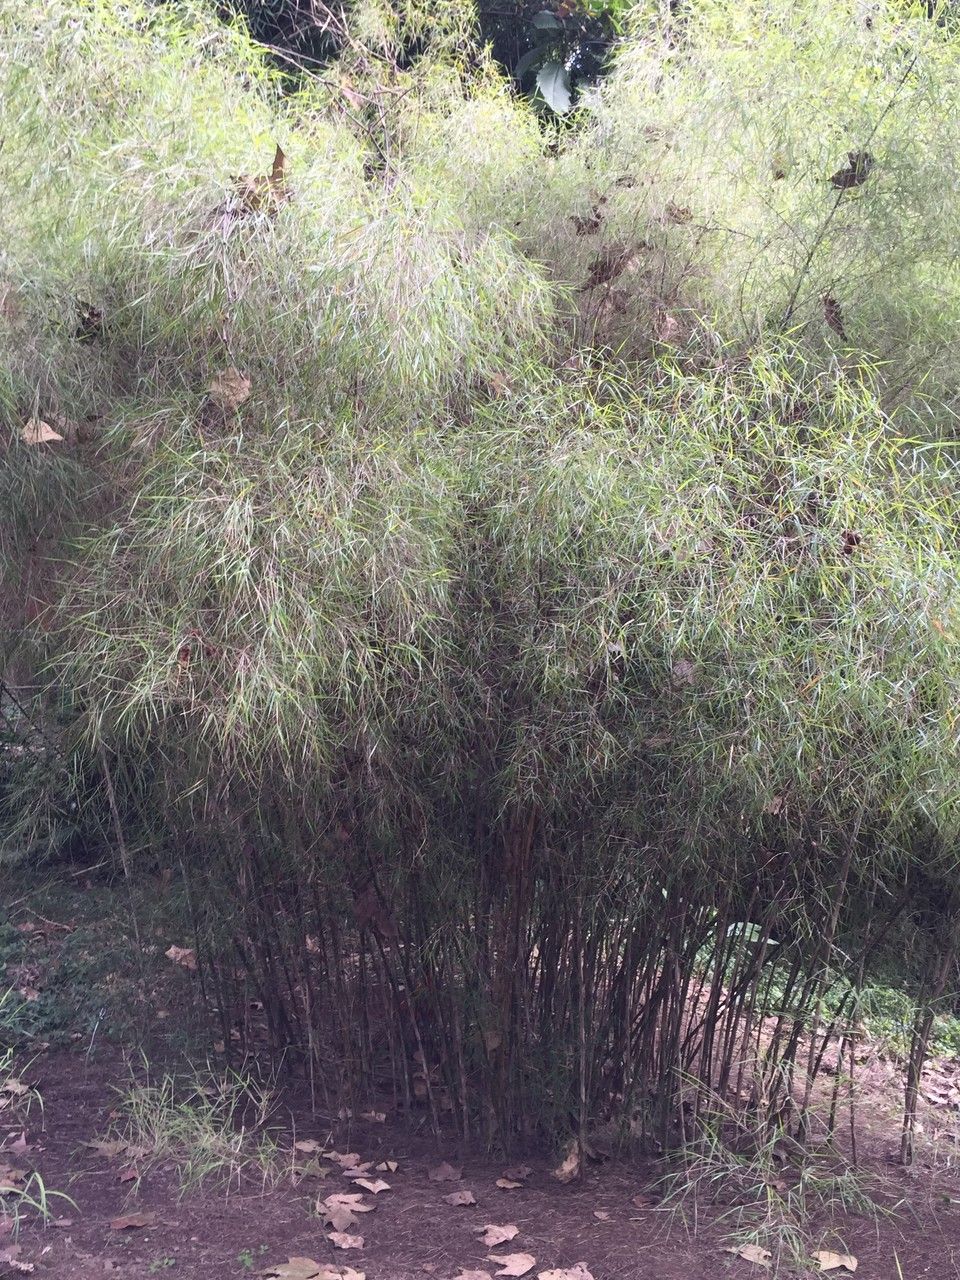
The Otatea acuminata, with its feathery foliage and graceful bamboo-like form, is a captivating plant that adds a touch of tropical elegance to any garden. But what if you could share this beauty with others, or simply expand your own collection? That’s where propagation comes in – the art of creating new plants from existing ones.
While Otatea acuminata might seem like a tricky plant to propagate, it’s actually relatively straightforward when you understand the right methods. In this blog post, we’ll delve into the world of Otatea acuminata propagation, unraveling the mysteries and providing you with step-by-step instructions for success.
Three Methods to Grow Your Own Otatea Acuminata Paradise:
Division: This method is easiest when you have a mature clump of Otatea acuminata.
- Timing: Spring is the ideal time for division, when the plant is actively growing.
- Process:
- Gently dig around the base of the clump, exposing its root system.
- Carefully separate a portion of the clump with a sharp knife or shovel, ensuring each section has healthy roots and shoots.
- Replant the divided sections in well-drained soil, providing adequate space for growth.
Cuttings: This method allows you to quickly propagate a new plant from a single stem.
- Timing: Early spring is the best time for taking cuttings.
- Process:
- Choose a healthy, non-flowering stem from the current year’s growth.
- Cut a section of the stem about 6-8 inches long, just below a node (where leaves emerge).
- Remove the leaves from the bottom 2-3 inches of the stem.
- Dip the cut end in rooting hormone (optional but recommended).
- Insert the cutting into a pot filled with moist rooting medium (soil-less mix or perlite).
- Cover the pot with a plastic bag or dome to create a humid environment.
- Place the pot in a bright, indirect light location and keep the rooting medium consistently moist.
- Roots should develop within a few weeks.
- Seed Propagation: While not as common, Otatea acuminata can also be grown from seeds.
- Timing: Sow seeds in spring or autumn.
- Process:
- Scarify the seeds (lightly nick the seed coat) to aid in germination.
- Sow the seeds in a seed tray filled with a well-draining seed starting mix.
- Keep the soil moist and warm (70-75° F).
- Germination can take several weeks to several months.
- Once seedlings have developed a few sets of true leaves, transplant them into individual pots.
Nurturing Your New Plants: Once your Otatea acuminata babies have rooted, it’s crucial to provide them with the best possible care.
- Sunlight: Otatea acuminata thrives in partial shade to full sun.
- Watering: Water regularly, allowing the soil to dry slightly between waterings.
- Fertilizing: Apply a balanced fertilizer every few weeks during the growing season.
Patience and Perseverance: Propagation is a rewarding experience, but it does require patience and attention. Don’t get discouraged if your first attempt isn’t successful. With each try, you’ll learn more about the nuances of Otatea acuminata propagation, eventually growing your own lush and thriving collection.
Enjoy the Journey: The process of propagating your own Otatea acuminata adds a whole new layer of enjoyment to gardening. Witnessing the transformation from a small cutting to a robust, vibrant plant is a truly gratifying experience.
So, grab your gardening gloves, get ready to get your hands dirty, and embark on your Otatea acuminata propagation adventure – you won’t regret it!