“Baby, It’s Cold Outside?” Not for Othonna Triplinervia: Easy Propagation for This Succulent Star
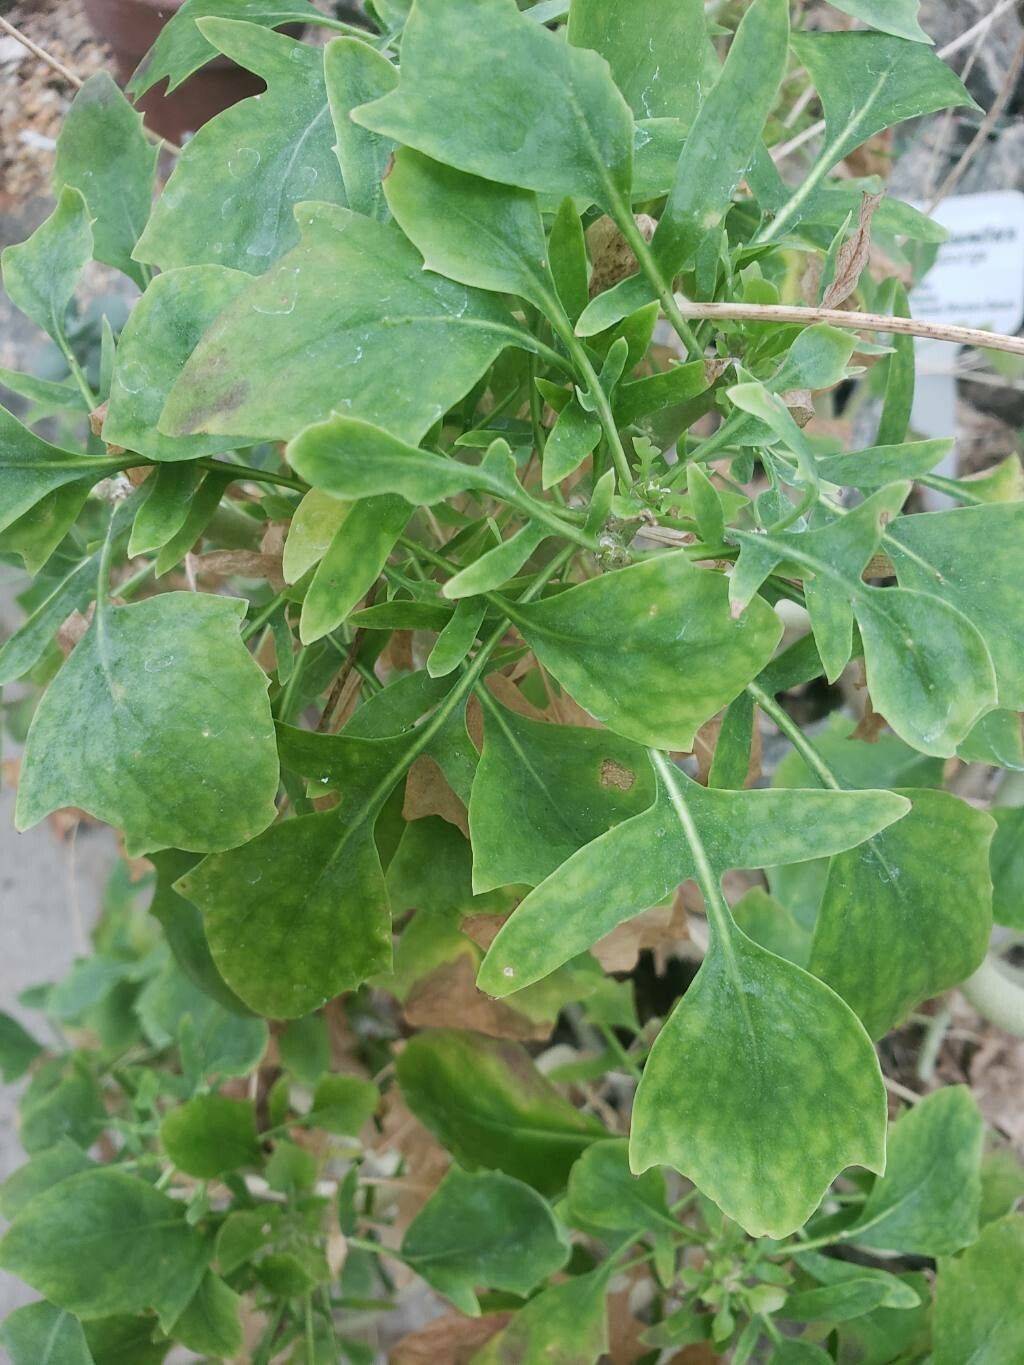
If you’re drawn to the charming, miniature, and wonderfully unique Othonna triplinervia, you’re in for a treat! This small succulent, also known as the “Little Pickles” plant, features tiny, bright green, pickle-shaped leaves that cascade beautifully from its trailing stems. But what truly makes Othonna triplinervia so special? Its remarkable ease of propagation!
This blog post will walk you through the simple steps to start your own Othonna triplinervia babies, giving you the chance to expand your collection or share your succulent love with friends.
Stem Cuttings: The Easy Way In
Othonna triplinervia readily propagates from stem cuttings, making it a breeze for even beginner plant parents.
- Step 1: Snip and Prep: Using a sharp, clean pair of scissors or a knife, cut a 2-3 inch section of healthy stem from your Othonna triplinervia. Remove any leaves from the bottom inch of the stem. This will encourage root growth.
- Step 2: Let It Dry: Allow the cut end of the stem to callous over for a few days. This helps prevent rot during the rooting process.
- Step 3: Rooting Medium: Choose your rooting medium: You can use a mixture of succulent potting soil and perlite, or simply water.
- Step 4: Plant and Wait: Gently insert the calloused end of the stem into your rooting medium. Water lightly, and place your cutting in a bright location with indirect sunlight. Keep the soil slightly moist but not soggy.
- Step 5: Patience Is Key: Within a few weeks, you should see new roots developing. Once roots are established, you can pot your new plant in a small pot with well-draining succulent soil.
Leaf Cuttings: A Fun Alternative
You can also propagate Othonna triplinervia using leaf cuttings. This method is a bit slower but equally rewarding.
- Step 1: The Pinch Technique: Gently pinch or cut off a healthy leaf from your plant. Make sure you have a small portion of stem attached to the leaf.
- Step 2: Air-Drying: Allow the leaf cutting to dry briefly for a couple of days. This helps prevent rot and allows a callus to develop where the leaf was removed.
- Step 3: Prepare the Medium: You can use a mixture of succulent soil and perlite, or simply place the leaf cutting on top of a dry cactus mix.
- Step 4: Placement and Water: Place the cuttings in a bright spot with indirect sunlight. Mist the surface of the soil or cactus mix lightly every few days.
- Step 5: Patience Pays Off: Within a few weeks, you may see tiny plantlets developing at the base of the leaf. Once they’ve grown a little, you can gently detach them and pot them separately.
Tips for Success
- Water Responsibly: Avoid overwatering, as this can lead to root rot. Let the soil dry out slightly between waterings.
- Bright Indirect Sunlight: Othonna triplinervia thrives in bright locations with indirect sunlight. Avoid direct sunlight, which can scorch the leaves.
- Fertilize Once a Month: During the growing season (spring and summer), you can fertilize your Othonna triplinervia with a diluted succulent fertilizer once a month. This will promote healthy growth.
Enjoy Your New “Little Pickles”
With its charming appearance and easy propagation, Othonna triplinervia is a fantastic choice for beginners and seasoned plant enthusiasts alike. Enjoy the journey of nurturing these succulent gems, and share the joy of sharing your plant babies with others. Happy propagating!