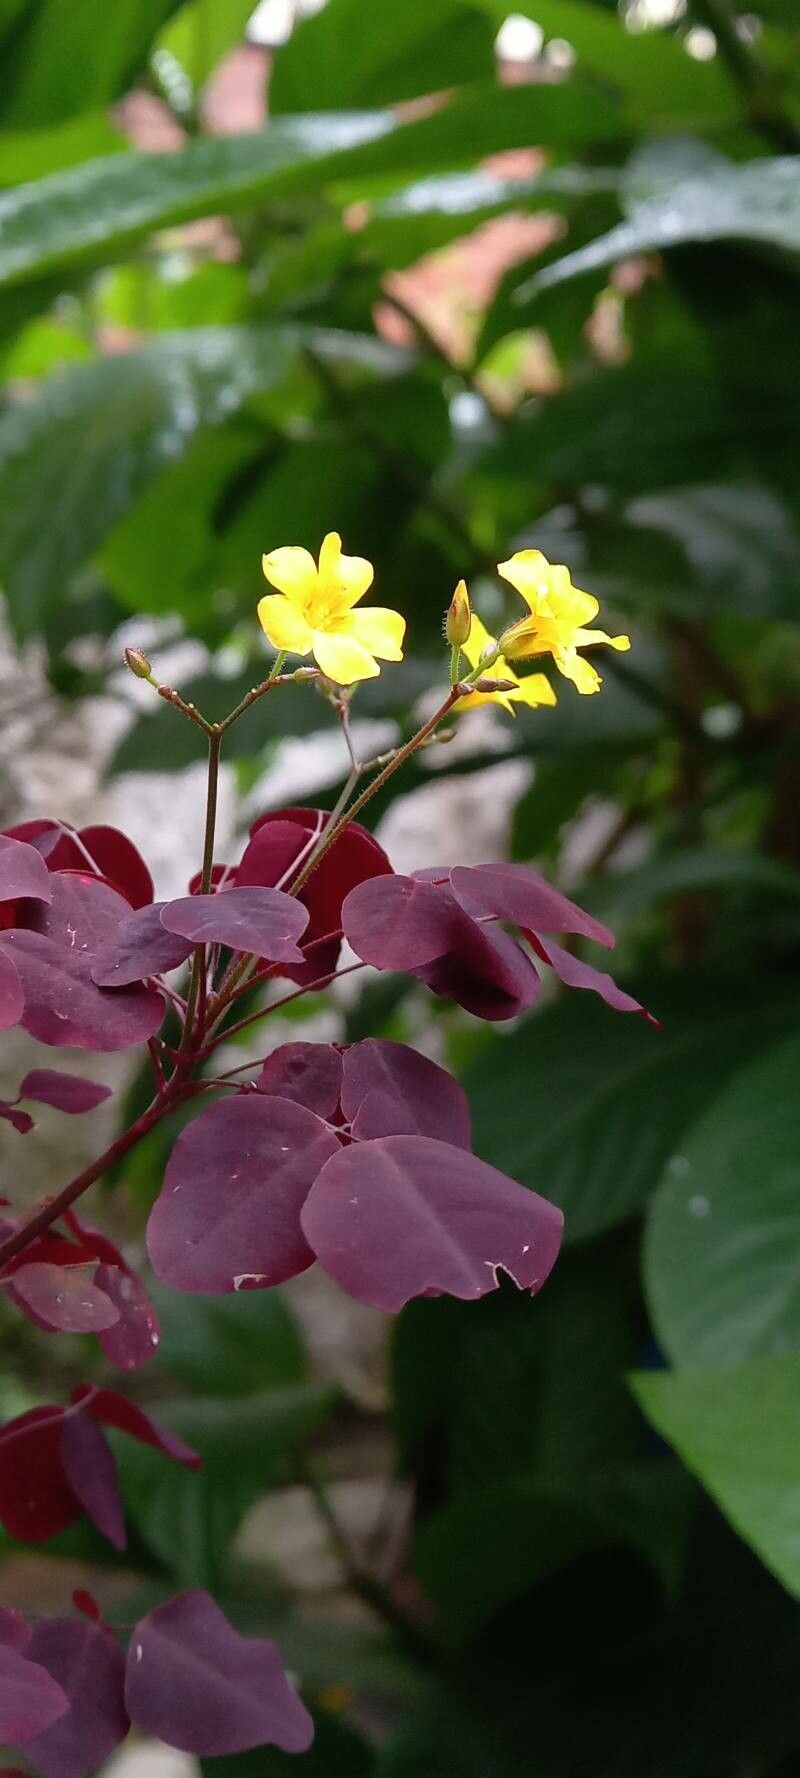
Unfold the Magic: How to Propagate the Enchanting “Shamrock” Plant (Oxalis hedysarifolia)
If you’ve ever been captivated by the delicate beauty of the “Shamrock” plant, Oxalis hedysarifolia, you’re not alone. These petite, three-leafed wonders, with their charming purple blooms, are a joy to behold. But what if we told you that growing new “Shamrock” plants from your own is just as easy?
That’s right, propagation of Oxalis hedysarifolia is a breeze, and it’s a delightful way to share the joy of these charming plants with others. Whether you’re a seasoned gardener or a curious beginner, this guide will empower you to unveil the secrets of propagation and create a thriving colony of these miniature beauties.
The Charm of “Shamrock” Plant Propagation:
- Easy and Accessible: Unlike other plants that require specialized techniques, “Shamrock” propagation is a straightforward process that even beginners can master.
- Abundant New Growth: With just a few leaves or bulbs, you can generate an entire new generation of plants to brighten your home or share with friends.
- Cost-effective: Starting new plants from parent material is a frugal way to expand your green collection without breaking the bank.
Methods of Propagation:
1. Leaf Cuttings:
- Preparation: Carefully detach a healthy leaf from your “Shamrock” plant, ensuring it has a short stem attached.
- Planting: Dip the stem end in rooting hormone (optional) and place it in a pot filled with a well-drained potting mix. Gently press the stem into the soil, leaving the leaf exposed.
- Care: Keep the soil consistently moist and provide bright, indirect light. New growth should emerge within a few weeks.
2. Bulb Division:
- Preparation: Carefully remove the “Shamrock” plant from its pot and gently separate the bulbs.
- Planting: Plant each bulb in a separate pot with well-draining potting mix, ensuring the tip of the bulb is slightly above the soil level.
- Care: Water thoroughly and wait for new shoots to emerge. Keep the soil moist and provide bright, indirect light.
3. Seed Propagation:
- Preparation: “Shamrock” plants produce seedpods containing tiny seeds. Allow the seedpods to dry completely on the plant, then harvest them.
- Planting: Sow the seeds in a seed tray filled with a well-draining potting mix. Keep the soil consistently moist and provide bright, indirect light.
- Care: Germination can take several weeks, but be patient! Once seedlings appear, thin them out to give each plant adequate space to grow.
Expert Tips for Success:
- Timing is Key: The best time to propagate “Shamrock” plants is during the growing season, typically spring or early summer.
- Light is Essential: Provide bright, indirect light to encourage healthy root development and growth.
- Water Wisely: Keep the soil consistently moist but avoid overwatering, as this could lead to root rot.
- Patience is a Virtue: Give your new “Shamrock” plants time to establish themselves.
Conclusion:
Propagating your own “Shamrock” plants is a rewarding and captivating experience. This simple guide has demystified the process, empowering you to create a vibrant collection of these enchanting miniature wonders. Choose your preferred method, embrace the joy of creation, and enjoy the beauty of these delightful houseplants for years to come.