Taming the Marlborough Rock Daisy: Propagating the Majestic Pachystegia Insignis
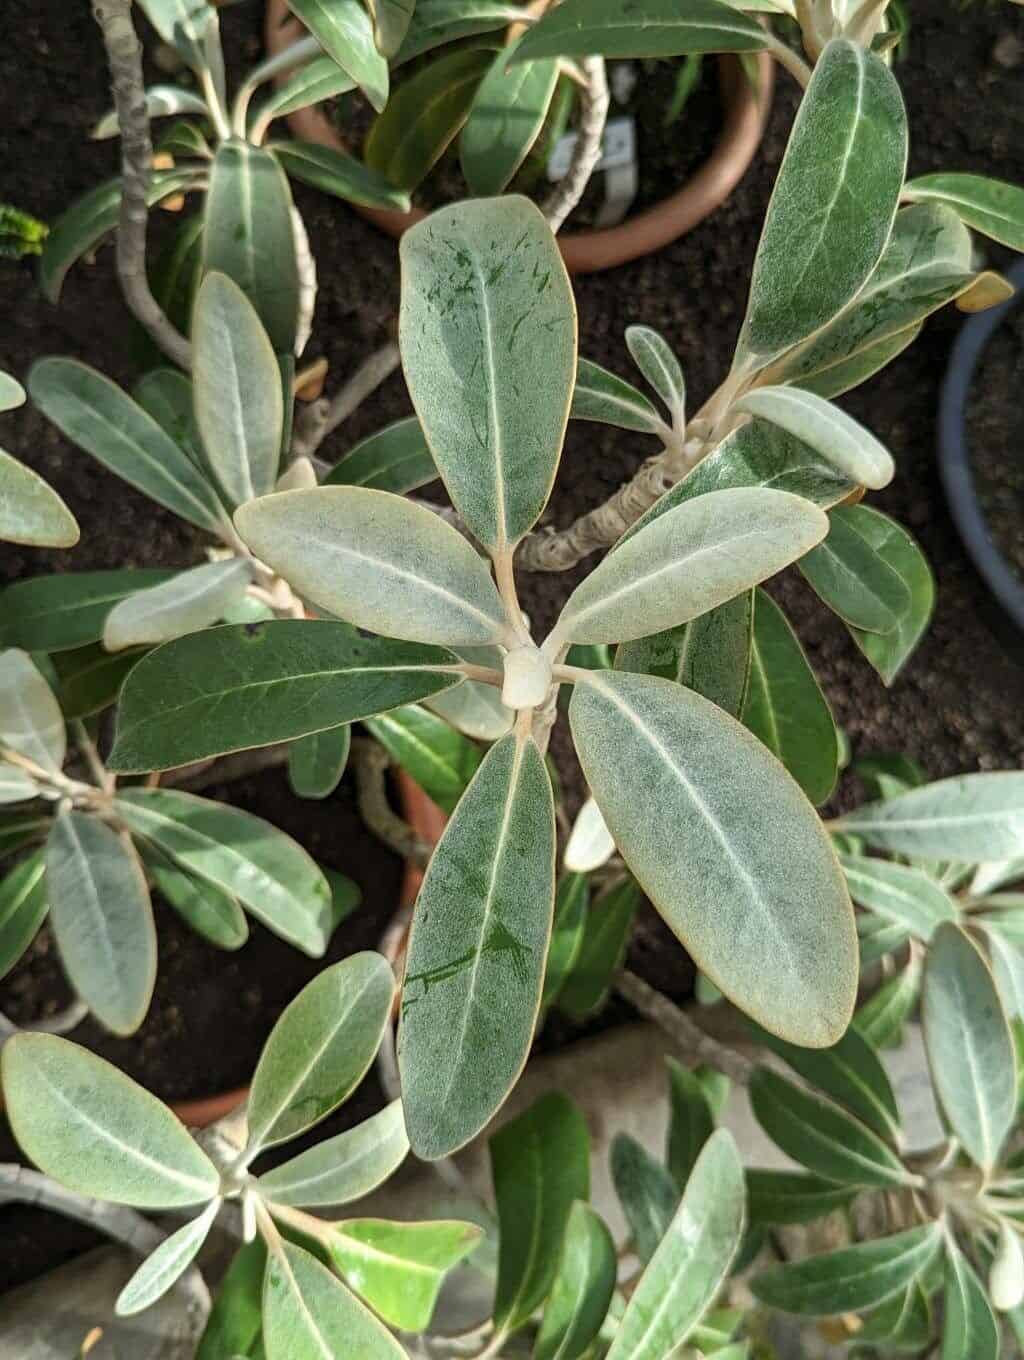
The Pachystegia insignis, more affectionately known as the Marlborough rock daisy, is a sight to behold. Native to New Zealand, this remarkable plant clings to dry, rocky landscapes, bursting forth with a profusion of white, daisy-like flowers in spring. Its resilience and unique beauty make it a coveted addition to gardens, but cultivating this wildflower can feel like a thrilling challenge.
While acquiring established plants is possible, propagating your own Pachystegia insignis offers a rewarding journey for any plant enthusiast. The key to success lies in understanding the plant’s natural preferences and replicating them with patience and care. Let’s explore the most effective propagation methods for this captivating species.
Seed Starting: A Test of Patience
Propagating Pachystegia insignis from seeds requires dedication, as germination can be slow and somewhat unpredictable. Here’s how to maximize your chances:
- Source Fresh Seeds: Opt for fresh seeds from a reputable supplier or, better yet, collect them yourself after the flowers fade and seed heads mature.
- Prepare Well-Draining Soil: Mimic the plant’s natural environment by using a free-draining seed raising mix. A blend of pumice, sand, and seedling compost works well.
- Sow Superficially: Scatter the seeds on the surface of the moistened mix and press them in gently. Do not bury them, as they require light for germination.
- Provide Warmth and Moisture: Place the seed tray in a warm, well-lit location, ensuring the soil remains consistently moist but not waterlogged.
- Embrace the Wait: Germination can take anywhere from a few weeks to several months. Maintain patience, and don’t discard the tray prematurely.
- Transplant with Care: Once seedlings are large enough to handle, transplant them into individual pots with the same well-draining mix.
Cuttings: A Quicker Route to Success
Taking cuttings offers a faster and often more successful method for propagating Pachystegia insignis:
- Timing is Key: Take cuttings in late autumn or early winter when the plant is dormant.
- Choose Healthy Shoots: Select firm, healthy shoots about 10-15cm long from the current year’s growth.
- Prepare the Cuttings: Remove the lower leaves, leaving 2-3 pairs at the top. Dip the cut end in rooting hormone to encourage root development.
- Planting Medium: Choose a well-draining mix similar to the seed starting process.
- Planting and Care: Plant the cuttings in individual pots, burying the bottom node or two. Water well and place them in a sheltered, bright location out of direct sunlight.
- Rooting Success: It takes about 6-8 weeks for cuttings to root. Once established, gradually acclimate them to outdoor conditions before planting them in their final location.
A Note on Patience and Persistence
Regardless of the method you choose, remember that propagating Pachystegia insignis demands patience and a light touch. Overwatering is the biggest pitfall, as these plants are susceptible to root rot. Mimic their natural dry, rocky habitat, and you’ll be rewarded with healthy plants that will grace your garden with their unique charm for years to come.