Unlocking the Secrets of Propagation: How to Grow Your Own Paloue guianensis
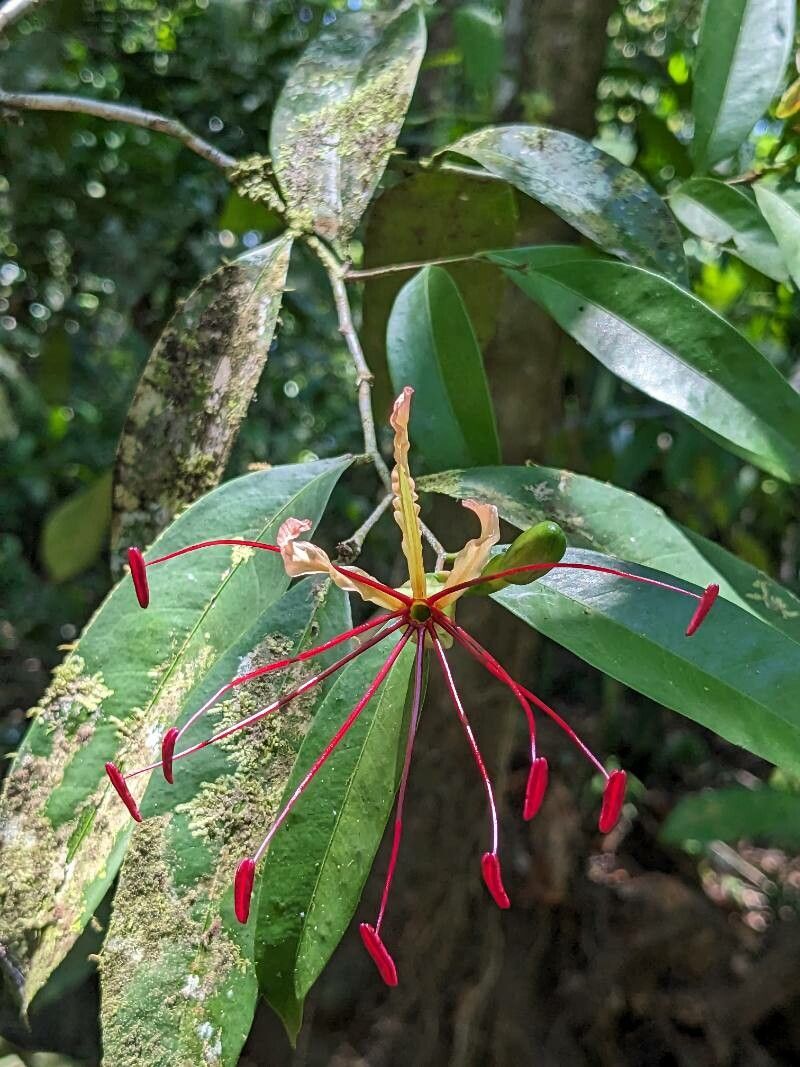
The Paloue guianensis, a fascinating and vibrantly colored plant native to South America, is gaining popularity as a unique addition to indoor gardens. However, sourcing this beautiful plant can be challenging. Luckily, propagation offers an incredibly rewarding way to grow your own Paloue guianensis, ensuring a thriving collection for years to come.
This blog post will guide you through the secrets of propagating Paloue guianensis, empowering you to expand your garden with ease.
Understanding the Basics
Propagation involves creating new plants from existing ones. It’s a cost-effective and satisfying process that allows you to multiply your botanical collection and create unique plant arrangements.
The Key to Paloue guianensis Propagation: Cuttings
Paloue guianensis readily propagates through stem cuttings. This method involves taking a section of healthy stem and encouraging it to develop roots, ultimately creating a whole new plant.
Step-by-Step Guide to Propagation
- Choosing the Right Cuttings: Select healthy, non-flowering stems with several nodes (where leaves grow). The ideal length is around 4-6 inches. Newly emerged growth is best, as it’s more easily rooted.
- Preparing the Cuttings:
- Using a sharp, sanitized knife or pruning shears, make a clean, angled cut just below a node.
- Remove any leaves that will be submerged in the rooting medium.
- Preparing the Rooting Medium: Choose a well-draining, moisture-retentive medium like a mixture of perlite and peat moss or a commercial rooting hormone mix.
- Planting the Cuttings:
- Dip the base of the cutting in rooting hormone powder (optional but recommended).
- Insert the cutting into the rooting medium, making sure the nodes are covered but the leaves are above the surface.
- Creating the Ideal Environment:
- Place the cuttings in a humid and warm environment. This can be achieved by covering the pot with a clear plastic dome or bag.
- Provide indirect light, avoiding direct sunlight that can burn the young plant.
- Maintaining Moisture and Patience: Keep the rooting medium consistently moist but not soggy. Allow for good airflow inside the humidity dome.
- Success Signs: After a few weeks, you should see new growth emerging from the cuttings, indicating the plant is successfully rooting.
- Transferring to New Pots: Once the cuttings have developed a strong root system, they can be transferred to individual pots with well-draining potting soil.
Tips for Success
- Sterilization: Always sanitize your tools to prevent disease transmission.
- Timing: Spring and summer are the best times for propagation, as the plant is actively growing.
- Patience: Rooting may take several weeks, so be patient and observe the cuttings for signs of growth.
Beyond the Basics: Paloue guianensis Propagation Strategies
- Air Layering: This technique involves creating a wound on the stem and covering it with moss to encourage root development without removing the cutting from the plant.
- Seed Propagation: Although less common, Paloue guianensis can be propagated from seeds. This involves planting the seeds in moist potting soil and maintaining a warm, humid environment.
Conclusion
Propagating your own Paloue guianensis is an exciting endeavor that allows you to personalize your garden and enjoy the beauty of this unique plant. With the right tools and techniques, you can unlock the secrets of propagation and cultivate a flourishing collection. Remember, patience and meticulous care are key to success. So grab your gardening tools and embark on this rewarding journey!