Taming the Wild: Propagating the Fascinating Pancheria Ferruginea
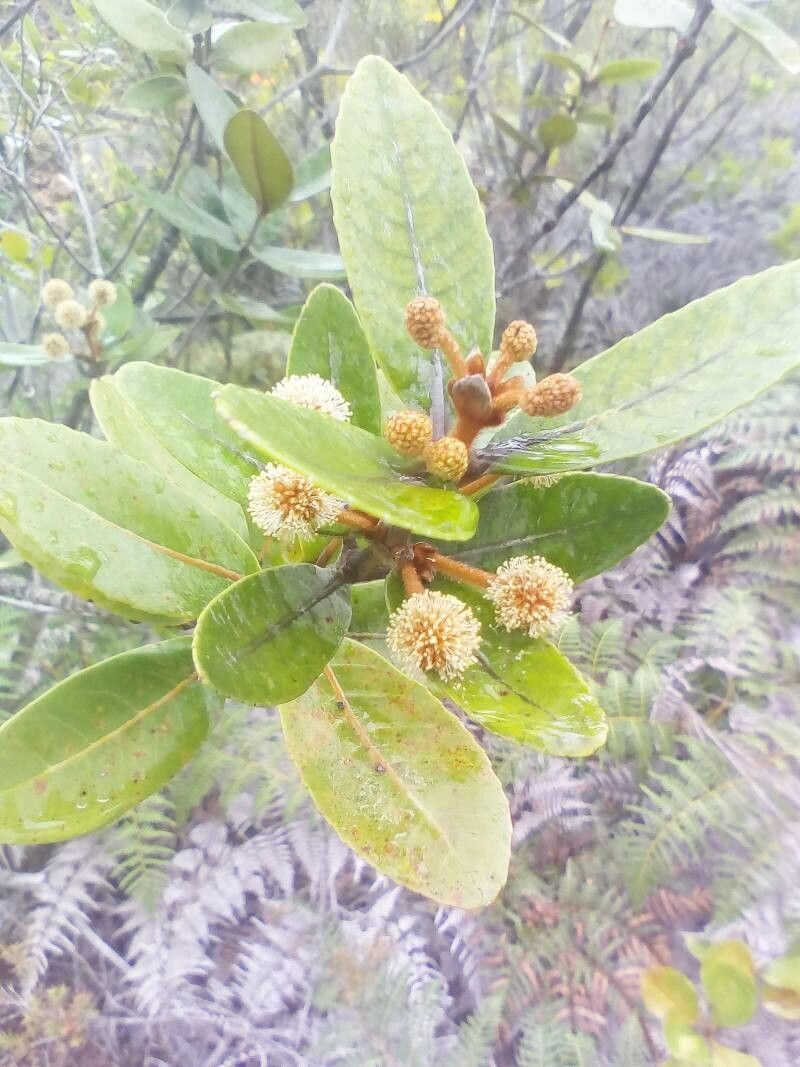
The Pancheria ferruginea, known as the New Caledonian Ironwood, is a captivating tree with an impressive presence. Its striking, dark green foliage, rough, iron-like bark, and unique growth habit make it a prized addition to any garden. But did you know that this exotic beauty can also be readily propagated?
While finding this species at your local nursery might be a challenge, bringing a piece of the Pacific island home is actually within reach. Here’s a guide to help you understand the art of propagation:
The Art of Seeds: Bringing New Life to the Ironwood
Pancheria ferruginea is a rewarding tree to cultivate from seed. Here’s a step-by-step guide to success:
- Sourcing the Seeds: Obtaining fresh seeds is crucial. If you’re lucky enough to have a mature Pancheria ferruginea in your garden, collect its fruit. If not, a reliable online supplier specializing in exotic seeds is your best bet.
- Preparing the Seeds: Remove the outer fleshy part of the fruit, leaving the seeds bare. To break dormancy, give them a cold stratification period. This simulates the winter conditions experienced in their native habitat. Simply place the seeds in a sealed container with damp vermiculite or peat moss, and store in a refrigerator for 2-3 months.
- Sowing the Seeds: After stratification, sow the seeds in a well-draining seed-starting mix. Choose a pot with drainage holes and sow the seeds about 1/4 inch deep. Lightly water and cover with a clear plastic dome to maintain humidity.
- Patience is Key: Germination can take several months, so be patient! Keep the soil evenly moist, and maintain bright, indirect light.
The Power of Cuttings: A More Rapid Approach
If you’re seeking a quicker method, propagation by cuttings is possible with Pancheria ferruginea. Here’s how to tackle this approach:
- Choosing the Right Cuttings: Use semi-hardwood cuttings, which are taken from new growth that has hardened slightly. Select stems with multiple nodes (points where leaves sprout) and a length of around 4-6 inches. Make a clean cut just below a node with a sharp knife or pruning shears.
- Prepping the Cuttings: Remove the leaves from the bottom inch or two of the cutting and dip the cut end in rooting hormone to encourage root development.
- The Perfect Planting Mix: Choose a well-draining potting mix that has good air circulation. Fill a small pot or propagation tray with this mix and make a hole for your cutting.
- The Art of Nurturing: Insert the cutting into the mix, ensuring the node is buried. Water gently, and cover the pot with a clear plastic dome or bag to maintain high humidity. Place the pot in a bright, indirect location.
Beyond the Basics: Essential Tips for Success
No matter which method you choose, keeping these factors in mind will significantly contribute to your success:
- Sunlight: Pancheria ferruginea needs bright, indirect light. Avoid direct sunlight, especially during the hottest hours of the day.
- Watering: Water consistently, but avoid overwatering. Let the soil dry out slightly between waterings.
- Temperature: Warm temperatures, around 70-75°F, are ideal for both seed germination and cutting rooting.
- Patience: Be patient! Propagation, whether through seeds or cuttings, can take time. Don’t be discouraged if you don’t see immediate results.
The Reward: Growing a Piece of the Pacific
Successfully propagating Pancheria ferruginea will bring you a sense of achievement and a truly unique specimen to enjoy. This resilient tree thrives in a variety of climates and can provide shade, visual interest, and a touch of the exotic to your yard. So embark on this journey of propagation and discover the wonder of growing your own piece of the Pacific island paradise.