Taming the Tasmanian Treasure: Propagating the Hairy Pancheria
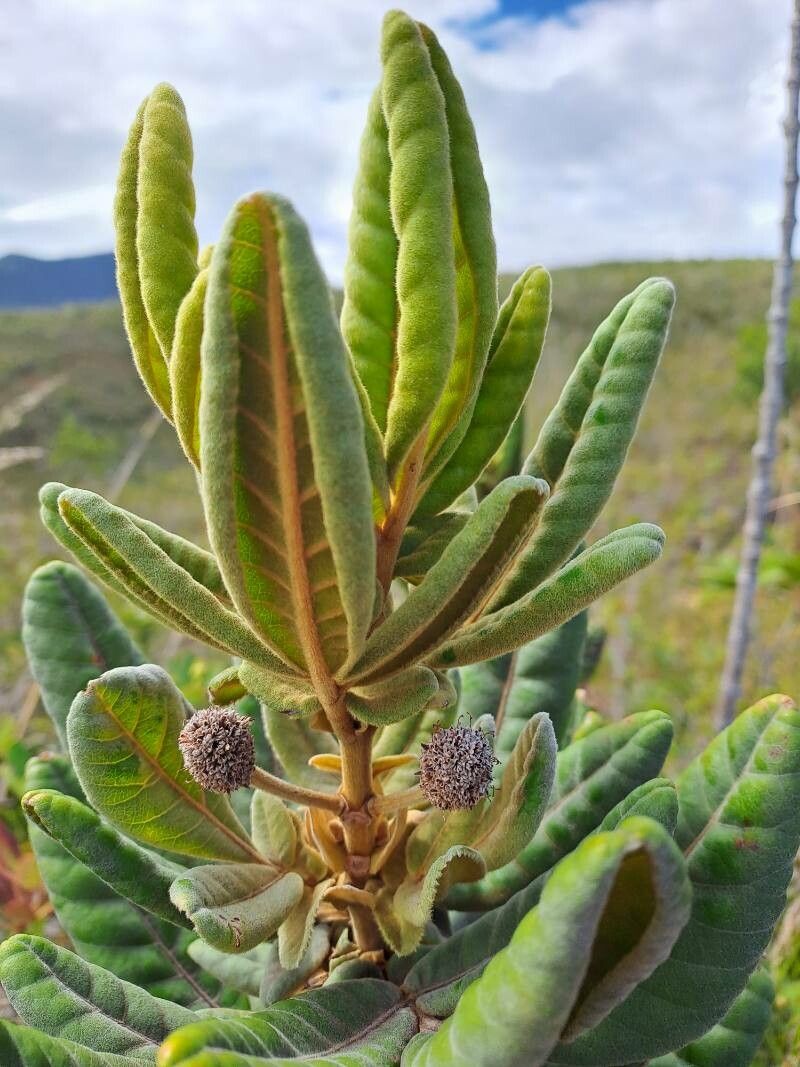
The world of plants can often feel like stepping into another dimension, filled with exotic names and even more intriguing appearances. One such inhabitant of this fascinating realm is the Pancheria hirsuta, affectionately known as the Hairy Pancheria. Native to the wet forests of Tasmania, this small tree or shrub, with its elegant foliage and distinctive hairy new growth, can be a stunning addition to gardens beyond its native range. But how does one invite this Tasmanian treasure into their own green space? Let’s delve into the art of propagating Pancheria hirsuta.
Propagation, the process of creating new plants from existing ones, is a rewarding endeavor that deepens the bond between gardener and greenery. For Pancheria hirsuta, two main methods prevail:
1. Seed Propagation: A Test of Patience
In the wild, Pancheria hirsuta relies on the wind to disperse its seeds. In cultivation, collecting and sowing these seeds allows you to witness the full lifecycle of this fascinating plant.
Seed Collection: Mature seed capsules are dry and brown. Gently collect these, being careful not to damage the plant, and store them in a cool, dry place until ready for sowing.
Sowing: Sow the seeds in a well-draining seed-raising mix, lightly covering them. Patience is key as germination can take several weeks to months.
- Environmental Control: Pancheria hirsuta thrives in humid environments. Consider using a propagator or covering the seed tray with a humidity dome to maintain consistent moisture levels. Place the tray in a bright location, but out of direct sunlight.
2. Cuttings: A Faster Route to Success
For those seeking quicker results, cuttings offer a higher success rate and a faster journey to a mature plant.
Timing is Key: Take cuttings during the active growing season, ideally in spring or early summer.
Selecting the Perfect Cutting: Choose healthy, semi-hardwood stems for your cuttings. Look for stems that are still somewhat flexible but have started to mature.
Preparing the Cutting: Using clean, sharp secateurs, take a cutting approximately 10-15cm long, making the cut just below a leaf node. Remove the lower leaves, leaving only a few at the top.
Encouraging Root Development: Dip the cut end of the stem in rooting hormone to encourage root development. Plant the cutting in a well-draining potting mix specially formulated for cuttings.
Creating a Humid Environment: Cover the pot with a clear plastic bag or use a propagator to maintain humidity. Place the cutting in a bright location but out of direct sunlight.
- Patience is Still a Virtue: Rooting can take several weeks. Once new growth appears, it’s a sign that your cutting has successfully rooted.
Nurturing your Hairy Pancheria:
Regardless of your chosen propagation method, young Pancheria hirsuta plants prefer well-draining, slightly acidic soil. They thrive in partial shade, mimicking their natural forest understory habitat. Ensure regular watering, especially during dry periods, but avoid waterlogging.
Propagating Pancheria hirsuta may require a touch of patience and dedication, but the reward of witnessing these unique plants flourish in your own care is well worth the effort. So why not embark on this botanical adventure and welcome the charm of the Hairy Pancheria into your own green haven?