
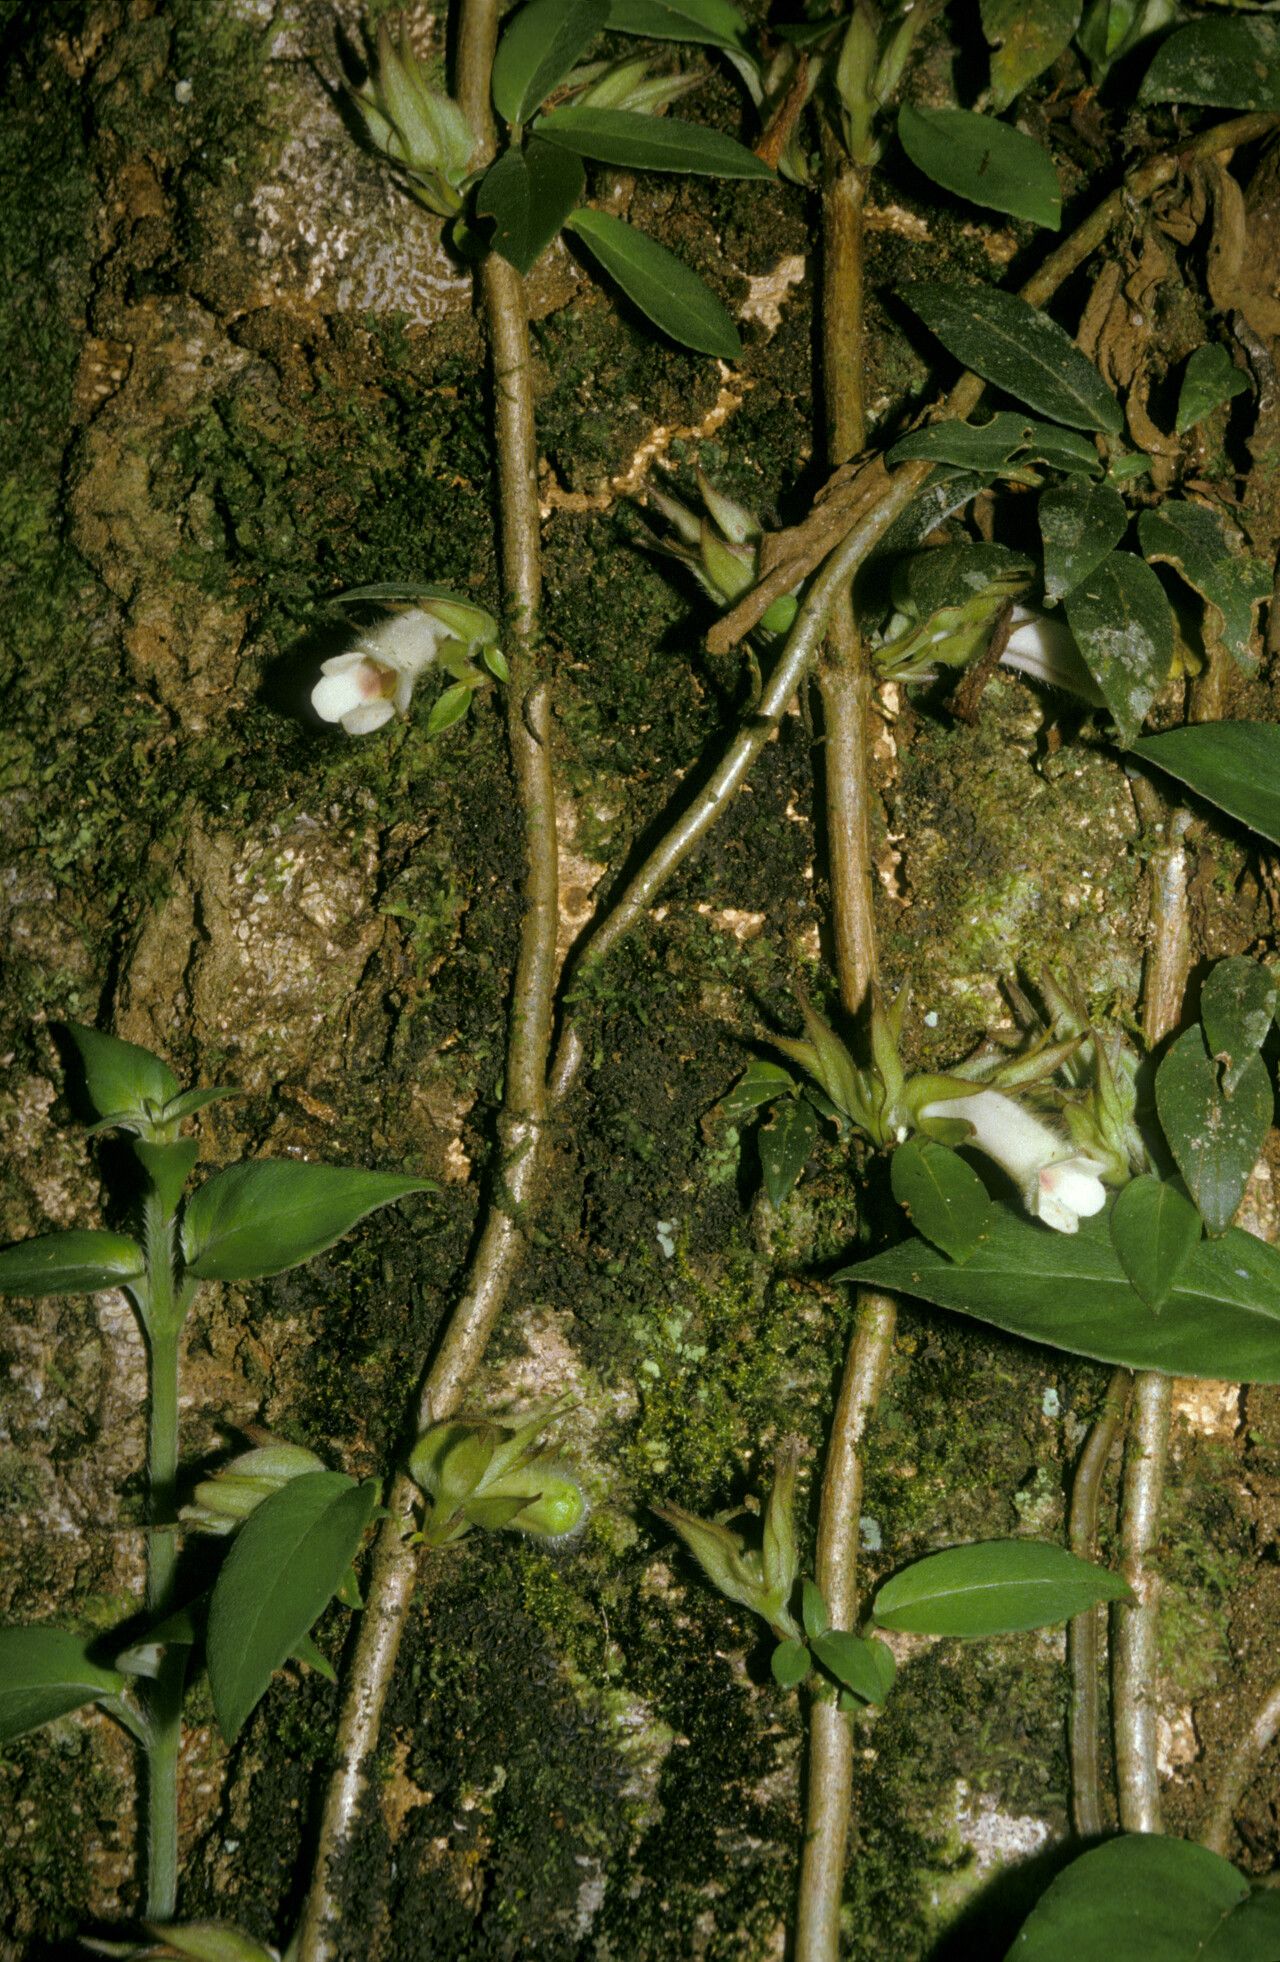
Unlocking the Secrets of Paradrymonia campostyla Propagation: A Guide to Multiplying Your Miniature Masterpiece
Paradrymonia campostyla, with its captivating, deeply veined foliage and cascading growth habit, is a plant that draws the eye and captivates the plant enthusiast. While caring for this tropical beauty brings its own rewards, nothing beats the satisfaction of propagating your own. Not only does it give you more of this captivating plant to enjoy, but it’s also a budget-friendly way to expand your collection or share your love for Paradrymonia campostyla with fellow plant lovers.
While this might sound intimidating to beginners, fear not! We’ll demystify the process and equip you with the knowledge to propagate your Paradrymonia campostyla successfully.
Understanding the Basics of Paradrymonia campostyla
Before we delve into the techniques, let’s understand the plant itself. Paradrymonia campostyla, a member of the Gesneriad family, is acclaimed for its relatively easy care requirements and stunning foliage. This trailing beauty thrives in bright, indirect light and prefers moderate humidity, making it a perfect indoor plant for various environments.
Two Tried-and-True Methods for Success
There are two primary methods for propagating Paradrymonia campostyla, each with its own merits:
1. Stem Cuttings: This method involves inducing root development from a section of the parent plant’s stem. Here’s how:
- Preparation is Key: Using a clean, sharp pair of shears or a knife, take a cutting that is at least 4-6 inches long and has at least two nodes (the small bumps on the stem where leaves emerge). Remove leaves from the bottom inch of the cutting to prevent rotting.
- Hormone Boost (Optional): While not mandatory, dipping the cut end in rooting hormone powder can accelerate the process.
- Planting the Cutting: You have two options here:
- Water Propagation: Place the cutting in a jar or glass filled with clean water, ensuring the nodes are submerged. Change the water every few days to prevent stagnation.
- Soil Propagation: Plant the cutting in a well-draining potting mix, keeping the soil lightly moist. A humidity dome or covering the pot with a plastic bag can create a favorable micro-environment.
- Patience is a Virtue: Root development typically takes 2-4 weeks, sometimes longer. Once roots are established and about an inch long, you can repot the cutting into its individual container.
2. Rhizome Division: This method takes advantage of the plant’s natural growth pattern. Mature Paradrymonia campostyla plants often develop offshoots, known as rhizomes, from the base.
- Dividing the Rhizomes: Carefully remove the mother plant from its pot and gently untangle the roots to separate the rhizomes. Each division should ideally have its own set of roots and leaves.
- Potting the Divisions: Plant each division in a well-draining potting mix, ensuring the rhizome is buried at the same depth it was in the original pot.
- Providing Ideal Care: Water the newly potted divisions thoroughly and place them in a spot with bright, indirect light.
Tips for Propagation Success:
- Choose Healthy Parent Plants: Start with a robust and disease-free Paradrymonia campostyla to ensure successful propagation.
- Optimal Timing is Key: Spring and early summer, during the plant’s active growing season, are the best times to propagate.
- Warmth is Essential: Place your cuttings or divisions in a warm, humid environment with temperatures between 70-80°F (21-27°C).
- Don’t Overwater: While maintaining moisture is essential, avoid overwatering as it can lead to root rot.
- Be Patient and Observe: Propagation takes time, so don’t be discouraged if you don’t see results immediately. Keep a watchful eye for any signs of new growth or stress.
With these simple techniques and a dash of patience, you’ll soon be enjoying an abundance of these captivating beauties in your plant haven. Happy propagating!