Unlocking the Secrets to Propagating the Beautiful Parasenegalia Muricata
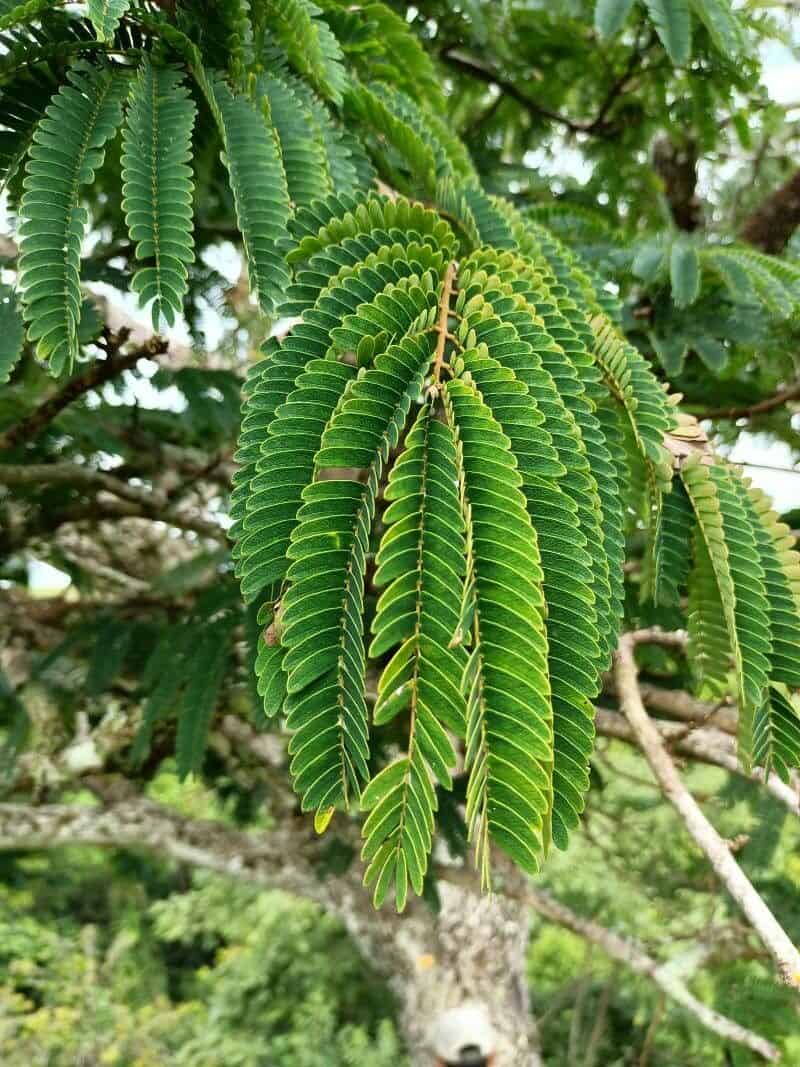
Parasenegalia muricata, also known as Muricata Acacia or by its former name Acacia Muricata, is a stunning specimen. This tropical marvel enchants with its delicate, fern-like foliage and vibrant, puffball blooms that range from creamy white to a striking yellow. Whether you’re an experienced gardener or a curious beginner, adding a Parasenegalia muricata to your landscape promises a touch of exotic beauty.
However, finding this plant at your local nursery can be a challenge. That’s where the magic of propagation comes in! This comprehensive guide will equip you with the knowledge to grow your very own Parasenegalia muricata.
Two Paths to Propagation:
There are two primary methods for propagating Parasenegalia muricata:
1. Seed Propagation:
- The Hunt for Seeds: Sourcing seeds is the initial quest. Look for reputable online sellers specializing in exotic seeds or, if you’re lucky enough to have access to a mature plant, carefully collect seed pods after flowering.
- The Art of Scarification: Parasenegalia muricata seeds boast a hard outer coating that necessitates a little encouragement to germinate. Scarification, a process of gently nicking or sanding the seed coat, helps moisture penetrate and kickstart germination. You can achieve this by:
- Hot Water Treatment: Briefly soak the seeds in hot (not boiling) water for 24 hours.
- Mechanical Scarification: Gently nick the seed coat with a sharp knife or use sandpaper to slightly roughen the surface.
- Sowing the Seeds of Success: Sow the scarified seeds in a well-draining seed starting mix, keeping the soil consistently moist but not waterlogged. Ensure adequate sunlight or provide artificial grow lights for optimal results. Patience is key, as germination can take several weeks.
2. Cutting Propagation:
- Timing is Key: Spring or early summer, when the plant is actively growing, is the ideal time to take cuttings.
- Selecting the Perfect Candidate: Choose healthy, semi-hardwood stems that are approximately 4-6 inches long. Ideally, select a branch that has new growth on it.
- Preparing the Cutting: Remove leaves from the lower half of the cutting, leaving 2-3 sets of leaves at the top. Dipping the cut end in rooting hormone (optional) can encourage root development.
- Planting the Cutting: Plant the cutting in a well-draining potting mix, burying at least one node (where the leaves were removed) beneath the soil. Water thoroughly and maintain a warm, humid environment. A humidity dome or placing a clear plastic bag over the pot can help retain moisture.
Caring for Your Progeny:
Once your seeds sprout or cuttings develop roots, consistent care is crucial:
- Light: Provide ample bright, indirect sunlight for robust growth.
- Water: Maintain consistently moist soil, but avoid overwatering, as it can lead to root rot.
- Fertilizer: Feed your young plants regularly during the growing season with a balanced, diluted fertilizer.
Reaping the Rewards:
Propagating your own Parasenegalia muricata is an immensely satisfying endeavor. With a little patience and care, you’ll soon be enjoying the lush beauty of this tropical marvel in your own backyard. So, roll up your sleeves, unleash your inner gardener, and experience the joy of growing your very own piece of paradise.