Taming the Wild Wind: Propagating the Hardy Parastrephia lepidophylla
Parastrephia lepidophylla, also known as tola tola or simply tola, may not be a household name like a rose or daisy, but this resilient shrub deserves a spot in the hearts of plant enthusiasts and eco-conscious gardeners alike. Hailing from the harsh, arid landscapes of the Andes Mountains, it’s a testament to nature’s ability to thrive even in the most challenging conditions. And with a little patience, you can propagate this fascinating species at home.
Understanding the Tola Tola
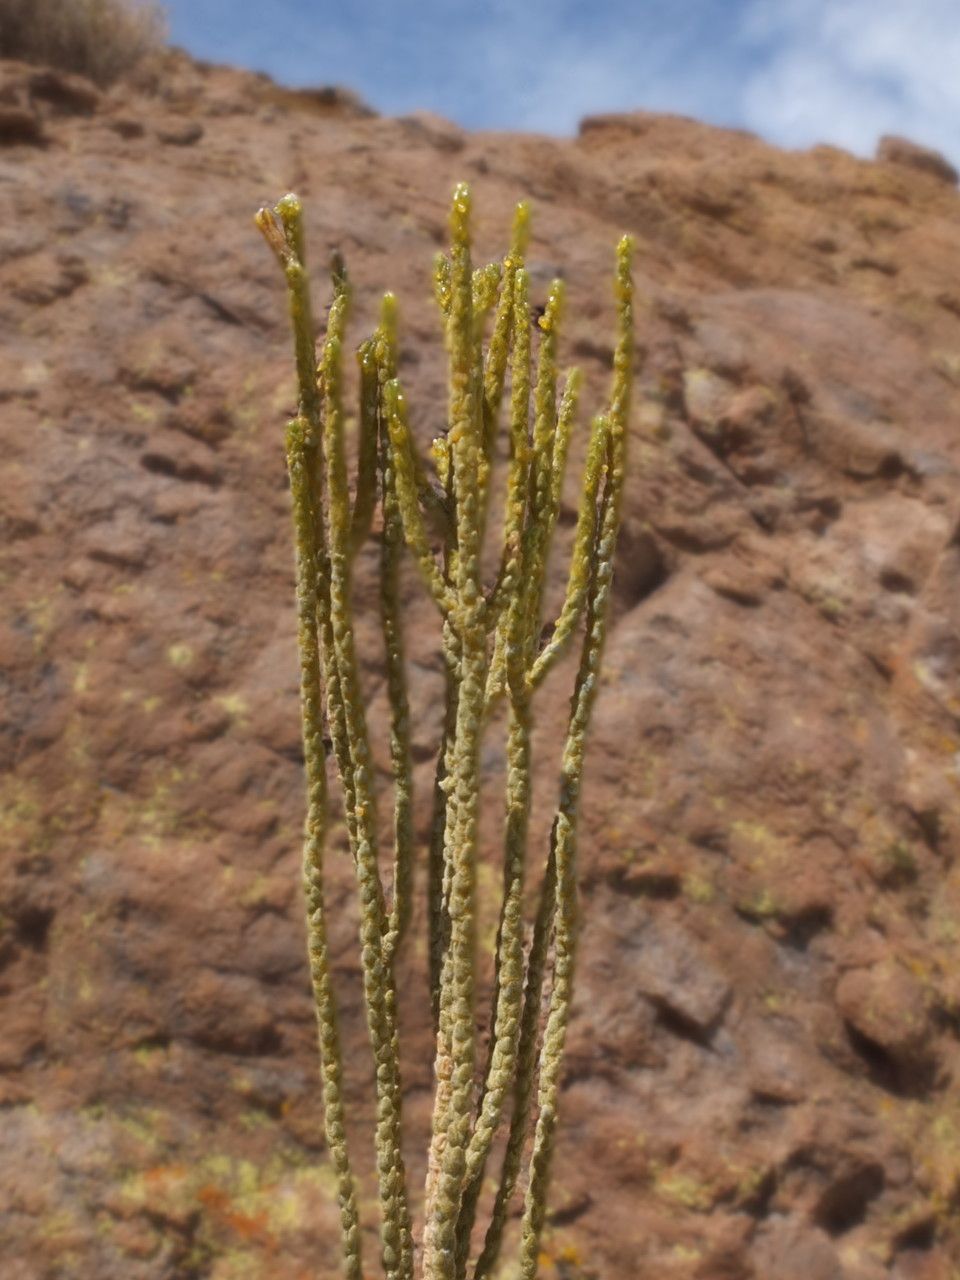
Before diving into propagation, let’s get acquainted with this unique plant. Tola tola is a slow-growing, evergreen shrub known for its silvery-green foliage and tiny, inconspicuous flowers. Its resilience lies in its adaptation to high altitudes, intense sunlight, and poor soil conditions. This hardiness, combined with its attractive appearance, makes it a captivating addition to rock gardens, xeriscapes, and even container gardens in cooler climates.
Propagation Methods: Seeds vs. Cuttings
While tola tola can be grown from seeds, it’s not the most straightforward method. The seeds have low germination rates and require specific conditions to sprout. Therefore, propagation through stem cuttings is a more reliable approach for most home gardeners.
Propagating Tola Tola from Cuttings:
Here’s a step-by-step guide to propagate tola tola using stem cuttings:
1. Timing is Key:
The best time to take cuttings is during the growing season, ideally in late spring or early summer, when the plant is actively producing new growth.
2. Gather Your Tools:
- Sharp, clean pruning shears or a knife
- Rooting hormone powder (optional but recommended)
- Small pots or seedling trays
- Well-draining potting mix (a mix of perlite, vermiculite, and peat moss works well)
3. Taking the Cuttings:
- Choose healthy, non-flowering stems for cuttings.
- Using your sterilized shears, cut a 4-6 inch section from the tip of the stem. Make the cut just below a node (where leaves are attached).
- Remove the leaves from the bottom inch or two of the cutting.
4. Prepping for Success:
- Dip the cut end of the stem into rooting hormone powder. This will stimulate root development.
- Gently tap off any excess powder.
5. Planting the Cuttings:
- Fill your pots or trays with the well-draining potting mix.
- Make a small indentation in the soil with your finger or a pencil.
- Carefully insert the bottom inch of the cutting into the hole, ensuring the leaves are not touching the soil.
- Gently firm the soil around the cutting.
6. Creating a Humid Environment:
- Water the cuttings lightly and cover the pots with a clear plastic bag or humidity dome.
- This helps retain moisture and encourages rooting.
7. Patience is a Virtue:
- Place the cuttings in a bright location, but out of direct sunlight.
- Keep the soil consistently moist but not waterlogged.
- Rooting can take several weeks. You’ll know roots have developed when you see new growth on the cutting.
8. Transplanting Your Tola Tola:
- Once the cuttings have developed a strong root system (after about 8-10 weeks), you can transplant them into larger pots or directly into your garden.
- Choose a sunny location with well-drained soil.
Bringing a Touch of the Andes Home
Propagating tola tola might require a bit of patience, but the rewards are well worth the effort. Seeing these resilient plants flourish in your own garden, a testament to your care and attention, is incredibly rewarding. And by choosing propagation, you’re not just growing a plant but also contributing to a more sustainable approach to gardening.