From Cutting to Bloom: The Easy Guide to Propagating Pavonia dasypetala
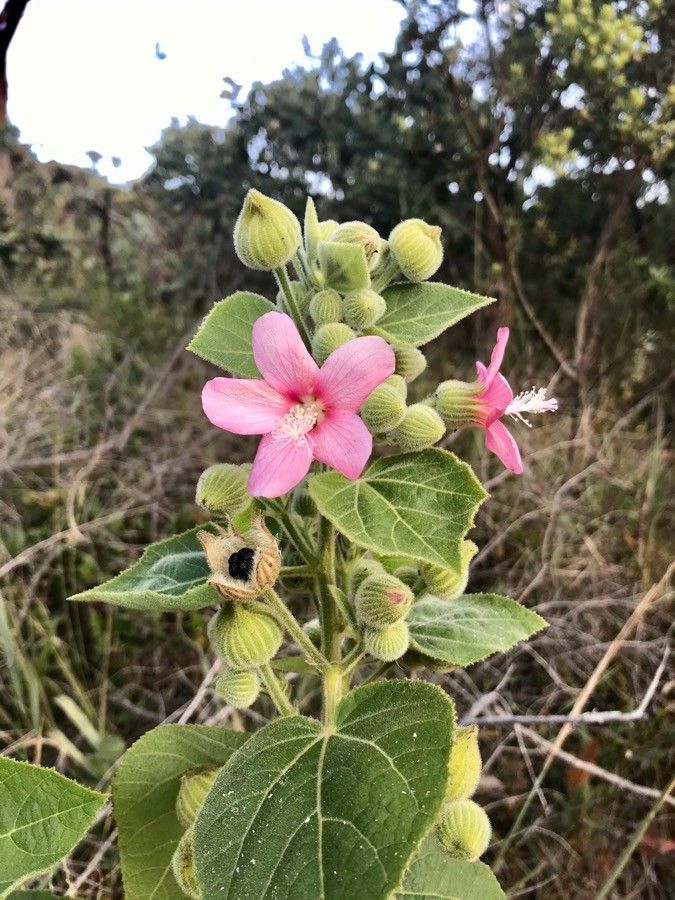
Pavonia dasypetala, with its striking crimson blooms and velvety foliage, is a true standout in the world of flowering plants. But did you know that this beauty can also be easily propagated, allowing you to share its charm with friends or expand your own garden? This guide will walk you through the simple process of multiplying your Pavonia dasypetala, so you can enjoy its vibrant beauty for years to come.
Understanding Propagation Basics
Propagation, in simple terms, is the process of creating new plants from existing ones. For Pavonia dasypetala, the most effective method is stem cuttings. This involves taking a section of a healthy stem and encouraging it to develop roots, eventually becoming a new, independent plant.
The Essentials for Successful Propagation
Before you embark on your propagation journey, gather the following:
- Sharp knife or pruning shears: A clean, sharp instrument is essential for making precise cuts without damaging the stem.
- Growing medium: A well-draining mix like a peat-based potting soil or a blend with perlite will provide the ideal environment for root development.
- Potting container: Choose a pot with drainage holes to prevent waterlogging. A small pot, roughly 4 inches in diameter, is perfect for a single cutting.
- Rooting hormone (optional): While not mandatory, rooting hormones help stimulate root growth and increase the success rate.
- Clear plastic bag or dome: This creates a mini-greenhouse, trapping humidity and protecting your cuttings from drafts.
Step-by-Step Guide to Propagating Pavonia dasypetala
Select a healthy stem: Choose a non-flowering, mature stem from your Pavonia dasypetala. The ideal cutting should be around 4-6 inches long, with several nodes (the points where leaves grow).
Prepare the cutting: Using your sharp knife or shears, make a clean cut just below a node. Remove any leaves below the cut line, as these will rot and promote fungal growth.
Apply rooting hormone (optional): Lightly dip the cut end of your stem in rooting hormone powder for enhanced root development.
Potting the cutting: Fill your chosen container with your preferred growing medium. Make a small hole in the center and carefully insert your cutting, ensuring at least one node is buried in the soil.
Provide a humid environment: Cover your pot with a clear plastic bag or dome to create a mini-greenhouse. This will help maintain moisture and warmth.
Maintain optimal conditions: Place your potted cutting in a bright, indirect light location. Avoid direct sunlight, as it can dry out the cuttings. Keep the soil constantly moist, but not drenched.
Patience is key: It can take several weeks for your Pavonia dasypetala cutting to root. Check for new growth after about 3-4 weeks, indicating that roots are forming.
Gradually acclimatize: Once you see good root development, gradually expose your new plant to more open air by removing the plastic bag or dome for short intervals each day.
- Transplant to a larger pot: When your cutting has established a good root system, it’s time to transplant it into a larger pot with fresh soil.
Troubleshooting Tips
- Wilting: This indicates your cutting may be drying out. Increase humidity by misting or using a clear plastic bag.
- Yellowing leaves: Overwatering can cause yellowing leaves. Ensure the soil is well-draining and allow it to dry slightly between waterings.
- No growth: If you don’t see any signs of new growth after a few weeks, consider checking the root system. You may need to repot with fresh soil and ensure proper drainage.
Enjoy the Rewards
Congratulations! You’ve successfully propagated Pavonia dasypetala, creating a new plant that will surely bring its vibrant color and beauty to your life, whether gracing your home or sharing its charm with a friend. So, remember, propagation is a rewarding experience that allows you to expand your collection, share your love of plants, and enjoy the joy of watching your cuttings transform into full-fledged plants.