The Secret to Propagating the Mighty Miro: A Guide to Growing Pectinopitys ferruginoides
The Miro (Pectinopitys ferruginoides), a handsome evergreen native to New Zealand, is a majestic tree adored for its unique foliage and resilience. But bringing this beauty into your garden doesn’t always involve buying a hefty sapling. Propagation, the process of creating new plants from existing ones, offers a rewarding and cost-effective way to grow your own Miro.
While Miros are known for their hardiness, propagating them takes a bit of patience and know-how. The most common method for this species is through seed propagation. Here’s a step-by-step guide:
1. Sourcing Seeds:
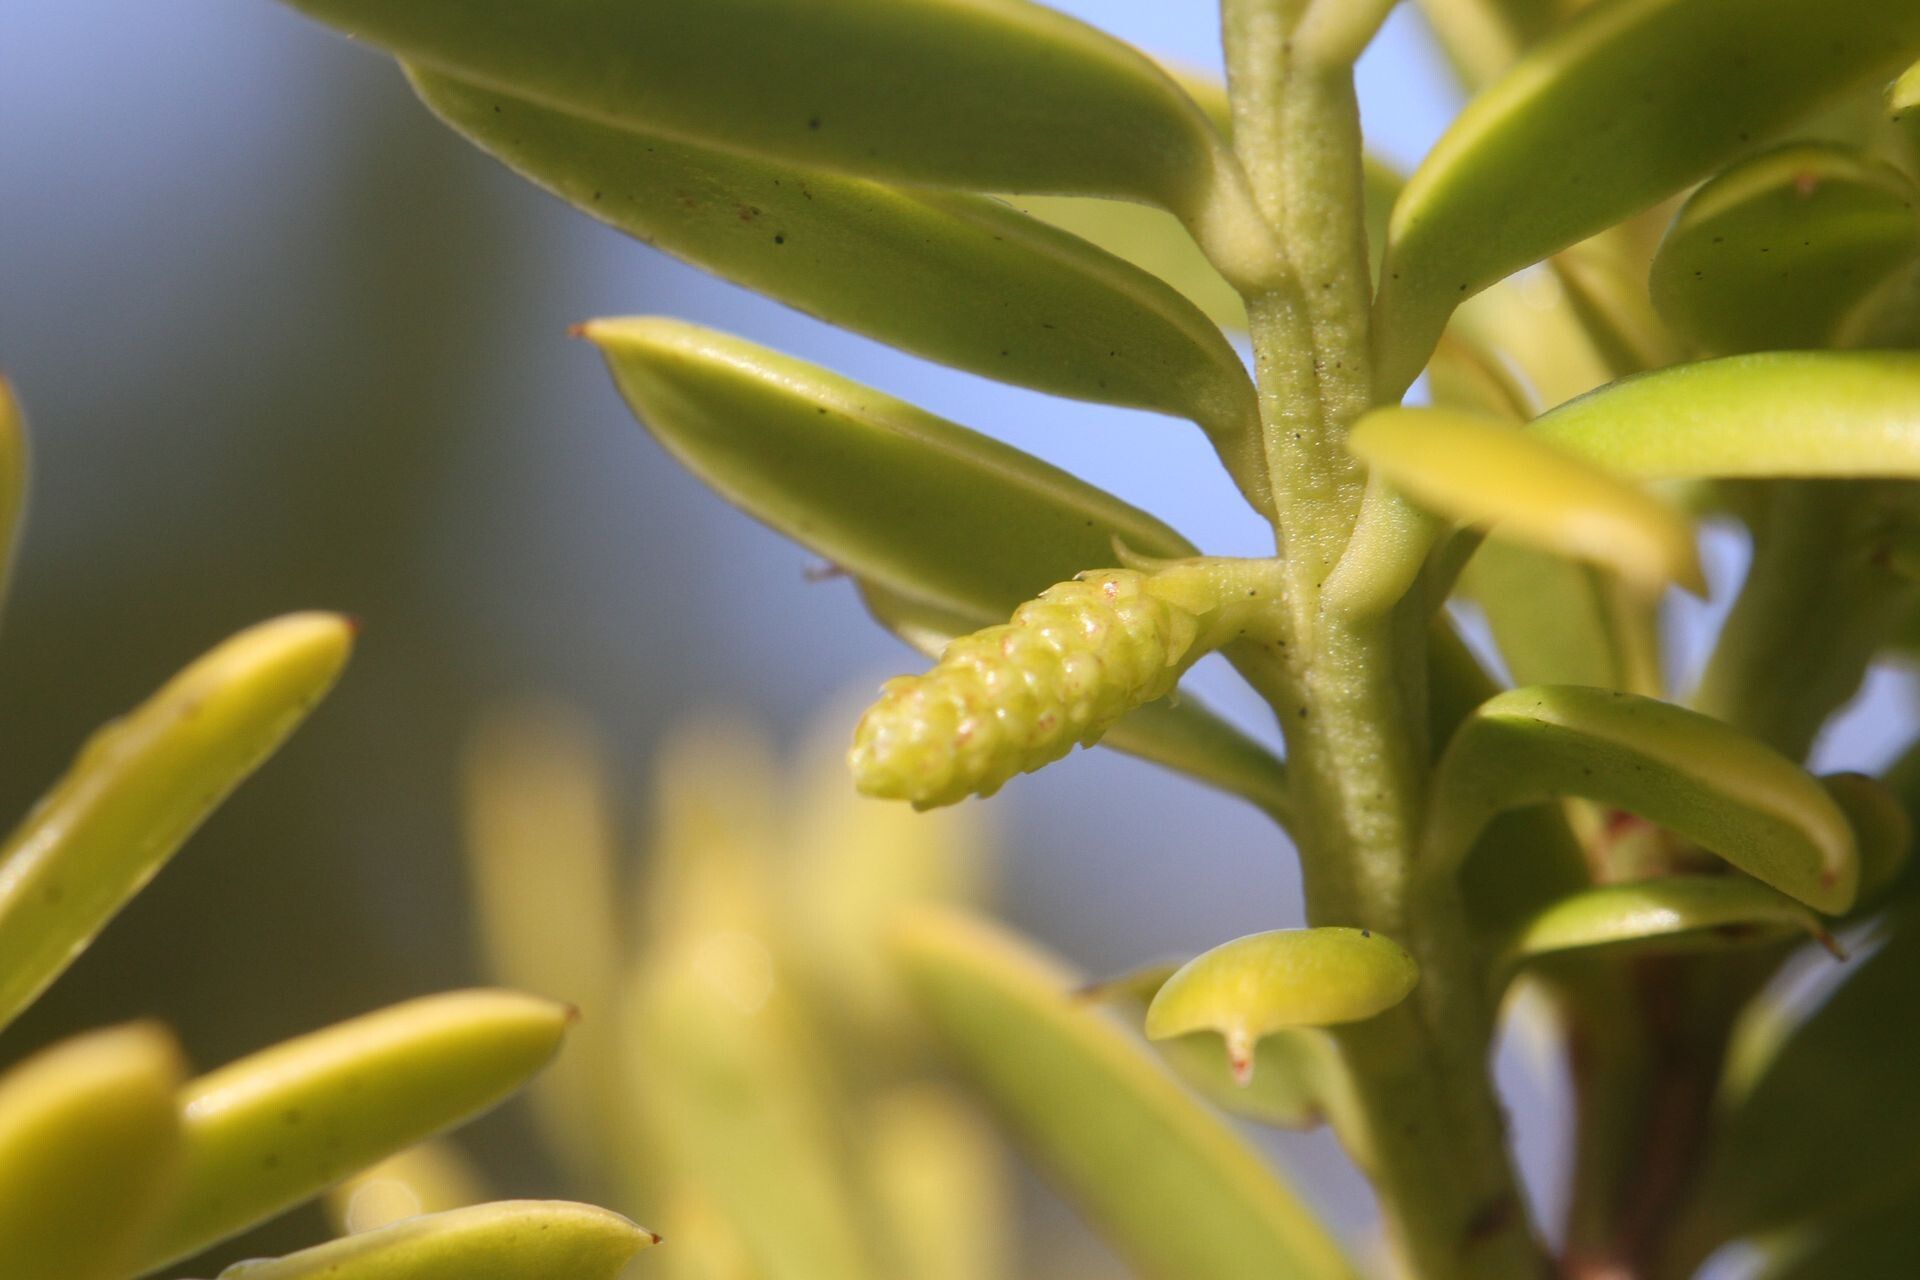
- Fresh is Best: Miro seeds are best collected directly from mature cones in autumn.
- Ripeness is Key: The cones turn a dark brown when they’re ready. Look for cones that are slightly open, indicating the seeds are mature.
2. Preparing the Seeds:
- Dry & Clean: Once collected, spread the seeds on a paper towel in a dry, well-ventilated space. This allows the seeds to dry and removes any excess pulp.
- Pre-treatment: Miro seeds have a hard seed coat, hindering germination. To encourage sprouting, consider a scarification technique. This involves lightly nicking or scratching the seed coat. Be careful not to damage the embryo inside.
- Stratification: Miro seeds benefit from a cold stratification period. This mimics the natural winter conditions that trigger germination. Place the seeds in a sealed bag with moistened vermiculite or peat moss and refrigerate them for 4-6 weeks.
3. Sowing the Seeds:
- The Right Mix: Choose a well-draining potting mix suitable for seedlings. A mix of peat moss, vermiculite, and perlite is ideal.
- Time for Planting: Sow the seeds in trays or pots, placing them about 1/4 inch deep.
- Humidity Matters: Maintain a consistently moist environment for germination. A plastic dome or humidity-controlled propagator can be useful.
- Placement: Keep the seedlings in a bright, indirect light location. Avoid direct sunlight, which can dry out the soil and harm young sprouts.
4. Patience is Virtue:
- Germination Time: Miro seeds can take several months to germinate. Patience is crucial during this stage.
- Consistent Care: Keep the soil evenly moist, but avoid overwatering.
- Nourishment: Once seedlings have developed true leaves, provide them with a balanced liquid fertilizer diluted to half strength.
5. Transplanting:
- Ready for Growth: When the seedlings are about 6-8 inches tall, they are ready to be transplanted into larger containers.
- Potting Up: Use a well-draining potting mix and gradually acclimatize the seedlings to full sun exposure.
Beyond Seed Propagation:
Although seed propagation is the most common method, you can also try cutting propagation. While Miro cuttings are more challenging to root, some success can be achieved using semi-hardwood cuttings taken in late summer.
Tips for Success:
- Choose the Right Location: Miros thrive in cool, moist climates with well-drained soil.
- Sunlight Exposure: They prefer partial shade to full sun.
- Protection: Protect young Miros from harsh winds and frost.
Enjoy the Journey:
Growing your own Miro can be a rewarding experience. While the process may seem lengthy, the satisfaction of seeing a tiny seed transform into a majestic tree makes it all worthwhile. And remember, even if your first attempt doesn’t go perfectly, the journey of learning and exploring the world of plant propagation is an adventure in itself.