From One to Many: The Easy Guide to Propagating Pelargonium australe
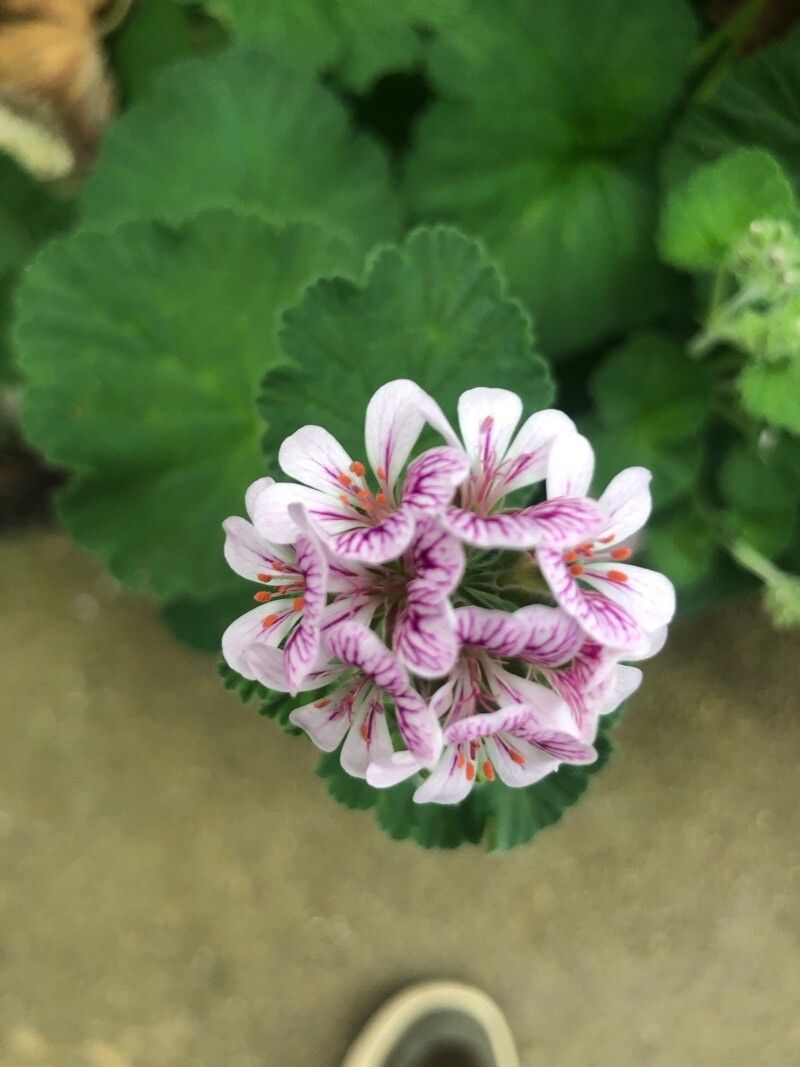
Pelargonium australe, also known as the “Australian Geranium,” is a charming and hardy plant that boasts delicate, fragrant leaves and vibrant blooms. But did you know that this beauty can be easily multiplied through propagation? That’s right, you can create a whole garden full of these stunning plants, all from a single cutting!
This guide will walk you through the simple process of propagating Pelargonium australe, empowering you to share your love for this plant with friends, family, and your own expanding garden.
The Power of Cuttings
Propagation through cuttings is a popular and effective method for Pelargonium australe. It involves taking a healthy piece of the plant and encouraging it to develop its own root system. This method is quick, easy, and offers a fantastic way to create new plants without needing seeds.
Step-by-Step Guide to Success
Choose Your Cuttings: Look for healthy, non-flowering stems on your Pelargonium australe plant. The ideal cutting should be about 4-6 inches long and have at least three sets of leaves.
Prepare the Cutting: Use a sharp, clean knife or pair of scissors to make a cut just below a node (where a leaf grows from the stem). Remove the lower leaves from the cutting, leaving only the top two or three leaves intact.
Rooting Hormone (Optional): For a little extra boost, you can dip the cut end of the stem in rooting hormone. This helps encourage root development.
Potting Mix: Plant your cutting in a well-draining potting mix. A mix of peat moss and perlite is a great option. Pot your cutting in a small pot, just big enough to hold the roots comfortably.
Time for Sunshine: Place your potted cutting in a bright spot, but avoid direct sunlight. Direct sun can be too intense for the delicate new roots.
Water Regularly: Keep the potting mix consistently moist, but avoid overwatering. Allow the soil to dry slightly between waterings.
- Patience is Key: Your cuttings should root within 4-6 weeks. You’ll know they’re rooted when you see new growth emerging from the top of the cutting.
Tips for Success:
- Clean Tools: Use sterilized tools to prevent the spread of diseases.
- Temperature Matters: Maintain a consistent temperature around 70 degrees Fahrenheit for optimal rooting.
- Light is Essential: Provide bright, indirect light.
- Don’t Overwater: Excess moisture can lead to root rot.
Once Your Cuttings are Rooted
After a few weeks, you’ll see new growth emerging from the top of your cuttings. This is a sign that your new plants have established roots. You can then gradually introduce them to more sunlight and acclimate them to outdoor conditions.
Enjoy Your New Plants!
With a little time and care, you can easily propagate beautiful Pelargonium australe plants. Try it yourself, and you’ll be amazed at how rewarding and easy it can be. Share your success with friends and family, expand your own garden, or even start a new collection of these delightful plants.