
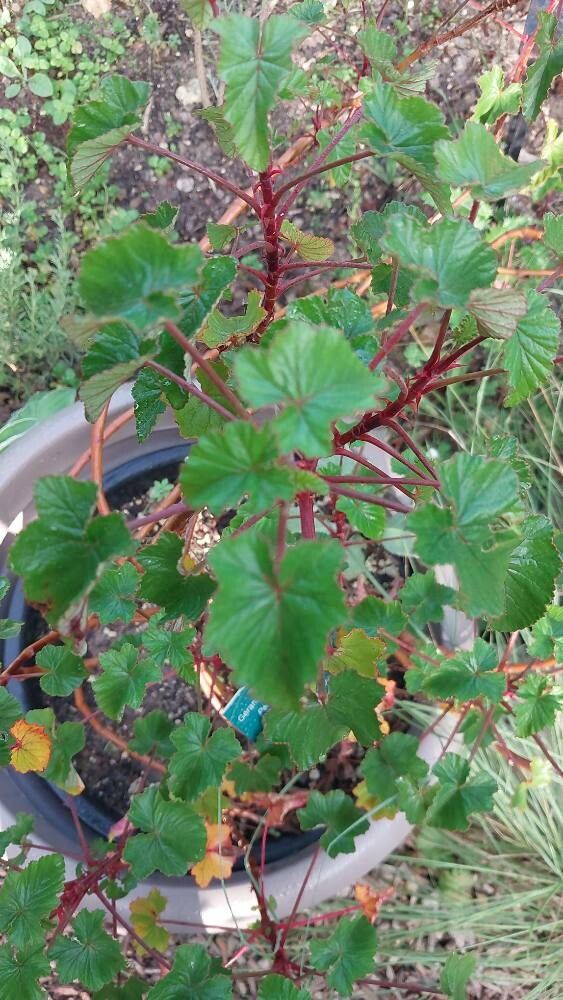
The Heartleaf Geranium: Unlocking Propagation Secrets for a Lush Garden
The Heartleaf Geranium, scientifically known as Pelargonium cordifolium, is a charming succulent with heart-shaped, velvety leaves and delicate flowers that bring a touch of whimsy to any garden. If you’re enchanted by this unique plant and dream of expanding your collection, propagation is the key to multiplying your verdant treasures.
Luckily, propagating Pelargonium cordifolium is a relatively straightforward process with rewarding results. Here, we’ll explore two effective methods:
1. Stem Cuttings: The Classic Approach
Stem cuttings are the most popular and reliable way to propagate Heartleaf Geraniums. This method takes advantage of the plant’s ability to generate roots from stem sections.
Here’s how to do it:
- Timing is Key: Opt for spring or early summer when the plant is actively growing for the highest chances of success.
- Choose Healthy Cuttings: Select healthy, non-flowering stems that are about 3-4 inches long.
- Prepare the Cuttings: Using clean, sharp scissors or pruning shears, make a cut just below a node (the point where leaves emerge). Remove the lower leaves, leaving only 2-3 at the top.
- Callus Formation (Optional but Recommended): Allow the cut end of the stem to dry and form a callus for a day or two. This step reduces the risk of rot.
- Planting the Cuttings: Fill small pots with a well-draining potting mix specifically designed for succulents or cacti. Moisten the mix and gently insert the cuttings, burying the bottom node.
- Creating a Humid Environment: Cover the pots with a clear plastic bag or use a propagation dome to create a warm and humid environment. Place them in a bright location, but out of direct sunlight.
- Rooting Magic: Within a few weeks, you should start to see new growth, indicating that the cuttings have successfully rooted.
- Transplanting Time: Once the roots are established and new growth is vigorous, transplant the rooted cuttings into individual pots.
2. Leaf Cuttings: A More Challenging but Rewarding Method
While slightly less reliable than stem cuttings, leaf cuttings provide an alternative method, especially if you have limited plant material.
Here’s the process:
- Select Healthy Leaves: Carefully remove a few healthy, mature leaves from the plant with their petioles (the small stalk attaching the leaf to the stem) intact.
- Prepare the Leaves: Allow the leaves to dry for a day or two to allow the petiole ends to callus over.
- Planting the Leaves: Fill a shallow tray with a well-draining potting mix and moisten it. Lay the leaves flat on the surface of the mix, ensuring the petiole end is in contact with the soil.
- Creating Humidity: Cover the tray with a clear plastic lid or cling film to retain humidity. Place it in a bright location with indirect light.
- Patience is Key: It might take several weeks or even months for new plantlets to develop from the base of the petioles.
- Separating the Plantlets: Once the plantlets have formed a good root system, carefully separate them from the original leaf and pot them individually.
Tips for Success:
- Use clean tools and containers to prevent the spread of diseases.
- Choose a well-draining potting mix to prevent root rot.
- Avoid overwatering, allowing the soil to dry slightly between waterings.
- Be patient! Propagation takes time, so don’t be discouraged if you don’t see results immediately.
By following these steps and embracing a bit of patience, you’ll be well on your way to enjoying an abundance of stunning Pelargonium cordifolium plants, filling your garden with their unique charm and delicate beauty.