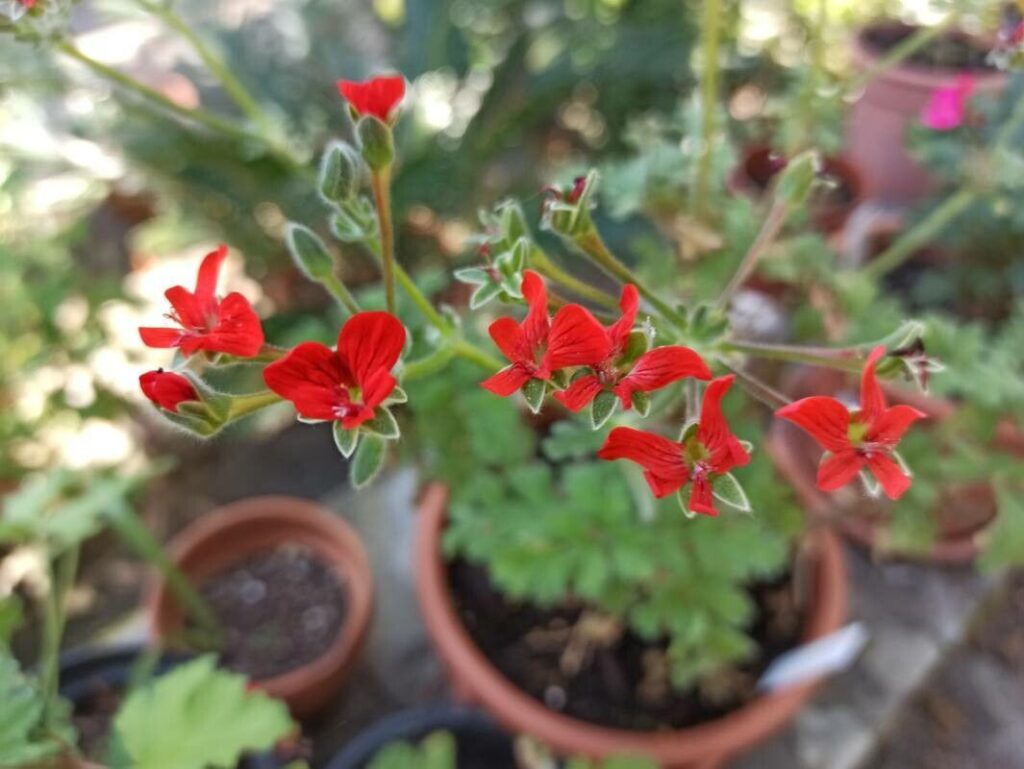
From Seeds to Showstoppers: Unlocking the Secrets of Propagating Pelargonium fulgidum
Pelargonium fulgidum, the fiery showstopper known for its brilliant scarlet blooms, is a captivating addition to any garden. But what if you want to share this beauty with friends or expand your own collection? The good news is, propagating Pelargonium fulgidum is surprisingly simple and can be done in several ways, allowing you to nurture new plants from the comfort of your own home.
From Seeds to Success:
The most common and rewarding method of propagation for Pelargonium fulgidum is through seeds.
- Collecting the Seeds: After the flowers fade, seed pods will form. These pods turn brown and dry, and the seeds inside are ready for harvesting. Carefully snip the pods and gently extract the seeds, ensuring they are fully dried before storing.
- Sowing: The best time to sow seeds is in early spring. Fill seed trays with well-draining potting mix and gently press the seeds onto the surface, covering them lightly with a thin layer of soil. Keep the soil consistently moist (but not waterlogged) and place the tray in a warm, bright location, ideally under a grow lamp to encourage germination. You can expect seedlings to appear within 2-4 weeks.
- Transplanting: Once the seedlings grow a few sets of true leaves, they can be carefully transplanted into individual pots, ensuring the roots are undisturbed during the process.
The Art of Cuttings:
For a quicker and more direct route to a flowering Pelargonium fulgidum, try propagation using cuttings. This method is popular as it creates a clone of the parent plant, retaining its unique traits.
- Selecting the Cutting: Choose a healthy, non-flowering stem from your plant. The perfect cutting is about 4-6 inches long and should be taken just below a leaf node.
- Preparing the Cutting: With a clean and sharp knife, make a diagonal cut at the base of the stem. Remove the lower leaves and dip the cut end in rooting hormone, which helps stimulate root growth.
- Planting the Cutting: Fill a small pot with a well-draining potting mix and insert the prepared cutting into the soil, leaving the top leaves exposed. Place the pot in a warm, bright location and keep the soil consistently moist.
- Rooted & Ready to Bloom: With proper care, the cutting should root within 3-4 weeks. You’ll know it’s ready when new growth emerges from the top.
Essential Tips & Tricks:
- Light and Temperature: Pelargonium fulgidum thrives in bright light and warmth. Make sure your seedlings or cuttings receive ample sunshine, or supplement with artificial light.
- Soil Drainage: Overwatering is a common problem for these plants. Ensure you use a well-draining potting mix to prevent root rot.
- Patience and Persistence: Propagation does take time. Don’t be discouraged if initial attempts don’t yield immediate success. Continue to provide favorable conditions and be patient.
The Rewards of Propagation:
Cultivating Pelargonium fulgidum from seed or cuttings is not only a fulfilling process but also a rewarding one. You’ll experience the joys of nurturing new life, the satisfaction of creating your own flourishing plants, and the delight of sharing the exquisite beauty of this fiery species with others. The satisfaction of seeing them bloom, showcasing their vibrant hues, is truly an experience worth cherishing.