Unlocking the Secrets of Pelargonium Glechomoides Propagation: A Step-by-Step Guide
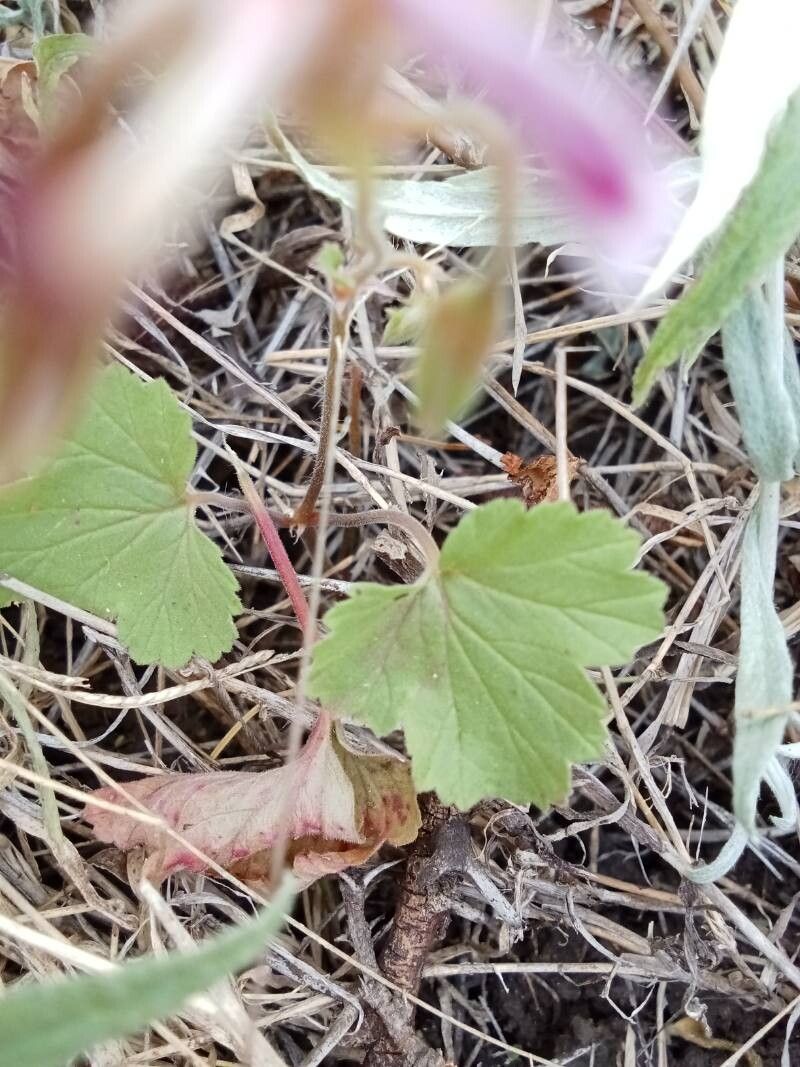
Pelargonium glechomoides, also known as the Sticky Geranium or Gooseberry-leaved Pelargonium, captivates with its charming, small pink flowers and unique, sticky foliage. Native to South Africa, this delightful plant is a fantastic addition to any sunny garden or indoor space. Ready to welcome more of this beauty into your life? Let’s explore the fascinating world of Pelargonium glechomoides propagation and equip you with the knowledge to expand your plant family successfully.
Two Paths to Propagation
Pelargonium glechomoides can be propagated through two primary methods: stem cuttings and seeds. Each method boasts its own unique advantages and considerations:
1. Stem Cuttings: A Reliable Route to Success
Propagating from stem cuttings is widely considered the most reliable and efficient method for Pelargonium glechomoides. This method allows you to create a genetically identical replica of your existing plant, preserving its unique characteristics.
Here’s how to propagate using stem cuttings:
- Timing is Key: The optimal time for taking cuttings is during the active growing season, ideally in spring or early summer.
- Selecting the Right Cuttings: Choose healthy, non-flowering stems that are approximately 3-4 inches long. Make a clean cut just below a leaf node using a sharp, sterilized knife or pair of scissors.
- Preparing the Cuttings: Remove the lower leaves from the cutting, leaving only 2-3 leaves at the top. Dip the cut end in rooting hormone powder to encourage root development (optional but beneficial).
- Planting the Cuttings: Plant the cuttings in a well-draining potting mix, such as a blend of peat moss, perlite, and vermiculite. Gently water the cuttings and place them in a bright location, out of direct sunlight.
- Patience is a Virtue: It may take several weeks for the cuttings to develop roots. You can test for root development by gently tugging on the cutting – if you feel resistance, roots are likely forming.
2. Seed Propagation: Embracing the Element of Surprise
While slightly less predictable than stem cuttings, propagating Pelargonium glechomoides from seeds offers an exciting opportunity to potentially witness unique variations in flower color and foliage.
Here’s how to propagate from seeds:
- Sourcing Seeds: Obtain fresh seeds from a reputable supplier or collect them from your existing plant after flowering.
- Sowing the Seeds: Sow the seeds in a seed-starting mix, barely covering them with soil. Water gently and maintain consistent moisture.
- Providing Optimal Conditions: Place the seed tray in a warm, bright location, out of direct sunlight. A heat mat can be beneficial for maintaining a consistent temperature.
- Transplanting the Seedlings: Once the seedlings have developed a few sets of true leaves, transplant them into individual pots filled with well-draining potting mix.
Caring for Your New Propagations:
Whether you choose stem cuttings or seed propagation, providing the right care is crucial for successful establishment.
- Light: Pelargonium glechomoides thrives in bright, indirect light.
- Water: Allow the soil to dry slightly between waterings, ensuring adequate drainage to prevent root rot.
- Temperature and Humidity: Maintain moderate temperatures and avoid exposing the plant to extreme heat or cold. Normal household humidity levels are typically sufficient.
With a little patience and care, you can expand your collection of these captivating plants and enjoy the beauty of Pelargonium glechomoides for years to come. So, grab your gardening gloves and embark on the rewarding journey of propagation!