Unlocking the Secrets to Propagating the Exquisite Pericallis Murrayi
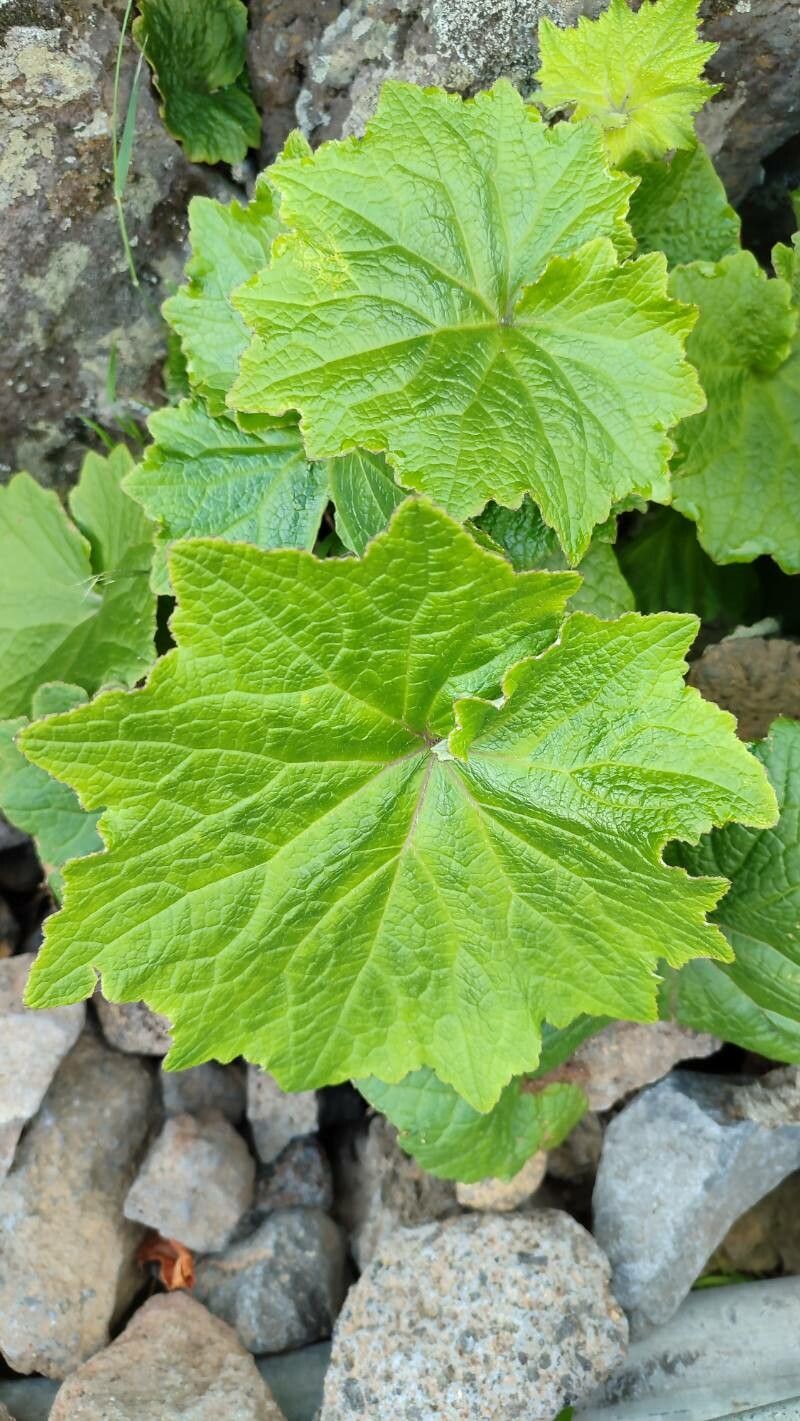
The Pericallis murrayi, also known as the Florist’s Cineraria, is a sight to behold. With its vibrant blooms reminiscent of daisies and a compact growth habit, this beautiful plant can brighten any space. Native to the Canary Islands, this tender perennial thrives in cooler climates. While readily available in garden centres, propagating your own Pericallis murrayi can be a rewarding experience.
Two Paths to Propagation: Seeds vs. Cuttings
There are two primary methods for propagating Pericallis murrayi: seeds and cuttings. Both offer unique advantages and levels of complexity.
1. Starting from Seed: A Colorful Gamble
Growing Pericallis murrayi from seed is an exciting adventure, particularly for those who enjoy a touch of unpredictability. Cultivars grown from seed may exhibit slight variations in colour and form compared to the parent plant, leading to pleasant surprises in your garden.
- When to sow: The ideal time to sow Pericallis murrayi seeds is in late spring or early summer.
- Sowing the seeds: Use a well-draining seed starting mix and lightly press the seeds onto the surface, as they require light to germinate. Mist the soil and cover the tray with a plastic dome or wrap to retain moisture.
- Germination: Place the tray in a warm, bright location out of direct sunlight. Germination typically takes 10-14 days.
- Transplanting: Once seedlings develop a couple of true leaves, transplant them into individual pots filled with a well-draining potting mix. Gradually acclimate them to outdoor conditions before planting them in their final location.
2. Propagating from Cuttings: Cloning Your Favourite Blooms
If you’re looking to replicate the exact characteristics of a prized Pericallis murrayi, propagating from cuttings is the way to go. This method ensures you’ll get a plant identical to its parent.
- When to take cuttings: The best time for this is in spring or early summer when the plant is actively growing.
- Taking the cuttings: Select healthy, non-flowering stems and cut a 3-4 inch section just below a leaf node. Remove the lower leaves, leaving only a few at the top.
- Rooting hormone (optional): While not essential, dipping the cut end in rooting hormone can encourage faster root development.
- Planting the cuttings: Plant the cuttings in a moist, well-draining potting mix. Ensure the bottom node is buried, as this is where roots will emerge.
- Creating a humid environment: Cover the pot with a clear plastic bag or use a propagator to maintain high humidity. Place it in a bright location but away from direct sunlight.
- Rooting: Cuttings should root within 3-4 weeks. Once they show signs of new growth, you can gradually acclimate them to outdoor conditions before transplanting.
Caring for Your New Propagations
Whether you choose seeds or cuttings, providing optimal care is crucial for your new Pericallis murrayi to thrive.
- Light: These plants prefer bright, indirect light. Avoid direct sunlight, especially during the hottest hours of the day.
- Water: Keep the soil consistently moist but not waterlogged. Good drainage is essential to prevent root rot.
- Fertilizer: Feed your plants regularly with a balanced liquid fertilizer during the growing season.
Propagating your own Pericallis murrayi is a fulfilling endeavor that allows you to expand your plant collection while enjoying the beauty of these captivating blooms. With a little patience and care, you can master both seed starting and cutting propagation, adding a touch of personal accomplishment to your gardening journey.