Unlocking the Secrets of Miniature Beauty: Propagating Petrocosmea Minor
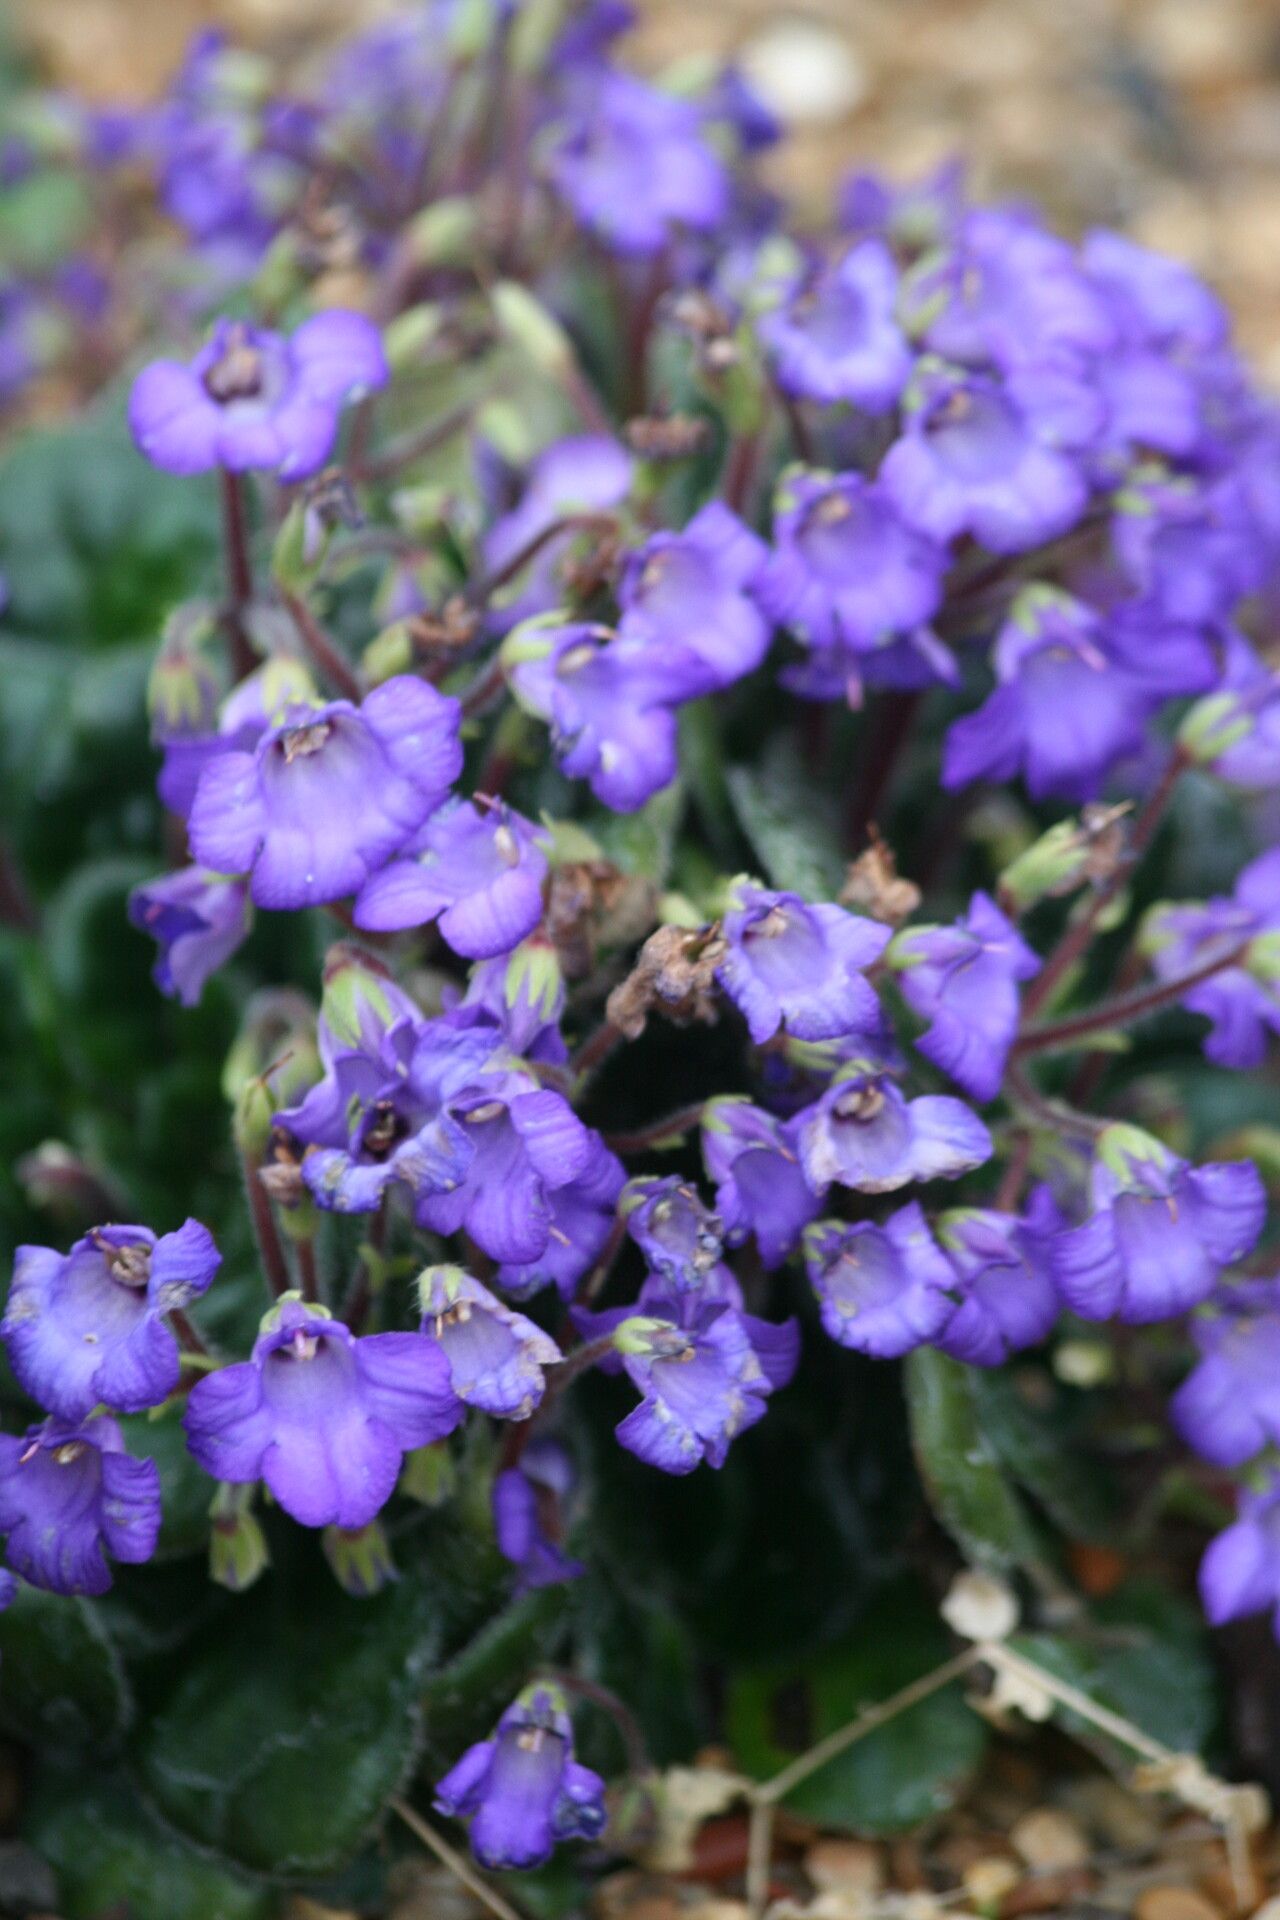
Petrocosmea minor, with its charming rosettes of fuzzy leaves and delicate, violet-blue flowers, might be small in stature, but it’s big on personality. If you’ve been captivated by this miniature marvel and want to expand your collection, you’ll be glad to know propagation is surprisingly achievable. Let’s delve into the intriguing methods for multiplying your Petrocosmea minor, welcoming more of its dainty beauty into your home.
1. Leaf Cuttings: A Miniature Approach to Multiplication
Just like its name suggests, Petrocosmea minor excels at propagation on a miniature scale. Leaf cuttings are the most common and reliable method. Here’s the lowdown:
- Timing is Key: Spring and early summer, when the plant is actively growing, offer the highest success rates.
- Selecting the Right Leaf: Choose healthy, mature leaves from the outer rim of the rosette. Avoid leaves that are damaged, too young, or showing signs of stress.
- Making the Cut: Using a sharp, sterile blade, carefully detach the leaf with its petiole (the small stalk attaching the leaf to the stem). Aim for a clean cut to prevent rotting.
- Preparing the Cutting: You can either plant the entire leaf with its petiole or cut the petiole into sections, with each section containing a part of the leaf base.
- Planting Medium: A well-draining, airy medium is crucial. A mix of peat moss and perlite or vermiculite works beautifully.
- Planting and Care: Insert the petiole end into the moistened medium, burying the base of the leaf. Place the pot in a warm, humid location with bright, indirect light. Mist regularly to maintain humidity and prevent the cutting from drying out.
- Patience is a Virtue: It can take several weeks for new plantlets to form at the base of the leaf or from the petiole sections. Once the plantlets have developed a good root system and a few leaves, they can be carefully separated and potted up individually.
2. Seed Propagation: A Rewarding (But Patient) Endeavor
While slightly less common, propagating Petrocosmea minor through seeds offers a rewarding challenge:
- Seed Collection: Allow the flower stalks to mature completely. Once the seed pods turn brown and dry, gently collect them.
- Sowing the Seeds: Sprinkle the tiny seeds over the surface of a well-draining seed-starting mix. Do not bury them; light aids germination.
- Creating the Right Environment: Cover the pot with a plastic dome or place it in a propagator to maintain high humidity. Ensure bright, indirect light and a warm temperature.
- Germination Time: Be prepared to wait – germination can take anywhere from a few weeks to a few months.
- Pricking Out and Potting Up: Once the seedlings have developed a couple of true leaves, carefully transplant them into individual pots.
Tips for Successful Propagation:
- Sterilization is Key: Always use clean, sterile tools and pots to prevent fungal or bacterial infections.
- Humidity is Crucial: Maintain a humid environment around the cuttings or seedlings. A cloche, humidity dome, or simply placing the pots on a pebble tray filled with water can work well.
- Bright, Indirect Light: Avoid direct sunlight which can scorch the delicate leaves and cuttings.
- Patience Pays Off: Propagation is a waiting game. Don’t be discouraged if you don’t see results immediately.
With a little patience and care, you can easily unlock the secrets to propagating Petrocosmea minor. Soon you’ll have a delightful collection of these petite wonders, adding a touch of miniature magic to your indoor jungle!