Blooming Brilliance: Multiply Your Petunias with These Simple Propagation Techniques!
Petunias, with their vibrant trumpets of color, are a staple in gardens worldwide. But did you know that multiplying these beauties doesn’t require a trip to the nursery? That’s right! Propagating your own petunias is surprisingly easy and rewarding.
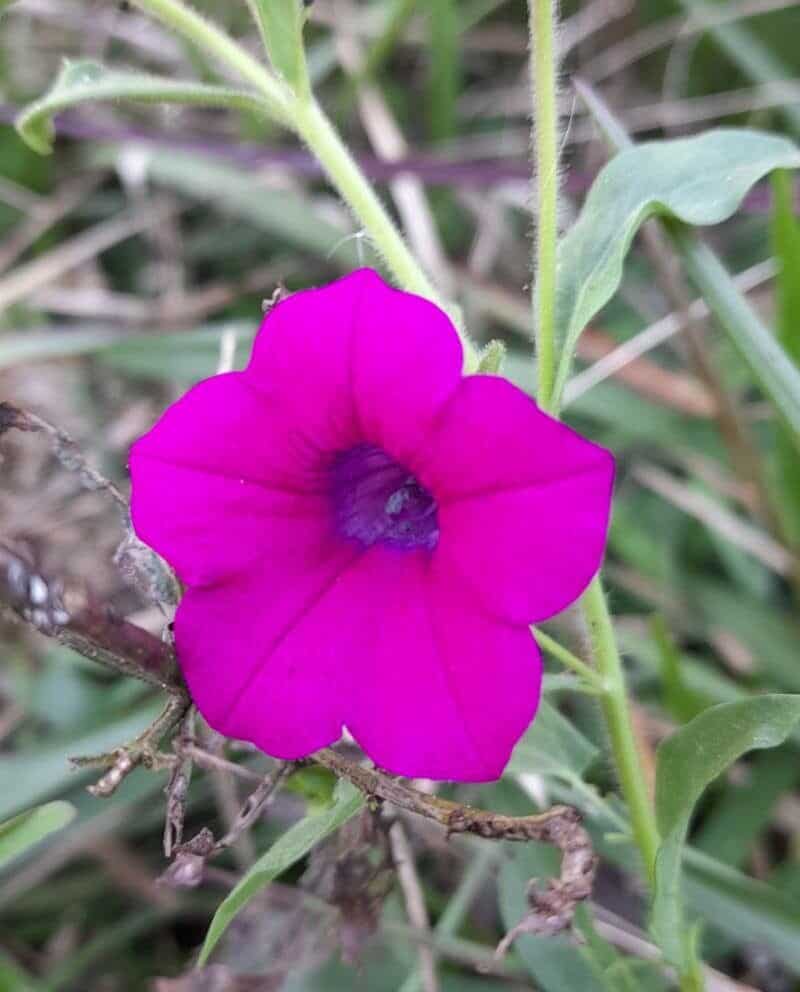
However, a quick heads-up: there’s no recognized petunia variety named "Petunia interior." This likely means you’ve encountered a unique name or a possible misnomer. But don’t worry! The good news is that general petunia propagation techniques are quite universal.
Let’s dive into two popular methods that can turn you into a petunia-propagating pro:
1. Seeds: Starting Your Petunia Journey from Scratch
- Timing is Everything: Petunia seeds are best sown indoors 6-8 weeks before the last expected frost. This gives them a head start to ensure vibrant blooms throughout the warmer months.
- Sowing the Seeds: Use a seed starting mix and lightly press the tiny seeds onto the surface. Petunia seeds need light to germinate, so don’t bury them! Mist the soil gently and cover the tray with a humidity dome or plastic wrap to retain moisture.
- Light and Warmth: Place your seed tray in a bright location, but out of direct sunlight. Aim for a temperature of around 70-75°F (21-24°C).
- Patience is Key: Germination can take anywhere from 5-10 days. Once the seedlings emerge, remove the humidity dome.
- Transplanting Time: When your seedlings have developed a few sets of true leaves, it’s time to transplant them into individual pots or directly into your garden after the last frost.
2. Cuttings: Cloning Your Favorite Blooms
- Selecting the Right Cuttings: Choose healthy, non-flowering stems about 3-4 inches long. Make a clean cut just below a leaf node (where the leaf attaches to the stem).
- Prepping the Cuttings: Remove the lower leaves, leaving only 2-3 pairs at the top. Dip the cut end in rooting hormone (optional, but helpful!).
- Planting Your Cutting: Fill a small pot with a well-draining potting mix and make a hole with your finger or a pencil. Gently insert the cutting into the hole and firm the soil around it.
- Creating a Humid Environment: Cover the pot with a clear plastic bag or a humidity dome to trap moisture. This is crucial for successful root development.
- Patience, Again! It takes about 4-6 weeks for cuttings to root. You’ll know they’re established when you see new growth.
Bonus Tip: Pinching for Fuller Plants
Whether you’re starting from seed or cuttings, pinching back your young petunias encourages bushier, fuller plants with more blooms. When your plants are about 6 inches tall, pinch off the top inch of growth. This might seem counterintuitive, but trust the process – you’ll be rewarded with a stunning display!
Propagating petunias isn’t just about multiplying your blooms; it’s about connecting with the magic of plant growth. With a little patience and these simple techniques, you can fill your garden with these vibrant beauties, season after season.