Unlocking the Secrets of Phaulopsis Ciliata: A Propagation Guide for Beginners
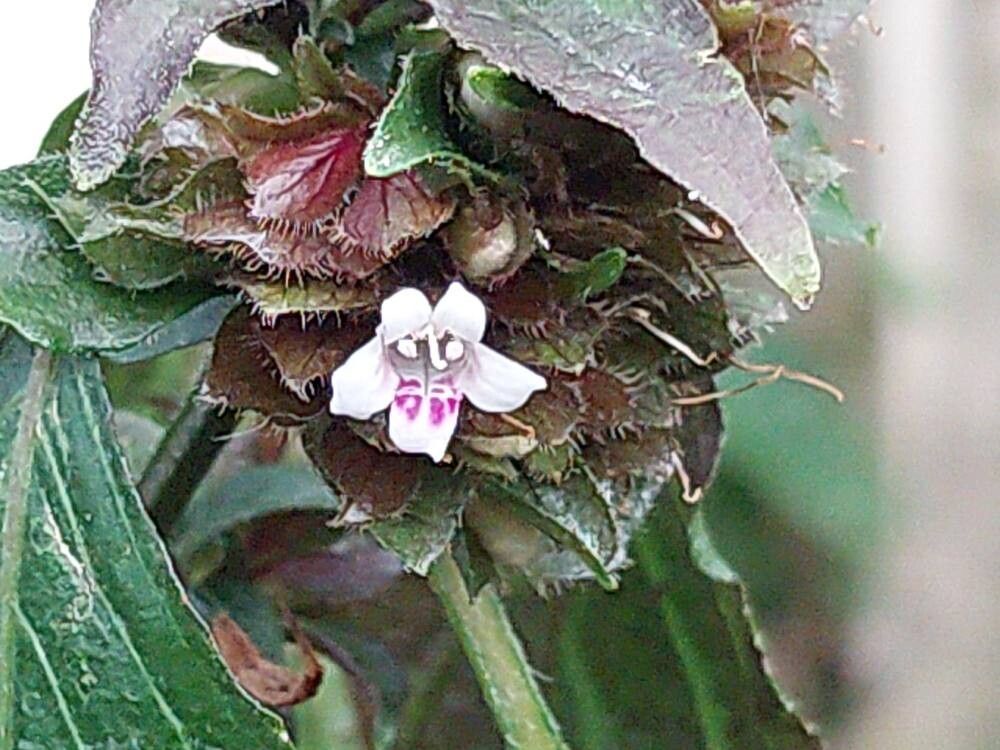
Phaulopsis ciliata, also known as the “Zimbabwe Blue” or “Purple Rain” plant, is a captivating groundcover prized for its mesmerizing purple foliage and delicate white flowers. While its beauty is undeniable, many plant enthusiasts shy away from propagating this stunning species, believing it to be a challenging endeavor. Fear not! This guide will demystify Phaulopsis ciliata propagation, providing you with the knowledge and confidence to expand your collection and share its beauty.
Two Paths to Success: Cuttings vs. Seeds
There are primarily two methods for propagating Phaulopsis ciliata:
Stem Cuttings: This popular and relatively simple method involves taking a cutting from a healthy mother plant and encouraging it to develop roots.
- Seeds: While less common, propagating from seeds can be a rewarding experience. However, seeds can be hard to come by, and this method requires more patience as it takes longer for the plants to mature.
Mastering the Art of Cuttings
Propagating Phaulopsis ciliata from cuttings is surprisingly straightforward:
Step 1: Timing is Key: The best time to take cuttings is during the plant’s active growing season, typically spring or early summer.
Step 2: Select Healthy Stems: Choose stems that are healthy, free from pests or diseases, and show vigorous growth. Avoid older, woody stems.
Step 3: Make the Cut: Using sharp, sterilized scissors or pruning shears, cut a 3-4 inch section of stem just below a leaf node. Remove the lower leaves from the cutting, leaving 2-3 leaves at the top.
Step 4: Rooting Hormone (Optional): While not mandatory, dipping the cut end in rooting hormone powder can encourage faster and more robust root development.
Step 5: Choose Your Medium: You can root your cuttings in water or a well-draining potting mix. If using soil, ensure it remains consistently moist but not waterlogged.
Step 6: Patience is a Virtue: Place the cuttings in a warm, humid environment with indirect sunlight. Rooting can take several weeks, so be patient and avoid disturbing the cuttings.
Step 7: Transplant Time: Once your cuttings develop a healthy root system (usually 1-2 inches long), you can transplant them into individual pots filled with a well-draining potting mix.
The Seed Route: A Labor of Love
If you’re up for a more hands-on approach, you can try propagating Phaulopsis ciliata from seeds:
Step 1: Source Your Seeds: Find a reputable supplier online or at a local nursery specializing in unusual plants.
Step 2: Sow with Care: Sow your seeds in a seed starting mix and lightly cover them with soil. Keep the soil consistently moist.
Step 3: Warmth and Light: Place the seed tray in a warm, bright location but out of direct sunlight.
Step 4: Germination Patience: Germination can be slow and sporadic, so be patient. It can take anywhere from a few weeks to a couple of months.
Step 5: Thinning the Herd: Once the seedlings are large enough to handle, thin them out, leaving the strongest ones to thrive.
Step 6: Transplanting Success: When the seedlings have developed a good root system and are a few inches tall, you can transplant them into individual pots.
Tips for Propagation Success
- Use clean tools and materials to prevent the spread of diseases.
- Maintain a humid environment for your cuttings by covering them with a plastic bag or using a propagation dome.
- Avoid overwatering your cuttings or seedlings, as this can lead to root rot.
- Be patient! Propagation takes time, so don’t be discouraged if you don’t see results immediately.
Propagating Phaulopsis ciliata might seem intimidating at first, but with the right knowledge and a little bit of patience, you can successfully multiply your collection and enjoy the beauty of this captivating plant for years to come.