From Cutting to Thriving: Propagating Your Own Philotheca Buxifolia
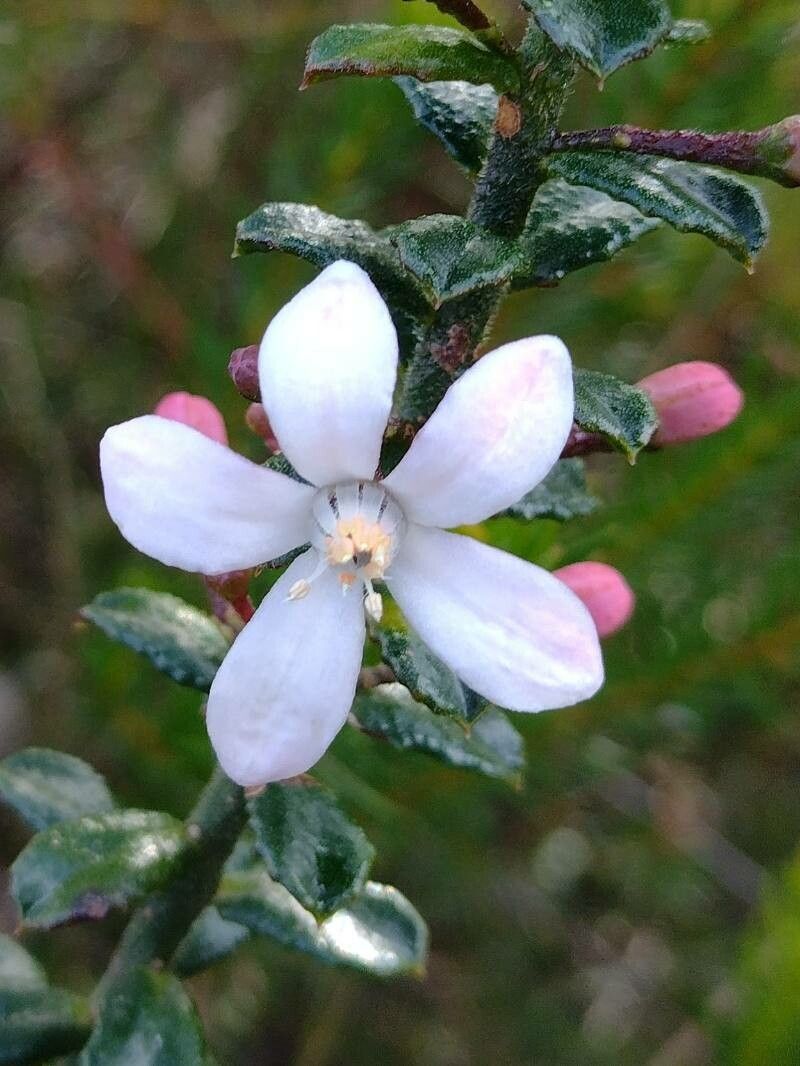
The Philotheca buxifolia, with its charming, box-like foliage and fragrant white blooms, is a delightful addition to any garden. But these Australian natives can be a bit pricey to purchase. Fortunately, with a bit of patience and the right techniques, you can easily propagate your own Philotheca buxifolia from cuttings, expanding your garden and saving some green along the way.
Understanding the Process
Propagation involves creating new plants from existing ones, in this case using cuttings. These cuttings, taken from healthy stems, can develop roots and start their own journey as independent plants. It’s a remarkably satisfying process for any plant enthusiast, offering a sense of accomplishment and a connection to the natural world.
Choosing the Right Cuttings
The first step is selecting the right cuttings. You want healthy, non-flowering stems that are about 4-6 inches long. Look for stems with firm, mature growth, free from pests or diseases.
- Timing is key: Spring and early summer are ideal seasons for propagating Philotheca buxifolia. The plant is actively growing during these times, making it more receptive to root development.
- The “heel”: When taking the cutting, make a clean, angled cut just below a node (where leaves grow). Ideally, gently tear a small piece of the bark from the stem below the cut, creating a “heel” – this encourages root growth.
- Leaf removal: Remove the bottom leaves and any flowers from the cutting, leaving only a few leaves at the top. This reduces the surface area for water loss and concentrates energy towards root development.
Rooting Medium and Process
After preparing your cuttings, you need a suitable rooting medium. A mixture of equal parts peat moss and perlite or vermiculite works well.
- Potting: Fill a small pot with the rooting medium and create a small hole in the center. Insert the cutting into the hole, making sure the lower node is buried in the medium.
- Moisture and Light: Water the cutting generously, ensuring the medium is moist but not soggy. Place the pot in a bright, indirect light location, away from direct sunlight.
- Humidity and Protection: Use a clear plastic bag or a humidity dome to create a humid environment around the cuttings. This helps retain moisture and prevents them from drying out.
- Patience is Key: Rooting can take several weeks, sometimes even months, depending on the conditions and the time of year. Be patient and don’t disturb the cuttings too much.
Signs of Success and Transplanting
After several weeks, you can start to check for signs of root development. Gently tug on the cutting – if it shows resistance, roots are likely forming. If you see new growth at the top of the cutting, that’s another positive sign.
- Gradually acclimate: Once the cuttings have developed a strong root system, gradually acclimate them to outdoor conditions. This can be done by slowly increasing the time spent in the open air, accustoming them to the sun and wind.
- Repotting: Once the roots have filled the initial pot, you can repot the cuttings into larger pots or directly into your garden. Choose a well-draining soil, as Philotheca buxifolia prefers a slightly sandy, gritty mixture.
- Maintenance: With proper care, your newly propagated Philotheca buxifolia will thrive. Water them regularly, ensuring the soil is moist but not saturated. Prune them regularly to maintain their shape and encourage bushier growth.
Propagating your own Philotheca buxifolia is a rewarding journey that combines patience, care, and a love of nature. With a little bit of effort, you can create a beautiful and fragrant addition to your garden, enjoying the satisfaction of bringing life to a new plant from a simple cutting.