Spreading the Love: How to Propagate Phlox Mesoleuca
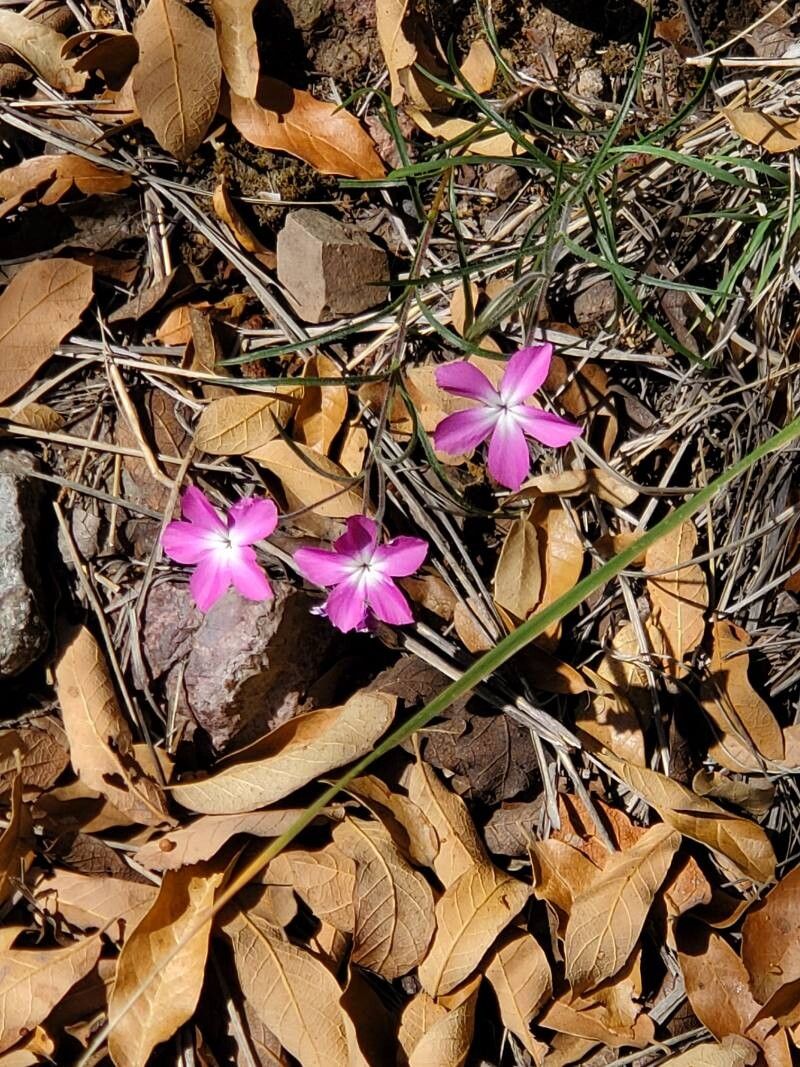
Phlox mesoleuca, with its delicate white blossoms and graceful foliage, is a captivating addition to any garden. But why stop at one stunning plant? Propagating Phlox mesoleuca allows you to share this beauty and easily expand your garden with more of these graceful beauties.
Here’s a breakdown of the most common methods:
1. Seed Propagation: A Bit of Patience Pays Off
- The Process: This method takes a bit longer, but it’s rewarding. You need to harvest seeds from mature flowerheads and allow them to dry thoroughly. Sow them in a seed tray filled with a well-draining seed starting mix. Cover the seeds lightly with soil and mist them regularly. Keep the tray in a bright location with indirect light.
- Timing: Phlox mesoleuca seeds can be started indoors in early spring, several weeks before your last frost date. You can also directly sow the seeds outdoors after the soil has warmed.
- Key Tip: Be patient! Germination can take a few weeks.
2. Division: Splitting for More Blooms
- The Process: This method is ideal for established Phlox mesoleuca plants. In early spring or fall, carefully dig up the plant and gently separate it into multiple divisions. Each division should have healthy roots and several stems. Replant them in well-prepared soil, ensuring adequate spacing for each plant to thrive.
- Timing: Spring or fall are the best times for division, as the plants are actively growing or entering a period of dormancy.
- Key Point: It’s best to divide clumps that are showing signs of overcrowding and diminished flowering.
3. Stem Cuttings: A Quick and Easy Way
- The Process: This method is the fastest way to propagate Phlox mesoleuca. Choose healthy, non-flowering stems and cut them just below a node (where the leaves grow). Remove the bottom leaves and dip the cut end in rooting hormone for best results. Plant the cuttings in a pot filled with a well-draining potting mix and keep the soil consistently moist.
- Timing: This method is best undertaken in the spring or early summer.
- Key Point: Keep the cuttings in a bright location but out of direct sunlight. You should see roots develop within a few weeks.
4. Layering: Nature’s Way to Multiply
- The Process: Layering involves encouraging a stem to root while it’s still attached to the parent plant. Bend a healthy stem to the ground and partially bury it. Pin it in place and keep the soil moist. Once roots develop, you can carefully sever the stem from the parent plant and transplant it to a new location.
- Timing: Layering works best in the spring or early summer when soil temperatures are warm and roots can readily develop.
- Key Tip: Choose pliable stems for this method and ensure the buried portion of the stem is well-covered with soil.
Beyond Propagation: Caring for Your Phlox Mesoleuca
Once you’ve successfully propagated your Phlox mesoleuca, ensure they thrive with proper care:
- Full sun to partial shade: Phlox mesoleuca prefers well-drained soil and a sunny location, although they tolerate some shade.
- Consistent watering: Keep the soil consistently moist, especially during extended dry spells.
- Fertilizer: A balanced fertilizer applied monthly will help your plants thrive.
- Deadheading: Removing spent blooms will encourage more flowering and prevent the plant from putting energy into seed production.
With a little effort and a dose of patience, you can easily increase your collection of Phlox mesoleuca. Share your successful propagation stories and tips in the comments below!