Unlocking the Secrets of Propagation: How to Grow More Photinia Davidiana
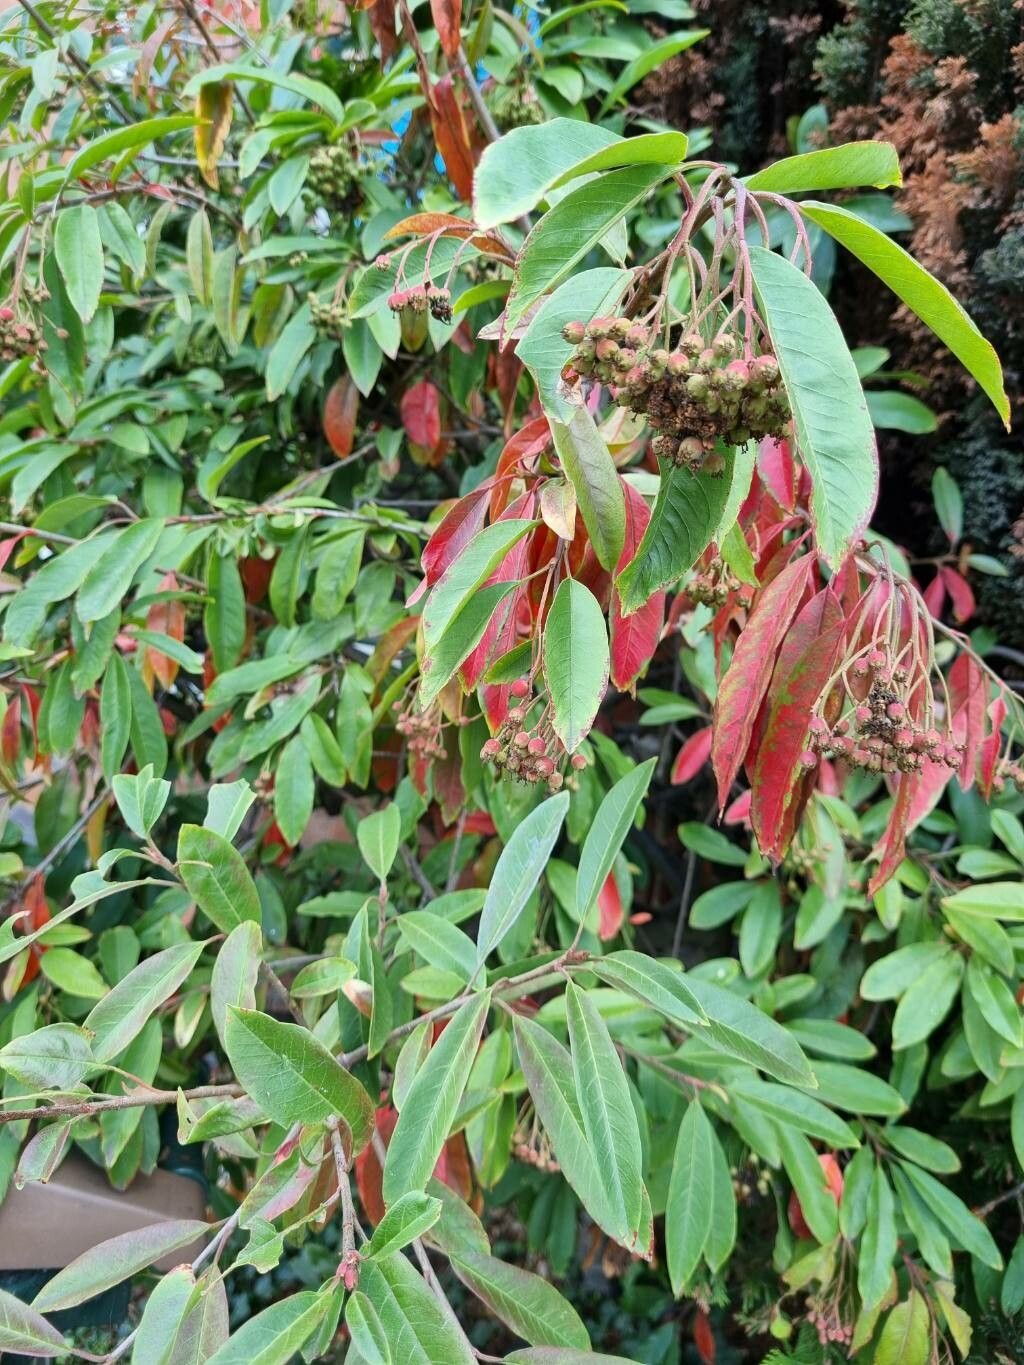
Photinia davidiana, with its stunning foliage of fiery reds and deep greens, can bring a touch of dramatic beauty to any garden. Whether you’re captivated by its spring blooms or its vibrant autumn display, propagating your own Photinia davidiana is a rewarding endeavor.
While buying established plants is always an option, propagating them yourself allows you to expand your garden for less, provides a sense of accomplishment, and lets you share the joy of this beautiful species with others. Fear not, propagating Photinia davidiana is surprisingly achievable, even for beginners!
Choosing Your Propagation Method
Two main methods dominate Photinia davidiana propagation: semi-hardwood cuttings and seeds.
1. Semi-Hardwood Cuttings: The Popular Choice
Semi-hardwood cuttings offer a higher success rate and quicker results, making them ideal for both novice and seasoned gardeners. Here’s a step-by-step guide:
- Timing is Key: Take cuttings in late summer or early fall when the plant’s growth has started to harden but remains slightly pliable.
- Cut with Precision: Choose healthy, non-flowering stems. Make a clean cut just below a leaf node, about 4-6 inches long.
- Prepare Your Cutting: Remove the lower leaves, leaving 2-3 pairs at the top.
- Rooting Hormone (Optional): While not mandatory, dipping the cut end in rooting hormone can significantly increase your success rate.
- Planting Time: Plant the cutting in a well-draining potting mix, burying the bottom node.
- Creating a Humid Environment: Cover the pot with a plastic bag or use a propagator to maintain humidity.
- Patience is a Virtue: Keep the soil consistently moist and provide indirect sunlight. Roots typically develop in 6-8 weeks.
- Transplanting Success: Once new growth emerges, your cutting has rooted! You can then transplant it into a larger pot or directly into your garden.
2. Seed Propagation: A Journey of Patience
Propagating Photinia davidiana from seed is a more time-consuming process with slightly less predictable results. However, it can be a fun experiment for those up to the challenge. Follow these steps:
- Collecting Seeds: Gather ripe berries in the fall and extract the small seeds.
- Cold Stratification (Essential): Mimic winter conditions by storing the seeds in a moist paper towel inside a sealed plastic bag in the refrigerator for 6-8 weeks.
- Sowing Time: Plant the seeds in seed trays filled with a well-draining seed starting mix. Cover them lightly with soil.
- Warmth and Light: Provide a warm and bright location, but avoid direct sunlight. Germination can take several weeks or even months.
- Thinning Out: If multiple seedlings sprout in one section, gently thin them out, leaving the strongest one.
- Gradual Acclimatization: Once the seedlings have a couple of sets of true leaves, slowly acclimate them to outdoor conditions before planting them in their final location.
Caring for Your New Photinia Davidiana
Regardless of your chosen propagation method, providing the right care is crucial for your new plants to thrive:
- Sunlight: Photinia davidiana flourishes in full sun to partial shade.
- Soil: Well-draining soil is essential to prevent root rot.
- Watering: Water regularly, especially during the first year, keeping the soil moist but not waterlogged.
- Pruning: Regular pruning in late winter or early spring helps maintain its shape and encourages bushier growth.
Propagating your own Photinia davidiana is a gratifying experience. By following these tips, you’ll be well on your way to adding more of these vibrant beauties to your garden and sharing your love of plants with others. Happy propagating!