Growing Your Own Jungle: The Simple Guide to Propagating Phyllanthus Arbuscula
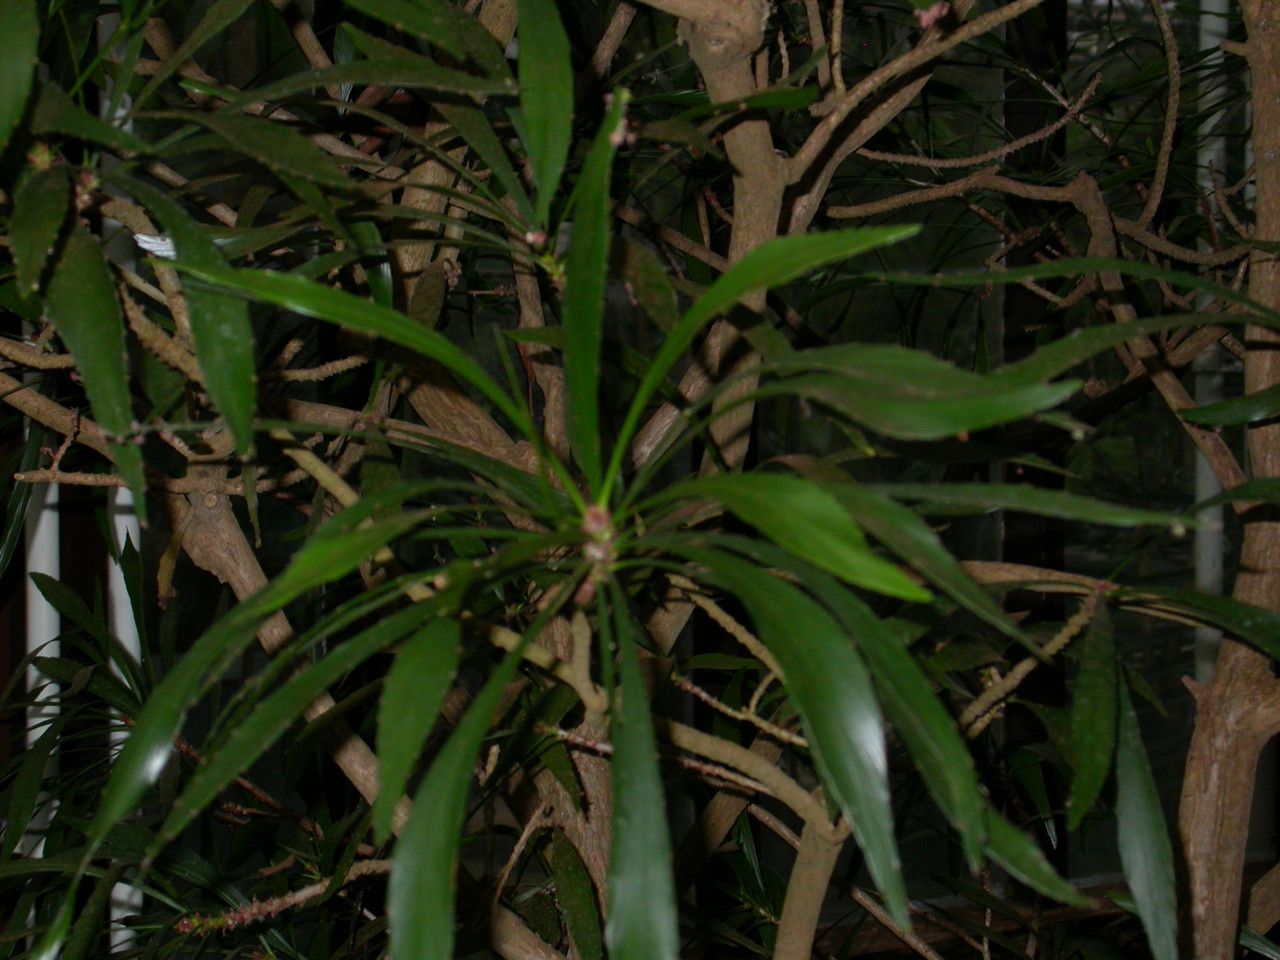
Want a lush, unique addition to your indoor jungle, but don’t want to shell out for a pricey plant? Look no further than the stunning Phyllanthus arbuscula, also known as the Red Twig Phyllanthus. This tropical beauty boasts vibrant red stems, tiny green leaves, and an air of elegance that’s sure to turn heads. The even better news? It’s surprisingly easy to propagate!
Whether you’re a seasoned plant parent or just starting out, this guide will walk you through the simple steps of propagating Phyllanthus arbuscula, giving you the confidence to grow your very own collection of these charming plants.
Method 1: Stem Cuttings
This is the most common and effective method for propagating Phyllanthus arbuscula. It’s a breeze, even for beginners!
What you’ll need:
- Sharp, clean scissors or pruning shears
- A small pot filled with well-draining potting mix
- A plastic bag or dome to create a humidity dome
- Water
Let’s get started:
- Take Cuttings: Choose healthy stems that are at least 4 inches long. Make a clean cut just below a node (where a leaf grows).
- Prepare the Cuttings: Remove any leaves from the bottom inch or two of the stem. This allows for better root development.
- Planting: Dip the cut end of the stem in rooting hormone (optional) and gently insert it into the potting mix. Water thoroughly.
- Create a Humidity Dome: Cover the pot with a plastic bag or dome to trap moisture.
- Care and Patience: Place the pot in bright, indirect light. Mist the cuttings regularly to maintain humidity. Keep the soil slightly moist but not soggy.
- Roots Develop: Roots will typically form within a few weeks. You’ll notice new growth at the top of the cutting.
- Transplant: Once roots are established, you can carefully remove the plastic cover and transplant your new Phyllanthus arbuscula into its own pot.
Method 2: Air Layering
If you want to propagate a larger branch of your Phyllanthus arbuscula, air layering is a great option.
You’ll need:
- Sharp, clean knife
- Sphagnum moss
- Plastic wrap
- String or twist ties
Here’s how:
- Choose a Branch: Select a healthy, mature branch that’s at least the thickness of a pencil.
- Make an Incision: Using the sharp knife, make a circular cut about an inch deep into the branch.
- Apply Moss: Carefully wrap the incised area with moist sphagnum moss. Keep the moss moist for optimal root growth.
- Secure the Moss: Wrap the moss in plastic wrap and secure it tightly with string or twist ties.
- Wait for Roots: Over the next few weeks, roots will begin to develop within the moss.
- Cut and Pot: Once roots have formed, cut the branch just below the moss and plant it in a pot filled with potting mix.
Tips for Success:
- Clean Tools: Sterilize your tools to prevent the spread of fungal infections.
- Well-Draining Soil: Phyllanthus arbuscula prefers a well-draining soil mix.
- Bright, Indirect Light: Provide bright, indirect light for optimal growth.
- Regular Watering: Water consistently, keeping the soil moist but not soggy.
- Fertilize: Fertilize monthly during the growing season with a diluted liquid fertilizer.
With a little care and patience, you’ll be rewarded with a thriving new Phyllanthus arbuscula. Now you can enjoy the beautiful reds and greens of this tropical gem, and share the joy of propagation with fellow plant lovers!