Unlocking the Secrets of Phyllanthus favieri Propagation: A Step-by-Step Guide
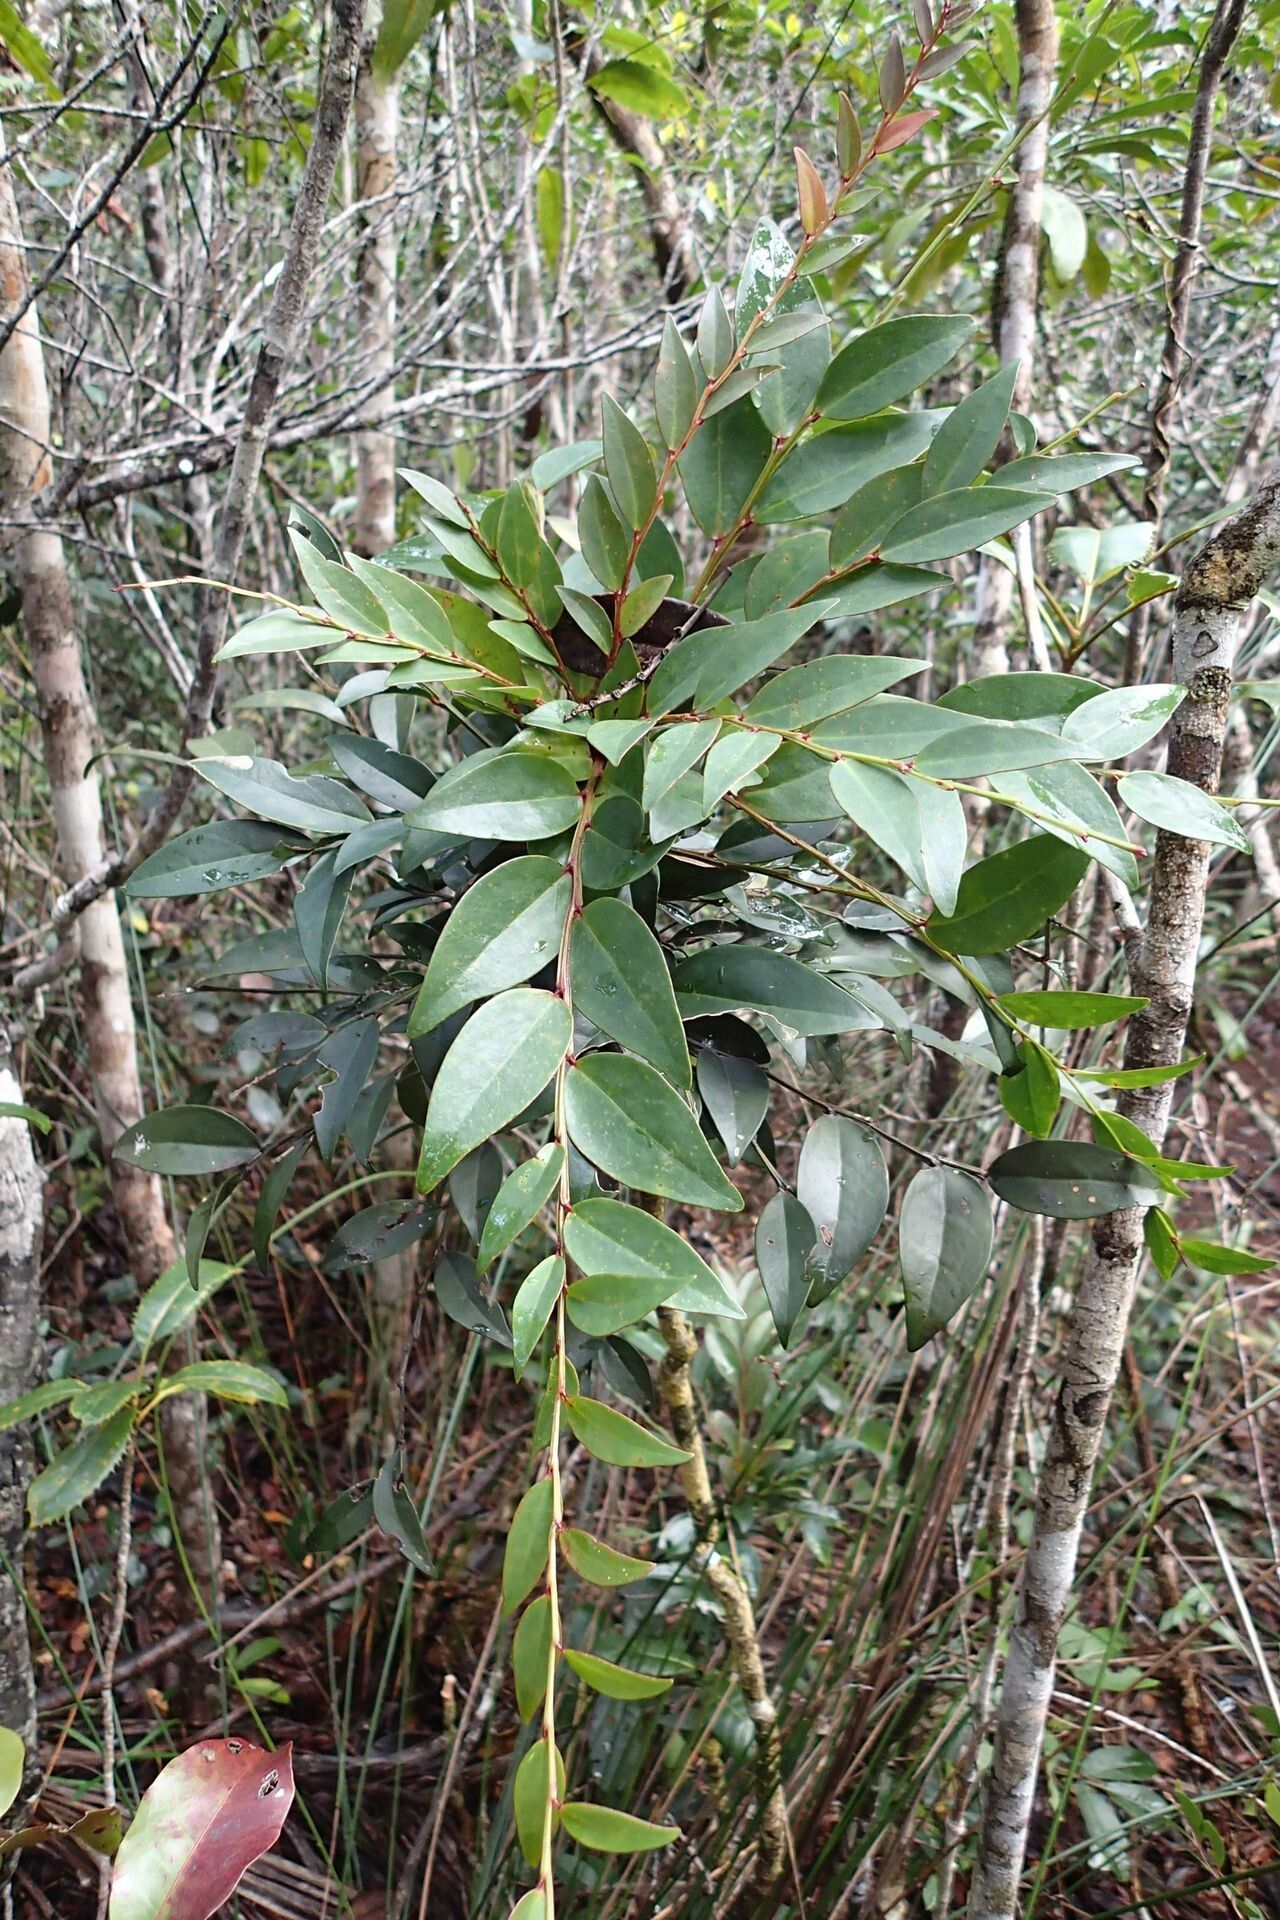
Phyllanthus favieri, also known delightfully as the “snowflake bush” or “white-veined leafflower,” is a captivating plant with delicate, intricately patterned foliage. Native to Madagascar, this charming shrub boasts delicate white blooms and a unique growth habit that makes it a prized possession for any plant enthusiast.
While finding this beauty might be half the challenge, propagating it successfully at home opens up a world of possibilities for expanding your collection and sharing this treasure with friends.
Propagation Methods: Unveiling the Options
Two primary methods allow you to propagate Phyllanthus favieri:
1. Stem Cuttings: A Journey of Patience and Precision
Propagating Phyllanthus favieri from stem cuttings is like embarking on a rewarding, albeit patient, journey. This method, favored for its genetic replicability, involves careful selection and nurturing to witness new life emerge.
Here’s how to propagate Phyllanthus favieri from stem cuttings:
Step 1: The Art of Selecting Cuttings
- During spring or early summer, choose healthy, non-flowering stems exhibiting robust growth.
- Using clean, sharp pruning shears, make a cut just below a leaf node at a 45-degree angle.
- Aim for a cutting length of about 4-6 inches, removing leaves from the bottom inch.
Step 2: Encouraging Root Development
- Dip the cut end of the stem in rooting hormone powder to stimulate root growth (optional but recommended).
- Prepare a pot with well-draining, sterile potting mix, creating a small hole for the cutting.
- Gently insert the cutting, burying the leaf node, and lightly firm the soil around it.
Step 3: Creating the Ideal Environment
- Water the cutting thoroughly, allowing excess water to drain.
- Place the pot in a warm, brightly lit location, avoiding direct sunlight.
- Maintain high humidity by covering the pot with a plastic bag or placing it inside a humidity dome.
- Within 4-8 weeks, with consistent moisture and warmth, your cutting should begin developing roots.
2. Seeds: Embracing the Element of Surprise
Propagating from seeds, though less common due to seed availability, offers a unique experience with the potential for slight variations in the offspring.
Here’s how to propagate Phyllanthus favieri from seeds:
Step 1: Sourcing and Preparing Seeds
- Obtain fresh seeds from a reputable supplier or collect them from mature plants once the seed pods have dried.
- Lightly scarify the seeds by gently rubbing them with sandpaper to enhance germination rates.
Step 2: Sowing the Seeds
- Sow seeds in a well-draining seed-starting mix, barely covering them with soil.
- Mist the soil surface with water and cover the container with a plastic dome or wrap.
Step 3: Patience is Key
- Place the container in a warm, brightly lit area, avoiding direct sunlight.
- Germination can be erratic and may take several weeks to months.
- Once seedlings have developed a few sets of true leaves, transplant them into individual pots.
Nurturing Your Propagated Phyllanthus favieri
Whether you choose stem cuttings or the magic of seeds, provide your newly propagated Phyllanthus favieri with:
- Bright, indirect light: Avoid direct sunlight, which can scorch the delicate foliage.
- Well-draining soil: A peat-based potting mix with perlite or vermiculite is ideal.
- Moderate watering: Allow the soil surface to dry slightly between waterings, avoiding overwatering.
- Warm temperatures: Keep temperatures between 65-80°F (18-27°C) for optimal growth.
With patience, care, and a touch of green-thumb magic, you can successfully propagate Phyllanthus favieri, enjoying its unique beauty for years to come and even sharing the joy with fellow plant enthusiasts!