Unfurling New Life: How to Propagate the Majestic Bird’s Nest Fern
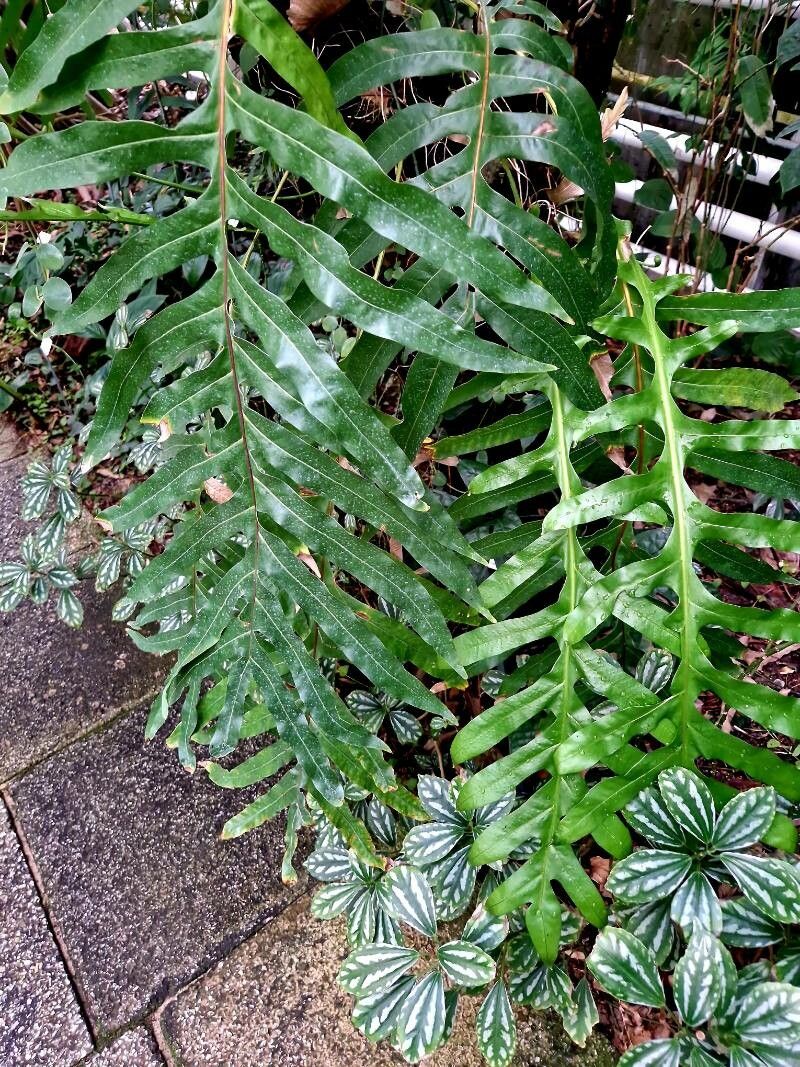
The Bird’s Nest Fern (Phymatosorus scolopendria), with its striking, symmetrical rosette of fronds, adds a touch of the tropics to any home. But did you know that this stunning plant is also remarkably easy to propagate? This means you can multiply your lush green collection without spending a fortune on new plants. Let’s explore the simple methods for propagating this iconic fern:
1. Division: The Quickest Path to New Ferns
Division is the easiest and most effective method for propagating Bird’s Nest Ferns. It involves separating the plant into multiple portions, each with its own root system. Here’s how to do it:
- Choose the right time: The best time to divide a Bird’s Nest Fern is during the spring or early summer when it’s actively growing.
- Gently remove the plant: Carefully lift the fern from its pot and loosen the soil around the roots.
- Identify the division points: Look for natural divisions within the plant where the root ball splits.
- Separate with care: Gently pull the divisions apart, ensuring each section has roots attached.
- Repotting: Plant each division in a pot with fresh, well-draining potting mix.
- Water and care: Provide consistent watering and bright, indirect light.
2. Spores: A Long and Rewarding Journey
Bird’s Nest Ferns reproduce through spores, tiny dust-like particles located on the underside of their frond. While spore propagation takes longer than division, it offers a fascinating journey and a sense of accomplishment:
- Harvest the spores: Cut a mature frond and carefully scrape the underside to collect the spores.
- Prepare a sterile medium: Use a mixture of peat moss and vermiculite sterilized in the oven at 180°C for 30 minutes.
- Sow the spores: Spread the spores evenly across the surface of the medium and lightly mist with water.
- Create a mini-greenhouse: Cover the container with plastic wrap to create a humid environment.
- Patience is key: Keep the medium consistently moist and provide bright, indirect light. Germination can take several weeks to months!
- Transplant seedlings: Once the seedlings have developed several fronds, transplant them into individual pots.
3. Leaf Propagation: A Less Common Approach
While not as common as division or spore propagation, you can attempt to propagate Bird’s Nest Ferns using leaf cuttings.
- Choose healthy fronds: Select a mature, healthy frond and cut it at the base.
- Prepare the cutting: Remove any damaged or diseased parts.
- Dip in rooting hormone: Consider using a rooting hormone to encourage root growth.
- Plant in a sterile medium: Pot the cutting in a mixture of perlite and peat moss.
- Maintain humidity: Cover the pot with a clear plastic bag to maintain high humidity.
- Provide indirect light: Keep the pot in a bright, indirect light location.
- Monitor for progress: Keep the medium moist and monitor for signs of root development.
Caring for Your New Ferns
Once your new ferns are established, consistency is key. Provide them with well-draining potting mix, consistent watering, and bright, indirect light. Protect them from direct sunlight, which can burn the delicate fronds.
Propagating Bird’s Nest Ferns is a rewarding experience. With patience and proper care, you can enjoy these stunning tropical ferns in multiple locations, adding a touch of the tropics within your own home.