Bringing a Piece of Paradise Home: Propagating Picrella Ignambiensis
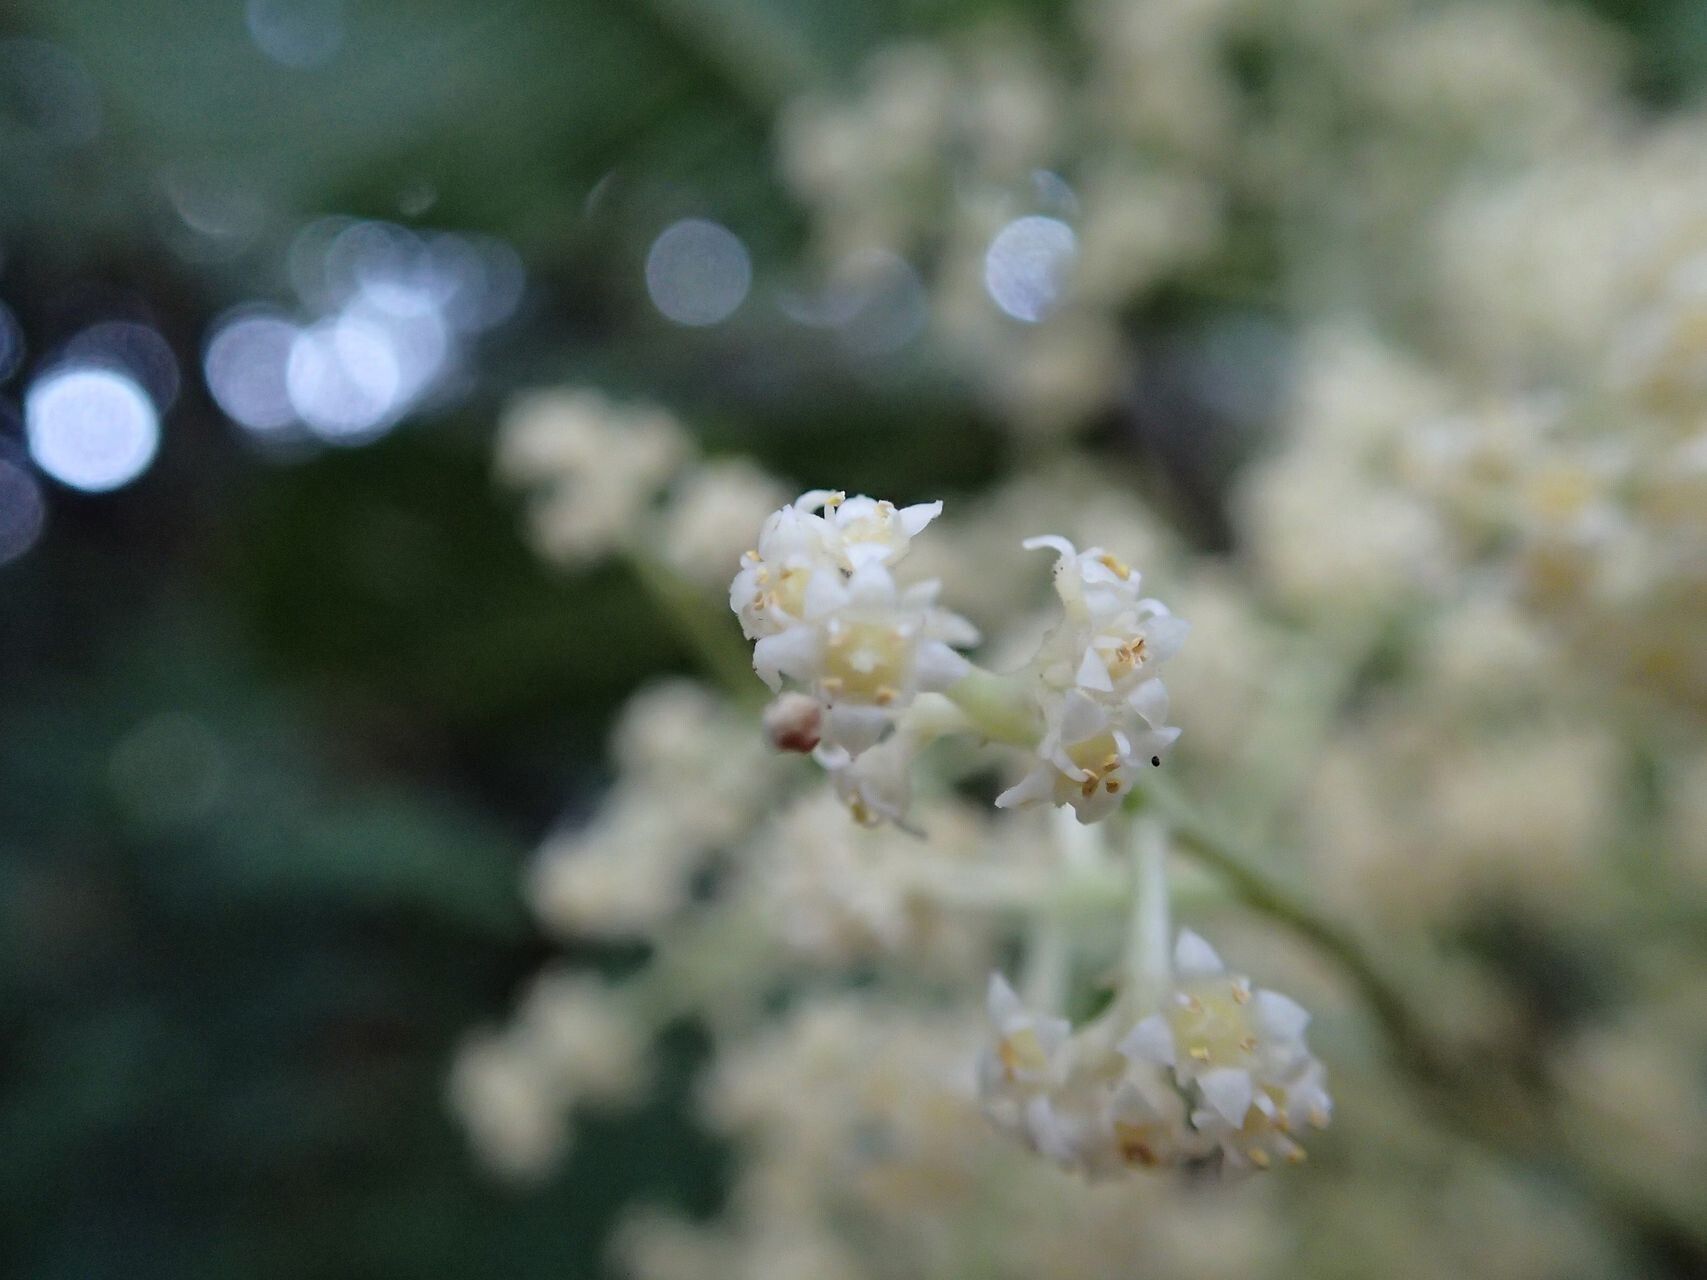
The Picrella ignambiensis, with its vibrant, almost iridescent foliage and delicate, fragrant blooms, is a plant that has captured the hearts of many plant enthusiasts. But with its relatively limited availability, getting your hands on this botanical gem can be a challenge. Thankfully, there’s an exciting solution: propagation!
This fascinating process allows you to create new plants from existing ones, allowing you to expand your collection and share the beauty of the Picrella ignambiensis with others. In this blog post, we’ll dive into the exciting world of propagating this unique plant, exploring the different methods and providing helpful tips to ensure success.
The Power of Cuttings:
One of the most popular and effective methods for propagating the Picrella ignambiensis is through stem cuttings. This technique involves taking a section of healthy stem from a mature plant and encouraging it to develop new roots.
Here’s how to do it:
- Choose the right stem: Select a non-flowering stem with a smooth, healthy appearance. Aim for a cutting about 4-6 inches long.
- Prepare the cutting: Use a sharp, sterile blade to make a clean cut at a 45-degree angle just below a node (where leaves grow).
- Remove bottom leaves: Remove the lower leaves from the cutting to prevent rotting in the rooting medium.
- Root the cutting: Dip the cut end of the stem in rooting hormone powder to encourage root development. Then, insert the cutting into a suitable rooting medium, such as perlite, vermiculite, or a blend of peat moss and sand.
- Provide the right environment: Keep the rooting medium consistently moist but avoid overwatering. Place the cuttings in a bright location, but avoid direct sunlight.
- Patience is key: Rooting can take anywhere from 4 to 8 weeks, so be patient! After new growth appears, you can gradually acclimate the new plant to its permanent home.
From Seeds to Stunning Growth:
For those seeking a different approach, propagating Picrella ignambiensis from seeds is another option. While this method might take longer, it can be incredibly rewarding.
Here are the steps involved:
- Collect seeds: Gather seeds from mature seed pods of your Picrella ignambiensis plant. Ensure they are fully ripe and dry before attempting germination.
- Prepare the soil: Use a well-draining seed starting mix for optimal results. The mix should be moist but not soggy.
- Sow the seeds: Gently press the seeds into the soil surface and cover them lightly with a thin layer of potting mix.
- Create the right environment: Maintain a consistent temperature of around 70-75 degrees Fahrenheit. A humidity dome or clear plastic wrap can be used to help maintain humidity.
- Light is crucial: Ensure the seedlings receive bright, indirect light.
- Wait and monitor: Germination can take several weeks. Once the seedlings emerge, provide them with the necessary care and gradually acclimate them to their permanent home.
Tips for Success:
Regardless of the method you choose, here are some general tips for successful Picrella ignambiensis propagation:
- Cleanliness is key: Sterilize your tools to minimize the risk of introducing diseases.
- Choose the right time: Spring and early summer are ideal times for propagation, when the plant is actively growing.
- Observe carefully: Monitor the cuttings or seedlings regularly for signs of growth, root development, or potential problems.
- Water wisely: Keep the rooting medium or soil consistently moist, but avoid over-watering which can cause root rot.
Sharing the Beauty
Propagating Picrella ignambiensis is a rewarding and fulfilling experience. Whether you’re expanding your own collection or sharing the beauty of this stunning plant with friends and family, the joy of creating new life from a single cutting or seed is truly special. So, take the plunge, try out these methods, and enjoy the privilege of fostering the beauty of Picrella ignambiensis in your home and beyond.