Unlocking the Secrets of Pigea enneasperma Propagation: From Seed to Success
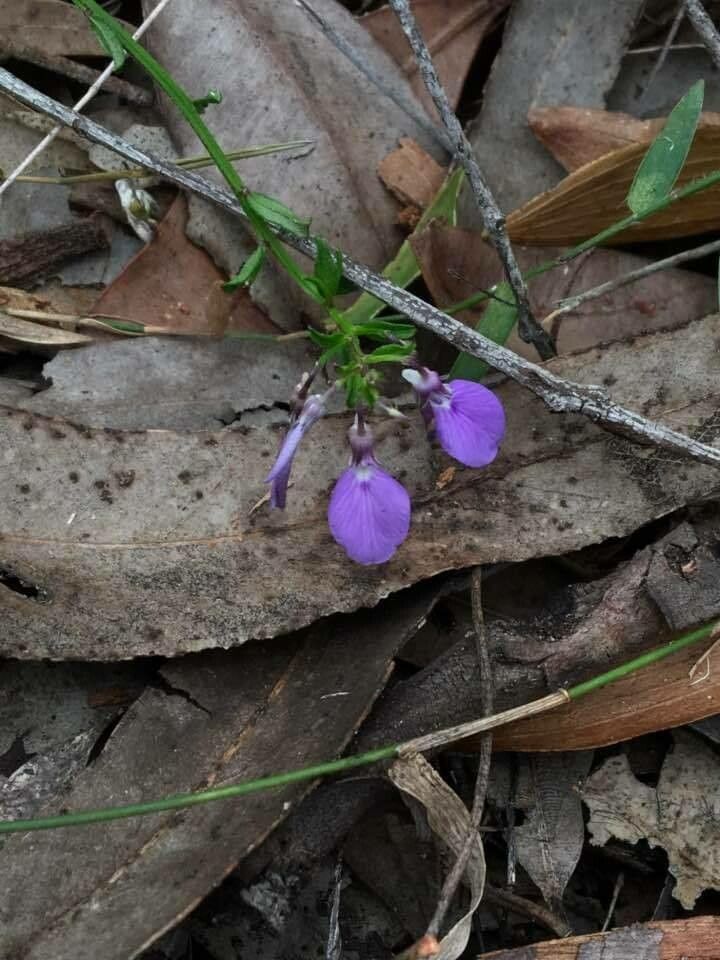
The captivating beauty of Pigea enneasperma, with its vibrant blooms and lush foliage, often inspires a desire to share its presence. But how do you go about recreating this wonder in your own garden? The answer lies in the fascinating world of plant propagation. This blog post will guide you through the process of propagating Pigea enneasperma, revealing the best methods for multiplying your prized possession and ushering new life into your botanical collection.
The Power of Seeds:
Starting with seeds is a rewarding and often the most accessible way to propagate Pigea enneasperma.
- Collecting Seeds: Once the colorful flowers fade, carefully collect mature seed capsules. These capsules typically turn brown or grey as they ripen.
- Sowing Seeds: Direct sowing into well-draining soil or using a seed tray with a seed-starting mix is ideal. Gently press the seeds into the soil, ensuring they are not buried too deep. Keep the soil consistently moist but not waterlogged.
- Germination: Pigea enneasperma seeds can take a few weeks to germinate. Patience is key! Ensure the seeds are exposed to bright, indirect light (not direct sunlight) and maintain a temperature around 70-75°F (21-24°C).
- Transplanting: Once seedlings have developed a few true leaves, you can gently transplant them into individual pots. Gradually introduce them to the outdoor environment to acclimatize them to the changing weather conditions.
Beyond Seeds: Exploring Other Methods
While seeds are a reliable option, you can also consider these alternative propagation methods:
- Stem Cuttings: Taking softwood cuttings from new growth is an effective way to propagate Pigea enneasperma. This involves making a clean cut just below a node on a healthy stem. Remove any leaves below the cut and apply a rooting hormone to encourage root development. Plant the cutting in a well-draining potting mix and place it in a warm, humid environment with bright, indirect light.
- Air Layering: Air layering involves making an incision on a stem and applying rooting hormone. This section is then covered with moist sphagnum moss, wrapped with plastic, and anchored with a wire or string. Once roots emerge, the layered stem can be separated and planted in a pot.
- Division: For established plants, division can be an effective method of propagation. You can carefully separate the plant into smaller clumps, ensuring each section has roots and healthy foliage. Repot the divisions into individual containers or plant them directly in the garden.
Creating a Nurturing Environment
Regardless of the method you choose, creating an appropriate environment is crucial for successful propagation. Provide consistent moisture, well-drained soil, and good air circulation, especially for cuttings and air layering. Avoid overwatering, which can lead to root rot.
The Magic of Propagation
The journey of propagation is more than just a means to increase your plant collection; it’s a rewarding and fulfilling experience. Witnessing the transformation from a tiny seed to a vibrant plant is an inspiring journey that connects us with the wonders of nature. So embrace the process, experiment with different techniques, and enjoy the fulfillment of creating new life within your own green oasis.