From One to Many: Propagating Your Pilea Elegans (The Easy Way!)
Ah, the Pilea elegans, also known as the “Chinese Money Plant” or “Friendship Plant.” With its charming coin-shaped leaves and captivatingly easy propagation methods, it’s no surprise this plant is a beloved favorite among beginner and experienced plant parents alike.
But what if you could take one Pilea elegans and turn it into a whole army of these delightful little plants? That’s where propagation comes in—it’s the magical process of creating new plants from cuttings or divisions of an existing parent plant. And with the Pilea elegans, it’s surprisingly simple!
Two Easy Ways to Propagate Your Pilea Elegans:
1. Leaf Cuttings:
This method is remarkably easy and requires minimal effort.
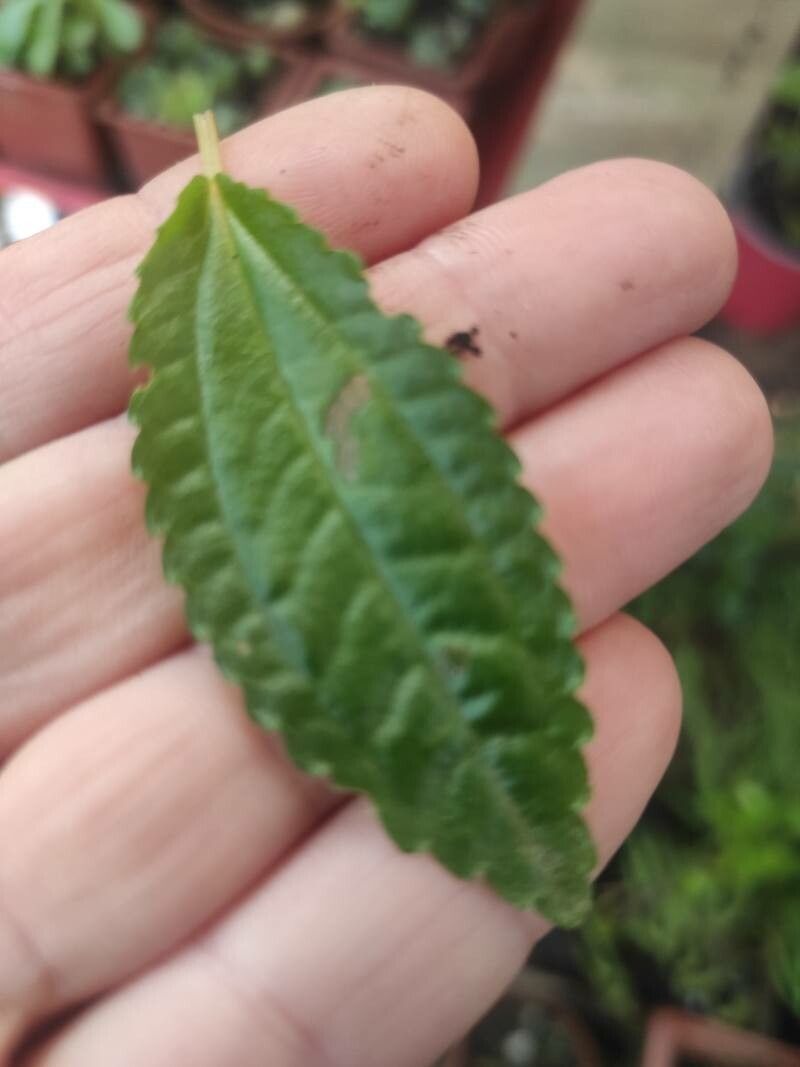
- Step 1: Snip a Healthy Leaf: Select a healthy, mature leaf from your Pilea. Use clean, sharp scissors and make a clean cut just below the leaf node (where the leaf joins the stem).
- Step 2: Let it Heal: Allow the cut end of the leaf to callous over for a few days. This helps prevent rot.
- Step 3: Prepare the Soil: Use a well-draining potting mix. You can also opt for a small pot with drainage holes or simply a shallow tray with a layer of the potting mix.
- Step 4: Planting Time: Gently place the leaf on the soil, making sure the node is touching the soil. You can lightly press the leaf into the soil for some added security.
- Step 5: Water & Light: Keep the soil moist, but not soggy. Place the leaf in a bright, indirect light location.
- Step 6: Patience is Key: It can take anywhere from a few weeks to a couple of months for roots to develop. Once you see new growth, you know your propagation is successful!
2. Stem Cuttings:
Not quite as hands-off as leaf cuttings, but still very easy.
- Step 1: Take a Snip: Cut a 2-4 inch portion of a healthy stem. Make sure the stem has at least two leaves.
- Step 2: Remove Lower Leaves: Strip off the lower leaves below the soil line. This prevents them from rotting.
- Step 3: Prepare the Soil: Use the same well-draining potting mix as for the leaf cuttings. You can use small pots or shallow trays for planting.
- Step 4: Plant & Water: Gently insert the cut end of the stem into the soil. Water well and make sure the soil remains consistently moist.
- Step 5: Bright Light: Place the stem cutting in a bright, indirect light location.
- Step 6: New Growth: Within a matter of weeks, you’ll notice new growth at the top of the stem cutting, signifying that it has successfully rooted.
Tips for Better Success:
- Sharp Tools: Use clean, sharp scissors or a knife for making clean cuts.
- Water Not Excess: Avoid overwatering, as it can lead to rotting.
- Patience: Give your cuttings time to develop roots and new growth—it’s worth the wait!
- Humidity Makes a Difference: Creating a humid environment around your cuttings can accelerate the rooting process. You can achieve this by placing a plastic bag or humidity dome over the cutting.
Pro Tip: Once your new Pilea elegans babies have developed a good set of roots, you can pot them up individually.
Propagating your Pilea elegans is a rewarding and fun experience. It’s a fantastic way to expand your plant collection, share with friends, and witness the fascinating life cycle of this incredible plant. So, grab your shears and get ready to multiply your Pilea elegans!