
Unlocking the Secrets of the Wooly Torch: A Guide to Pilosocereus leucocephalus Propagation
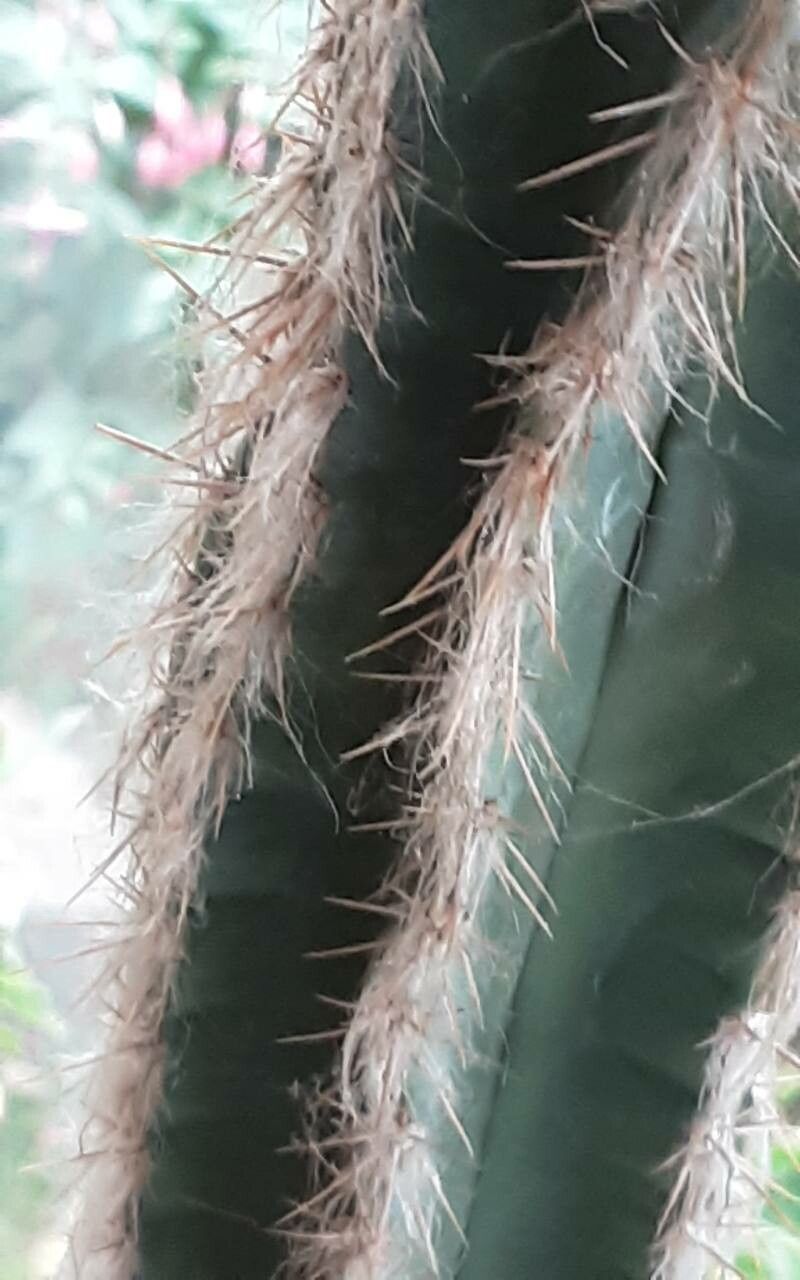
The Pilosocereus leucocephalus, affectionately nicknamed the “Wooly Torch” thanks to its distinctive white, hairy covering, is a striking columnar cactus native to Mexico. This unique plant, with its impressive height and nocturnal blooms, can be a captivating addition to any succulent enthusiast’s collection. But how do you go about propagating these magnificent giants? Let’s delve into the world of Wooly Torch propagation and discover the secrets to successfully growing new plants.
Two Paths to Propagation: Seeds vs. Cuttings
When it comes to propagating Pilosocereus leucocephalus, you have two primary methods at your disposal:
1. Starting from Seed: A Rewarding Challenge
For the patient gardener, growing Wooly Torch from seed presents a uniquely fulfilling experience. Here’s how:
- Source your seeds: Reputable online nurseries or specialized cacti and succulent vendors are your best bet for acquiring fresh, viable Pilosocereus leucocephalus seeds.
- Prepare your seed-starting mix: A well-draining, gritty medium is crucial for cacti seedlings. Combine equal parts potting soil, perlite, and coarse sand for optimal drainage.
- Sow with care: Sprinkle the tiny seeds sparsely over the surface of the moistened mix. Do not bury them, as they need light to germinate.
- Create a humid environment: Cover the seed tray with a clear lid or plastic wrap to maintain humidity and warmth. Place it in a bright location, but out of direct sunlight.
- Patience is key: Germination can take anywhere from a few weeks to a few months. Keep the soil lightly moist by misting it regularly and be sure to remove the cover for ventilation every few days.
2. Taking the Cutting Edge: Propagation through Cuttings
If you prefer a faster route to a new Wooly Torch, propagating through cuttings is the way to go.
- Choose your cutting: Select a healthy, mature stem. Ideally, opt for a branch that has already started to form roots (aerial roots).
- Make a clean cut: Using a sharp, sterilized knife or pruning shears, cut the stem cleanly at its base.
- Let it callus: It’s essential to allow the cut end of the stem to dry and form a callus before planting. This helps prevent rot. Leave the cutting in a warm, dry place for about a week, or until the cut end has hardened.
- Prepare your pot: Choose a pot with good drainage holes and fill it with the same well-draining mix recommended for seed starting.
- Plant the cutting: Plant the callused end of the cutting about an inch deep in the prepared mix. Gently firm the soil around the base.
- Water sparingly: Until the cutting shows signs of new growth, water very sparingly to avoid rot. Once established, you can resume a regular watering schedule.
Essential Tips for Wooly Torch Success
No matter which propagation method you choose, these tips will increase your chances of success:
- Provide ample sunlight: Pilosocereus leucocephalus thrives in bright, indirect light. Place your plants in a location where they’ll receive plenty of sunshine, especially during their growing season.
- Mimic their natural environment: Like many cacti, Wooly Torch prefers infrequent, deep waterings. Allow the soil to dry out completely between waterings, and avoid overwatering at all costs.
- Fertilize during the growing season: Supplement their nutrient intake with a balanced, diluted fertilizer specifically formulated for cacti and succulents. Fertilize only during the spring and summer months.
By embracing the unique requirements of this fascinating cactus and following these propagation techniques, you’ll be well on your way to cultivating your very own stand of majestic Wooly Torches. So, unleash your inner plant parent and experience the magic of propagating these captivating desert dwellers!