Unveiling the Secrets: How to Propagate the Exquisite Pinalia Bractescens Orchid
The Pinalia bractescens, with its cascading chains of delicate, almost translucent blooms, is a sight to behold. This epiphytic orchid, native to Southeast Asia, instantly adds an air of exotic elegance to any collection. While caring for Pinalia bractescens might seem intimidating at first, propagation doesn’t have to be a mystery. Let’s delve into the fascinating world of multiplying your very own Pinalia bractescens.
Understanding the Plant:
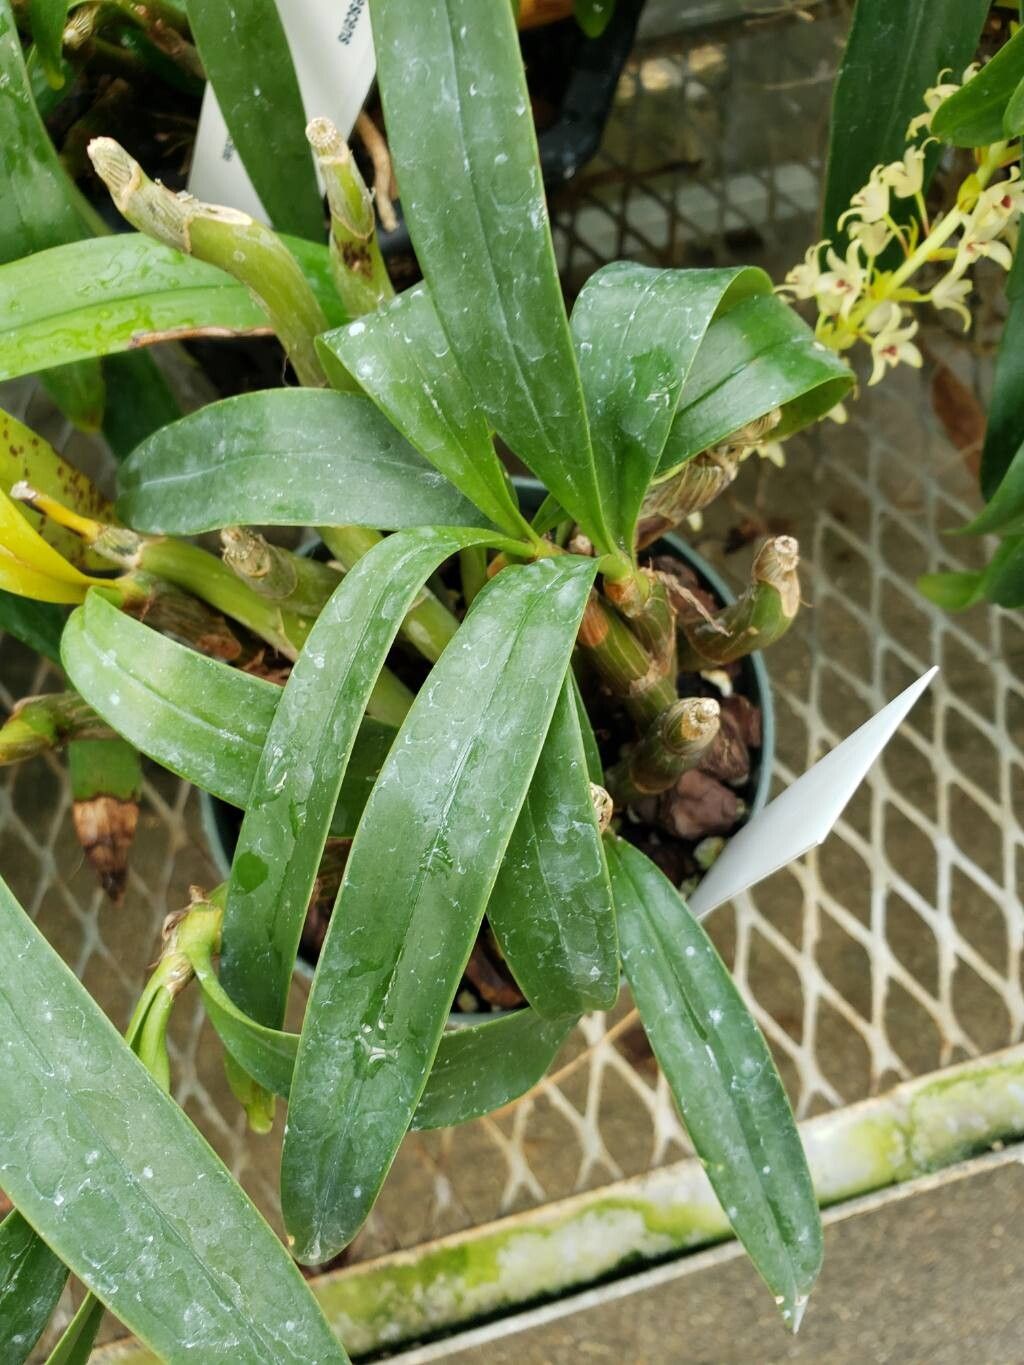
Before we embark on our propagation journey, it’s crucial to understand this orchid’s growth habit. Pinalia bractescens produces new growths along its rhizome, the horizontal stem from which roots and shoots emerge. These new growths, often called “keikis” in the orchid world, are our ticket to propagation.
Methods of Propagation
Keiki Division: The most common and arguably the easiest method to propagate Pinalia bractescens is through keiki division. Keikis are essentially miniature plantlets that sprout from the mother plant. Here’s how to propagate through keiki division:
- Identify a Mature Keiki: Look for keikis that have developed at least 3-4 roots of their own, each root measuring around 3-4 inches long. This indicates the keiki is established enough to thrive independently.
- Careful Removal: Gently detach the keiki from the mother plant using a sterilized, sharp cutting tool. Ensure you’re cutting as close to the mother plant as possible without causing damage.
- Potting the Keiki: Plant the keiki in a well-draining orchid potting mix. You can use a mix specifically designed for orchids or create your own using bark chips, perlite, and charcoal.
- Provide Humidity and Indirect Light: Place the newly potted keiki in a humid environment with bright, indirect light. Avoid direct sunlight as it can scorch the young plant.
Back Bulb Propagation: While slightly less common, back bulb propagation is another viable method for Pinalia bractescens. Back bulbs are older, often leafless pseudobulbs that still hold the potential for new growth.
- Selecting the Back Bulb: Choose a healthy back bulb that is plump and firm.
- Potting the Back Bulb: Place the back bulb in a shallow tray filled with moist sphagnum moss.
- Warmth and Humidity are Key: Keep the tray in a warm, humid location out of direct sunlight.
- Patience is a Virtue: It may take several weeks or even months for new growth to appear. Once a new shoot develops roots, you can then transfer it to a more permanent pot using an appropriate orchid potting mix.
Tips for Success:
- Sterilization is Key: Always sterilize your cutting tools with rubbing alcohol or a flame before and after use to prevent the spread of diseases.
- Optimal Growing Conditions: Pinalia bractescens thrives in warm temperatures, high humidity, and bright, indirect light. Replicate these conditions as best as possible.
- Patience, Patience, Patience: Orchid propagation is a waiting game. Don’t be discouraged if you don’t see results immediately. Continue providing optimal care, and your patience will eventually be rewarded with beautiful new plants.
Propagating Pinalia bractescens is a rewarding endeavor. By following these guidelines and arming yourself with a healthy dose of patience, you’ll be well on your way to expanding your orchid family and enjoying the captivating beauty of these stunning blooms for years to come.