Unveiling the Secrets of Piriqueta Cistoides Propagation: Tips for Growing This Sunshine Bloom
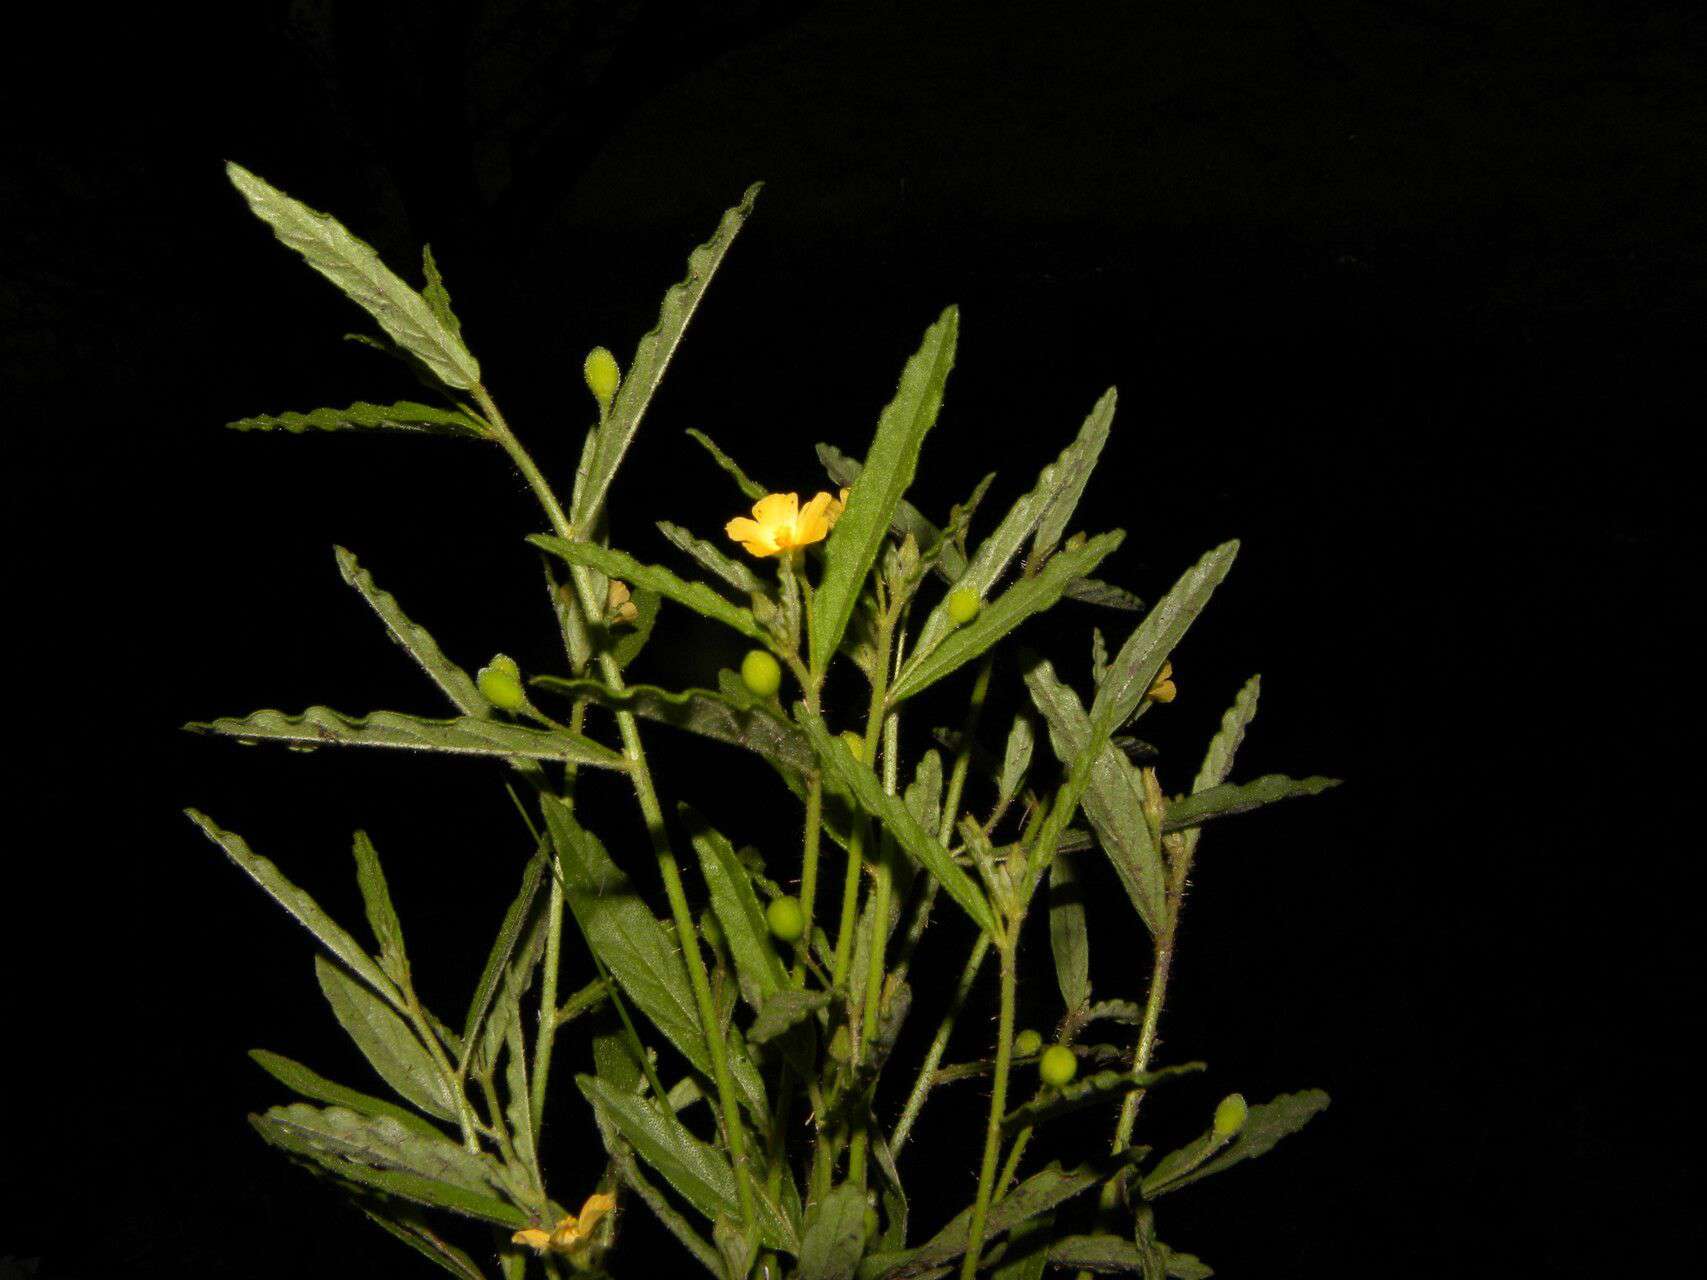
The Piriqueta cistoides, also known as the yellow buttercups or Florida suncups, is a delightful sight to behold. This North American native boasts vibrant yellow flowers that cheerfully greet the sun from spring to fall, adding a splash of sunshine to any landscape. If you’re looking to introduce this charming plant to your garden, you’ll be happy to know that propagating Piriqueta cistoides can be a fulfilling experience. Let’s delve into the two primary methods:
1. Seeding the Way to Success:
For those who enjoy the journey from seed to bloom, propagating Piriqueta cistoides from seeds is a rewarding choice. Follow these steps for optimal results:
- Sourcing Seeds: You can collect seeds from existing plants in the fall or purchase them from reputable suppliers online or at local nurseries specializing in native plants.
- Preparing for Sowing: Piriqueta cistoides seeds benefit from a period of cold stratification to mimic natural winter conditions and encourage germination. Place the seeds in a moist paper towel inside a sealed plastic bag and store them in the refrigerator for 4-6 weeks.
- Sowing the Seeds: In early spring, sow the stratified seeds in seed trays or pots filled with a well-draining seed starting mix. Lightly press the seeds into the soil, ensuring they receive good contact but aren’t buried too deep.
- Providing Ideal Conditions: Place the seed trays in a bright location, but out of direct sunlight. Keep the soil consistently moist but not soggy. Depending on the temperature, germination typically occurs within 2-4 weeks.
- Transplanting Seedlings: Once the seedlings develop a few sets of true leaves and are large enough to handle, transplant them into individual pots or directly into your garden after the last frost.
2. Taking Cuttings: A Faster Route to Growth:
Propagating Piriqueta cistoides from cuttings is a quicker method, allowing you to produce new plants that are genetically identical to the parent plant. The process is relatively simple:
- Selecting Cuttings: In the spring or early summer, select healthy, non-flowering stems from a mature Piriqueta cistoides plant. Choose stems that are about 4-6 inches long and have at least two leaf nodes.
- Preparing the Cuttings: Using a clean, sharp knife or pruning shears, make a cut just below a leaf node. Remove the lower leaves from the cutting, leaving 2-3 leaves at the top.
- Encouraging Root Development: Dip the cut end of the stem into rooting hormone (optional but beneficial) and then plant it in a pot filled with a well-draining potting mix or directly into your garden.
- Creating a Humid Environment: To promote root development, cover the cutting and pot with a clear plastic bag or use a propagation dome. This creates a humid environment and helps retain moisture.
- Monitoring Growth: Ensure the potting mix remains consistently moist but not waterlogged. After 4-6 weeks, gently tug on the cutting to check for resistance, which indicates root development. Once rooted, you can gradually acclimate the new plant to outdoor conditions before transplanting it to its desired location.
No matter which propagation method you choose, remember that Piriqueta cistoides thrives in full sun to partial shade and well-drained soil. With proper care and attention, these cheerful yellow blooms will grace your garden for years to come. Happy propagating!