Taming the Wild: How to Propagate the Aromatic Pistacia Terebinthus
The Pistacia terebinthus, also known as the terebinth tree or turpentine tree, is a captivating Mediterranean native with a fascinating history. This resilient tree has been prized for centuries for its aromatic resin, used in traditional medicine and perfumery. But beyond its practical uses, the terebinth tree boasts stunning foliage, a graceful form, and a unique, almost mythical aura. Now, imagine bringing this piece of Mediterranean charm to your own garden.
While you might not be able to magically sprout a terebinth tree from a single seed, propagation is achievable with a little patience and the right techniques. Fortunately, the terebinth tree lends itself to both seed propagation and cutting techniques, offering a choice based on your preference and time constraints.
Seed Propagation: Patience and a Touch of Nature
Seed propagation is a classic method that emulates the tree’s natural cycle. It’s also a very rewarding experience as you witness the journey from seed to sapling.
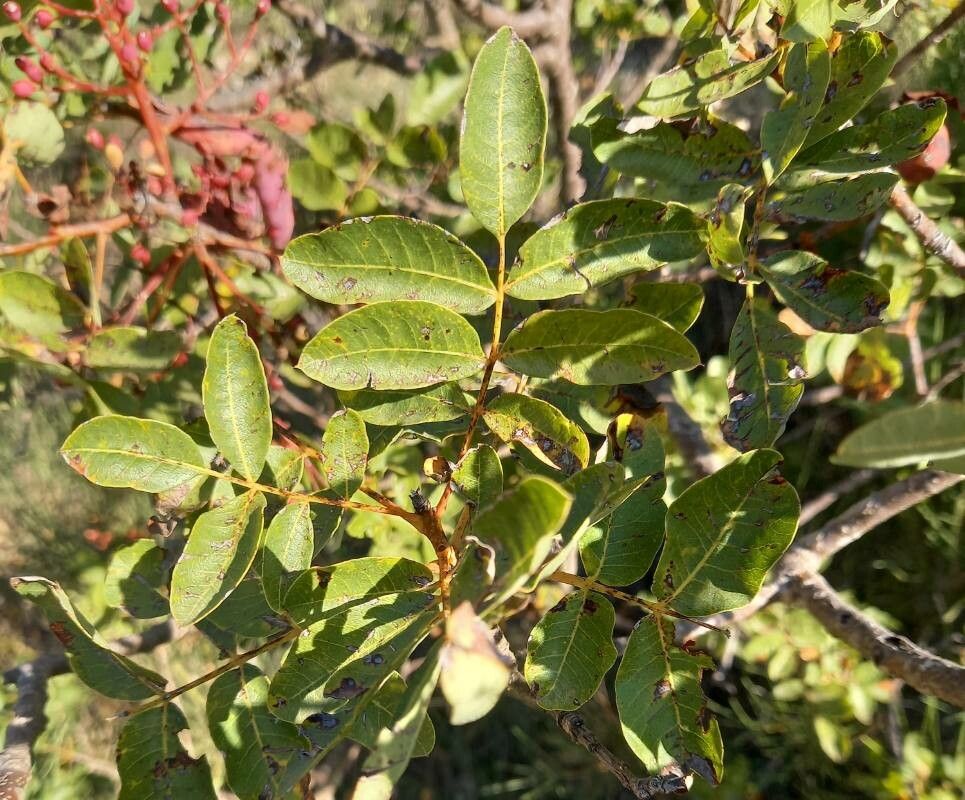
Harvesting the Seeds: Terebinth seeds ripen in late summer or early autumn. Look for plump, dark brown berries tucked within the clusters of leaves. Once you’ve gathered them, gently squeeze the berries to release the seeds, then rinse them thoroughly with water.
Stratification: This crucial step mimics the natural cold period required for germination. Place the seeds in a container filled with slightly moist vermiculite or a seed starting mix. Store this container in your refrigerator for 4-6 weeks, or even better, sow the seeds directly outdoors in a cold frame during the winter.
- Sowing and Germination: In late winter or early spring, when the seeds are done with cold stratification, you are ready to sow them. Choose a well-drained, sunny spot in your garden, or sow indoors in seed trays filled with a seed starting mix. Cover the seeds with a thin layer of soil and keep the substrate consistently moist. With patience, germination should occur in 3-4 months.
Cuttings: A Faster Track to Terebinth Joy
If you’re impatient or just eager to get your terebinth growing, propagation by cuttings can be a faster method. However, it requires a bit more finesse and precision.
Timing is Key: The best time to collect cuttings is during the dormant season, from late autumn to early spring. Choose healthy, semi-hardwood stems from the current year’s growth.
Preparation: Cut the stems into sections about 6-8 inches long, ensuring each cutting has at least 3-4 nodes. Remove the leaves from the bottom inch of the cutting and dip the cut end in a rooting hormone powder.
- Planting and Care: Plant your prepared cuttings in a pot filled with a well-draining potting mix. Keep the cuttings in a bright, but indirect location and maintain a consistent level of moisture. Remember to regularly mist the cuttings to keep them hydrated.
Beyond Propagation: Cultivating the Terebinth
No matter which propagation method you choose, remember that terebinth trees are resilient and can thrive in a variety of conditions. A sunny location, well-drained soil, and moderate watering will help your young terebinth flourish. As your tree grows, it will reward you with its fragrant resin, beautiful foliage, and the unique charm of a Mediterranean landscape right in your own backyard.
So, why not give it a shot? Embark on your own terebinth journey, and bring a bit of the Mediterranean magic into your life. You might just find yourself captivated by this ancient and aromatic tree, and its fascinating story will only unfold with time, patience, and a bit of love.