From One to Many: The Joy of Propagating Your Pittosporum Divaricatum
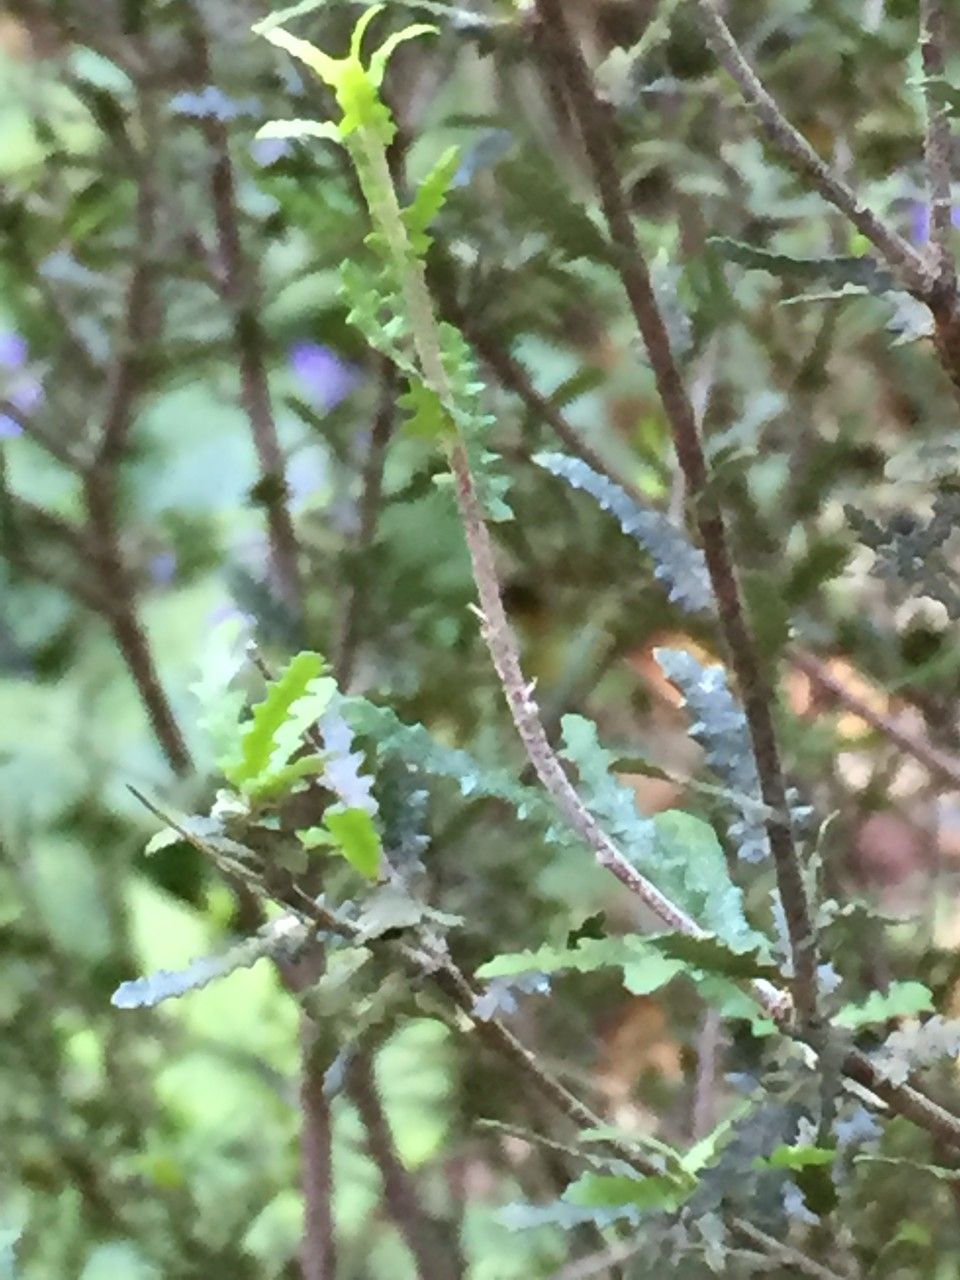
The Pittosporum divaricatum, with its unique, tangled branches and delicate white flowers, is a captivating sight in any garden. But what if you could share this beauty with friends, family, or even just fill up more space in your own yard? Well, you can! This intriguing New Zealand native is surprisingly easy to propagate, allowing you to create a whole forest of these charming plants from just a single cutting.
Why Propagate?
There are several good reasons to give propagation a try. Firstly, it’s an incredibly rewarding experience. Seeing a tiny cutting transform into a thriving plant is a testament to your green thumb and a source of immense satisfaction. Secondly, propagation saves you money! Instead of purchasing new plants, you can create your own, expanding your garden without breaking the bank. Finally, propagation allows you to share your passion for the Pittosporum with others, giving them the chance to enjoy the beauty of this special plant.
The Art of Propagation
The most common way to propagate a Pittosporum divaricatum is through softwood cuttings. This method involves taking cuttings from the current year’s growth, which are still pliable and haven’t yet hardened.
Here’s a step-by-step guide:
1. Timing is Key: The ideal time to take cuttings is in late spring or early summer when the plant is actively growing.
2. Selecting the Right Cuttings: Choose healthy, non-flowering stems that are about 6-8 inches long. Make a clean, sharp cut right below a node (where leaves grow).
3. Prepping the Cuttings: Remove the lower leaves from the cutting, leaving only a few at the top. Dip the cut end into a rooting hormone powder, which boosts the success rate.
4. The Potting Mix: Prepare a potting mix that’s well-draining and airy. A combination of peat moss, vermiculite, and perlite works well.
5. Planting the Cuttings: Gently insert the cuttings into the potting mix, ensuring that the lower node is buried below the soil line.
6. Maintaining Humidity: Cover the pot with a clear plastic bag or dome to create a humid environment that promotes root growth.
7. Patience is a Virtue: Root development can take several weeks or even months. Keep the potting mix moist but not waterlogged.
8. Acclimatization: Once roots have formed, gradually acclimate the young plants to outdoor conditions by gradually removing the plastic cover and increasing their exposure to direct sunlight.
9. Transplanting: When the plants are well-established, you can transplant them to their permanent location in your garden.
Beyond Cuttings:
While softwood cuttings are a popular method, you can also propagate Pittosporum divaricatum through seeds. However, this method requires more patience as seed germination can be slow.
Propagating your Pittosporum divaricatum is a rewarding journey that allows you to multiply the beauty of this unique plant and share it with others. With a little patience and care, you can transform a single cutting into a thriving new generation of these captivating shrubs. So, don your gardening gloves, equip yourself with sharp tools, and embark on your propagation adventure – the results will be well worth the effort.