Multiplying Your Graceful Pittosporum: A Guide to Propagation
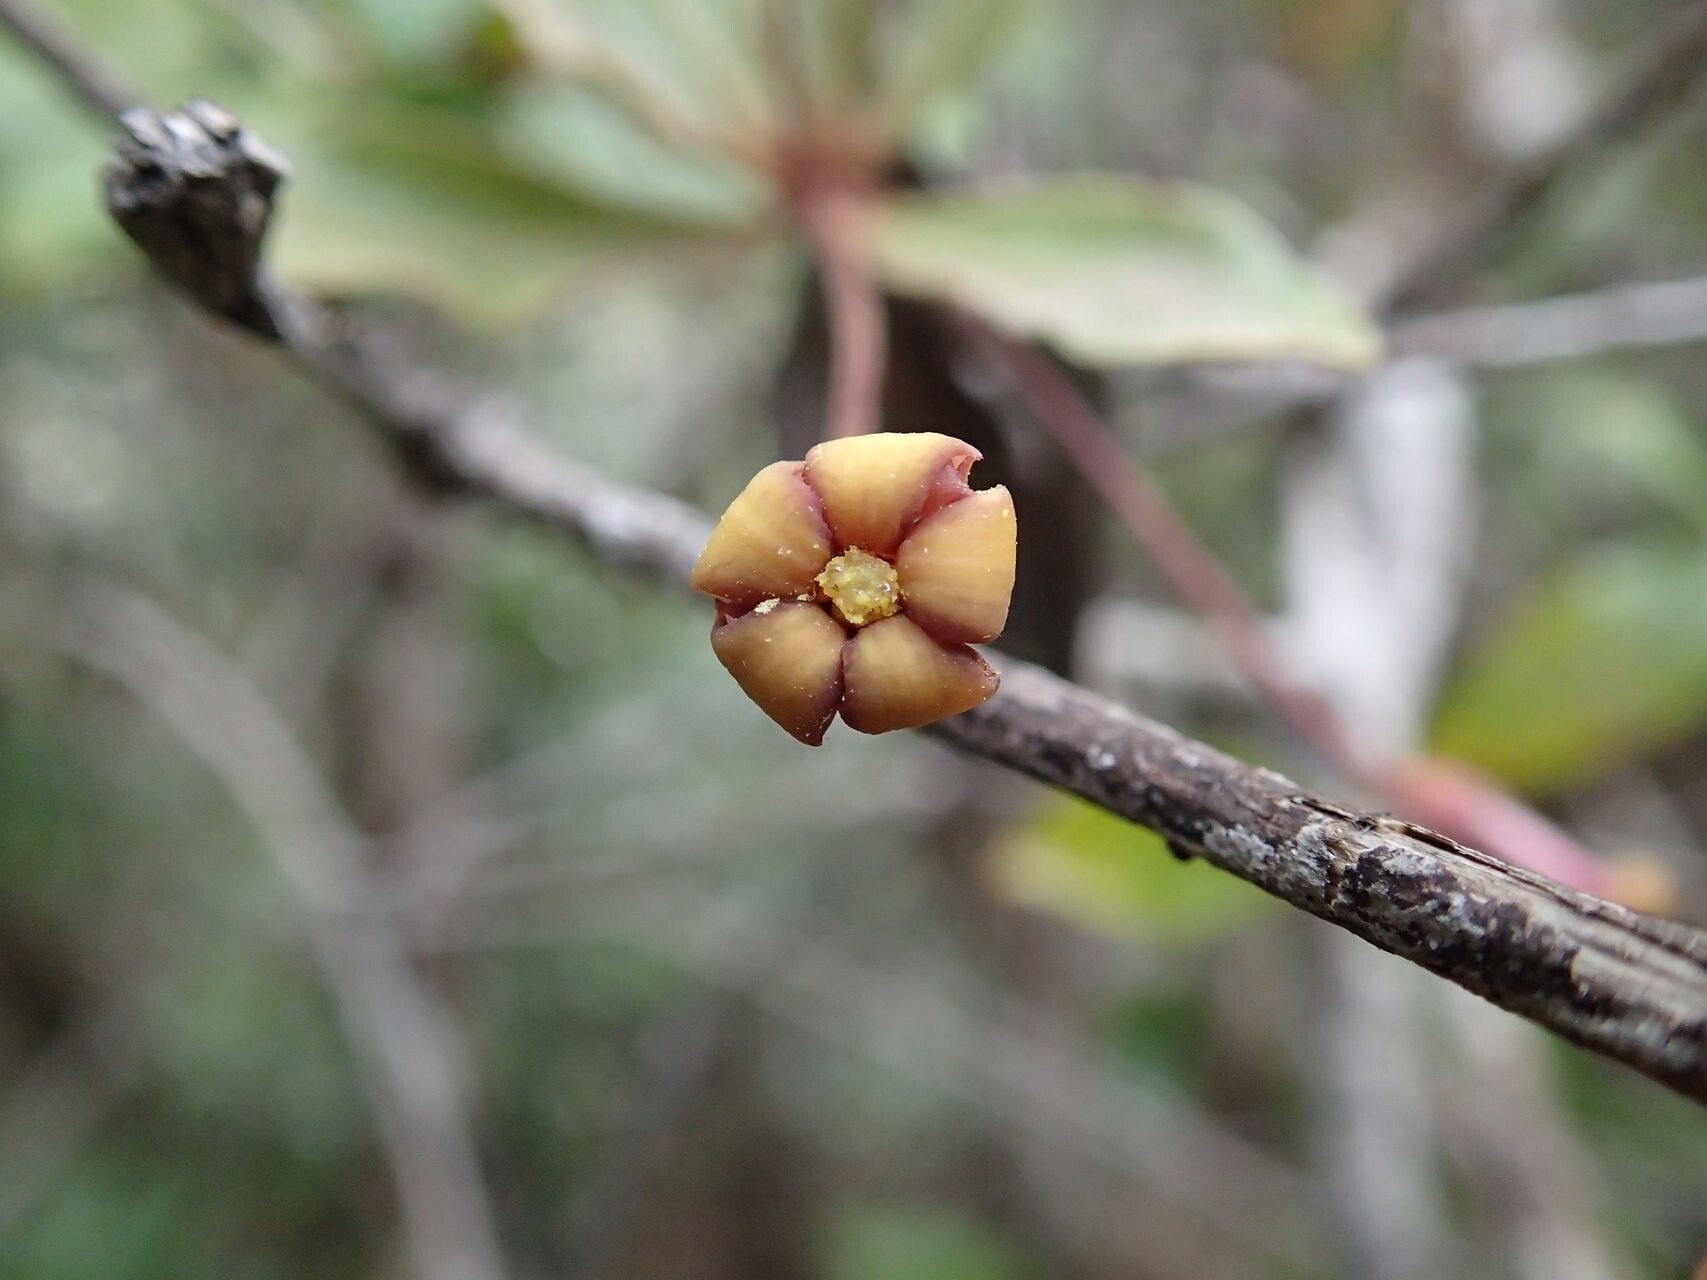
The Pittosporum gracile, also known as the Weeping Pittosporum or Narrow-leaved Pittosporum, is a favorite for its elegant, drooping foliage and intoxicating, orange-blossom fragrance. If you’re lucky enough to have one gracing your garden, you might be wondering how to get more of this beautiful plant. Fortunately, propagating Pittosporum gracile is achievable for gardeners of all levels, and it’s a rewarding way to expand your collection or share its beauty with others.
Two Paths to Propagation: Seeds vs. Cuttings
There are two primary methods for propagating Pittosporum gracile: seeds and cuttings. Each comes with its own advantages and drawbacks:
1. Seed Propagation:
- Pros: This method is relatively straightforward and doesn’t require specialized tools.
- Cons: Pittosporum seeds can be slow to germinate (taking several months), and resulting plants may not be identical to the parent, potentially lacking desirable traits.
2. Propagation from Cuttings:
- Pros: This method is faster than growing from seed and ensures a plant genetically identical to the parent, preserving its characteristics.
- Cons: Cuttings require a bit more technique and attention to detail to root successfully.
Step-by-Step Guide to Propagating from Cuttings
Ready to clone your Pittosporum gracile? Here’s how to propagate using cuttings:
1. Timing is Key:
The ideal time to take cuttings is during the plant’s active growing season, in late spring or early summer. This is when the plant’s energy is focused on new growth, increasing the chances of successful rooting.
2. Gather Your Tools:
- Sharp, clean pruning shears or a sharp knife
- Small pots or seed trays
- Seed-starting mix or a well-draining potting mix
- Rooting hormone (optional but recommended)
3. Take the Cuttings:
- Select healthy, non-flowering shoots from the current year’s growth.
- Using your sterilized shears, cut a 4-6 inch section just below a leaf node (the point where a leaf emerges from the stem).
- Remove the leaves from the bottom inch or two of the cutting.
4. Prepare the Cuttings:
- Optional: Dip the cut end of each cutting in rooting hormone powder, following the product instructions.
- Make a small hole in the center of your prepared pots or trays filled with moist potting mix.
- Gently insert the bottom inch of the cutting into the hole, ensuring the removed leaf nodes are below the soil line.
5. Encourage Rooting:
- Water the cuttings gently but thoroughly.
- Cover the pots or trays with a plastic bag or humidity dome to create a warm, humid environment that promotes rooting.
- Place the cuttings in a well-lit area, but out of direct sunlight, which can scorch the delicate new growth.
- Keep the soil consistently moist but not waterlogged.
6. Patience is a Virtue
Rooting can take several weeks to a couple of months. You’ll know your cuttings are successful when you see new growth emerging.
7. Transplanting:
Once the cuttings have developed a strong root system, you can transplant them into individual pots or your garden bed. Choose a location with well-draining soil and partial shade to full sun, depending on your local climate.
Enjoy Your Garden’s Graceful Expansion
Propagating your Pittosporum gracile is a rewarding endeavor that allows you to expand your garden’s beauty and share this captivating plant with others. With a bit of patience and these simple steps, you’ll soon have new Pittosporum gracile gracing your garden with their elegant charm.